 |
 |
|
Meade LX-10 OTA & drive mod's |
Go back to HOMEPAGE
|
|
|
|
Meade LX-10 OTA & drive mod's |
Go back to HOMEPAGE
|
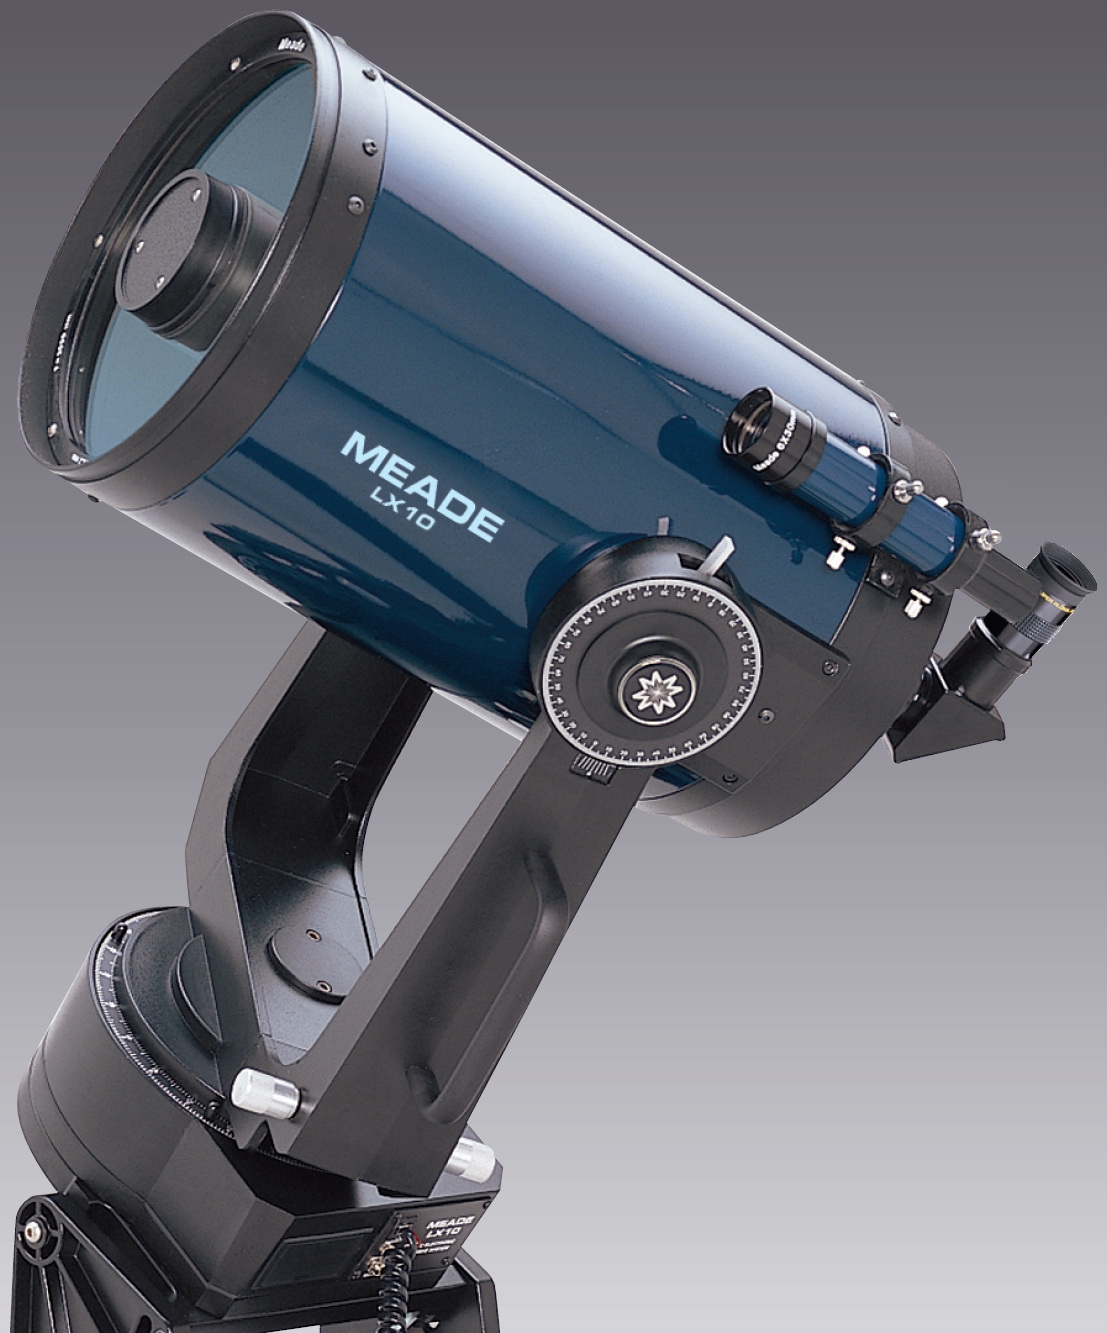
September 10, 2009 Yeah, my telescope has made it here from Colorado. I've set it up in my office to have a look, and my initial impression is that it is very sturdy and well built. I can't wait to get it outside! |
| September 18, 2009 I was able to set up the telescope tonight and have a look at Jupiter with it...so cool. The telescope was easy to use, and the views were sharp and clear. I can tell however that I have much to learn! |
| September 28, 2009
Well, I've had some time to assess the OTA and drive itself, and I have come to the following conclusions:
For the most part these observations do not infringe upon the enjoyable use of the telescope, that is except the focussing and drive issues. These particular deficiencies have the highest priority to be fixed. Stay tuned! |
| November 1, 2009
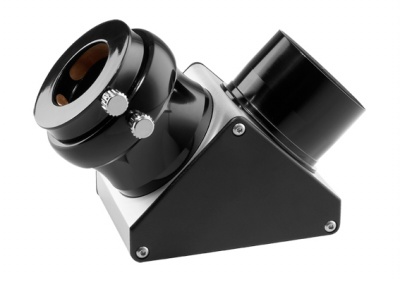
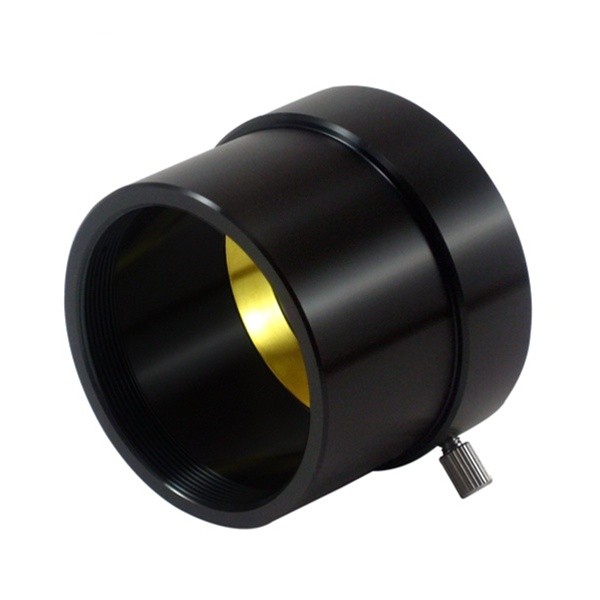
#1 Stock Meade diagonal The stock prism diagonal that came with the telescope is pretty basic. There is a large variety of reasonably priced good performing diagonals out there. I purchased a 2" dielectric mirror diagonal from Island Eyepiece & Telescope Ltd. out in British Columbia. I originally ordered a William's Optics brand diagonal, but Island E&T suggested that I get the Skywatcher version that was of comparable quality, was in stock, and was slightly cheaper...fine with me! I also ordered a corresponding SCT thread to 2" adapter (Blue Fireball brand) from Agena Astro. I initially tried a "Short" SCT adapter from Televue, but it was too short (the diagonal bottomed out on the telescope when inserted). The Televue "Long" SCT adapter as well as many others sold online were all too long for the Skywatcher diagonal to pass through the forks without hitting. The Blue Fireball one was just right. The only thing I didn't like was the single thumbscrew, so I drilled and tapped holes for two more.
|
| November 5, 2009
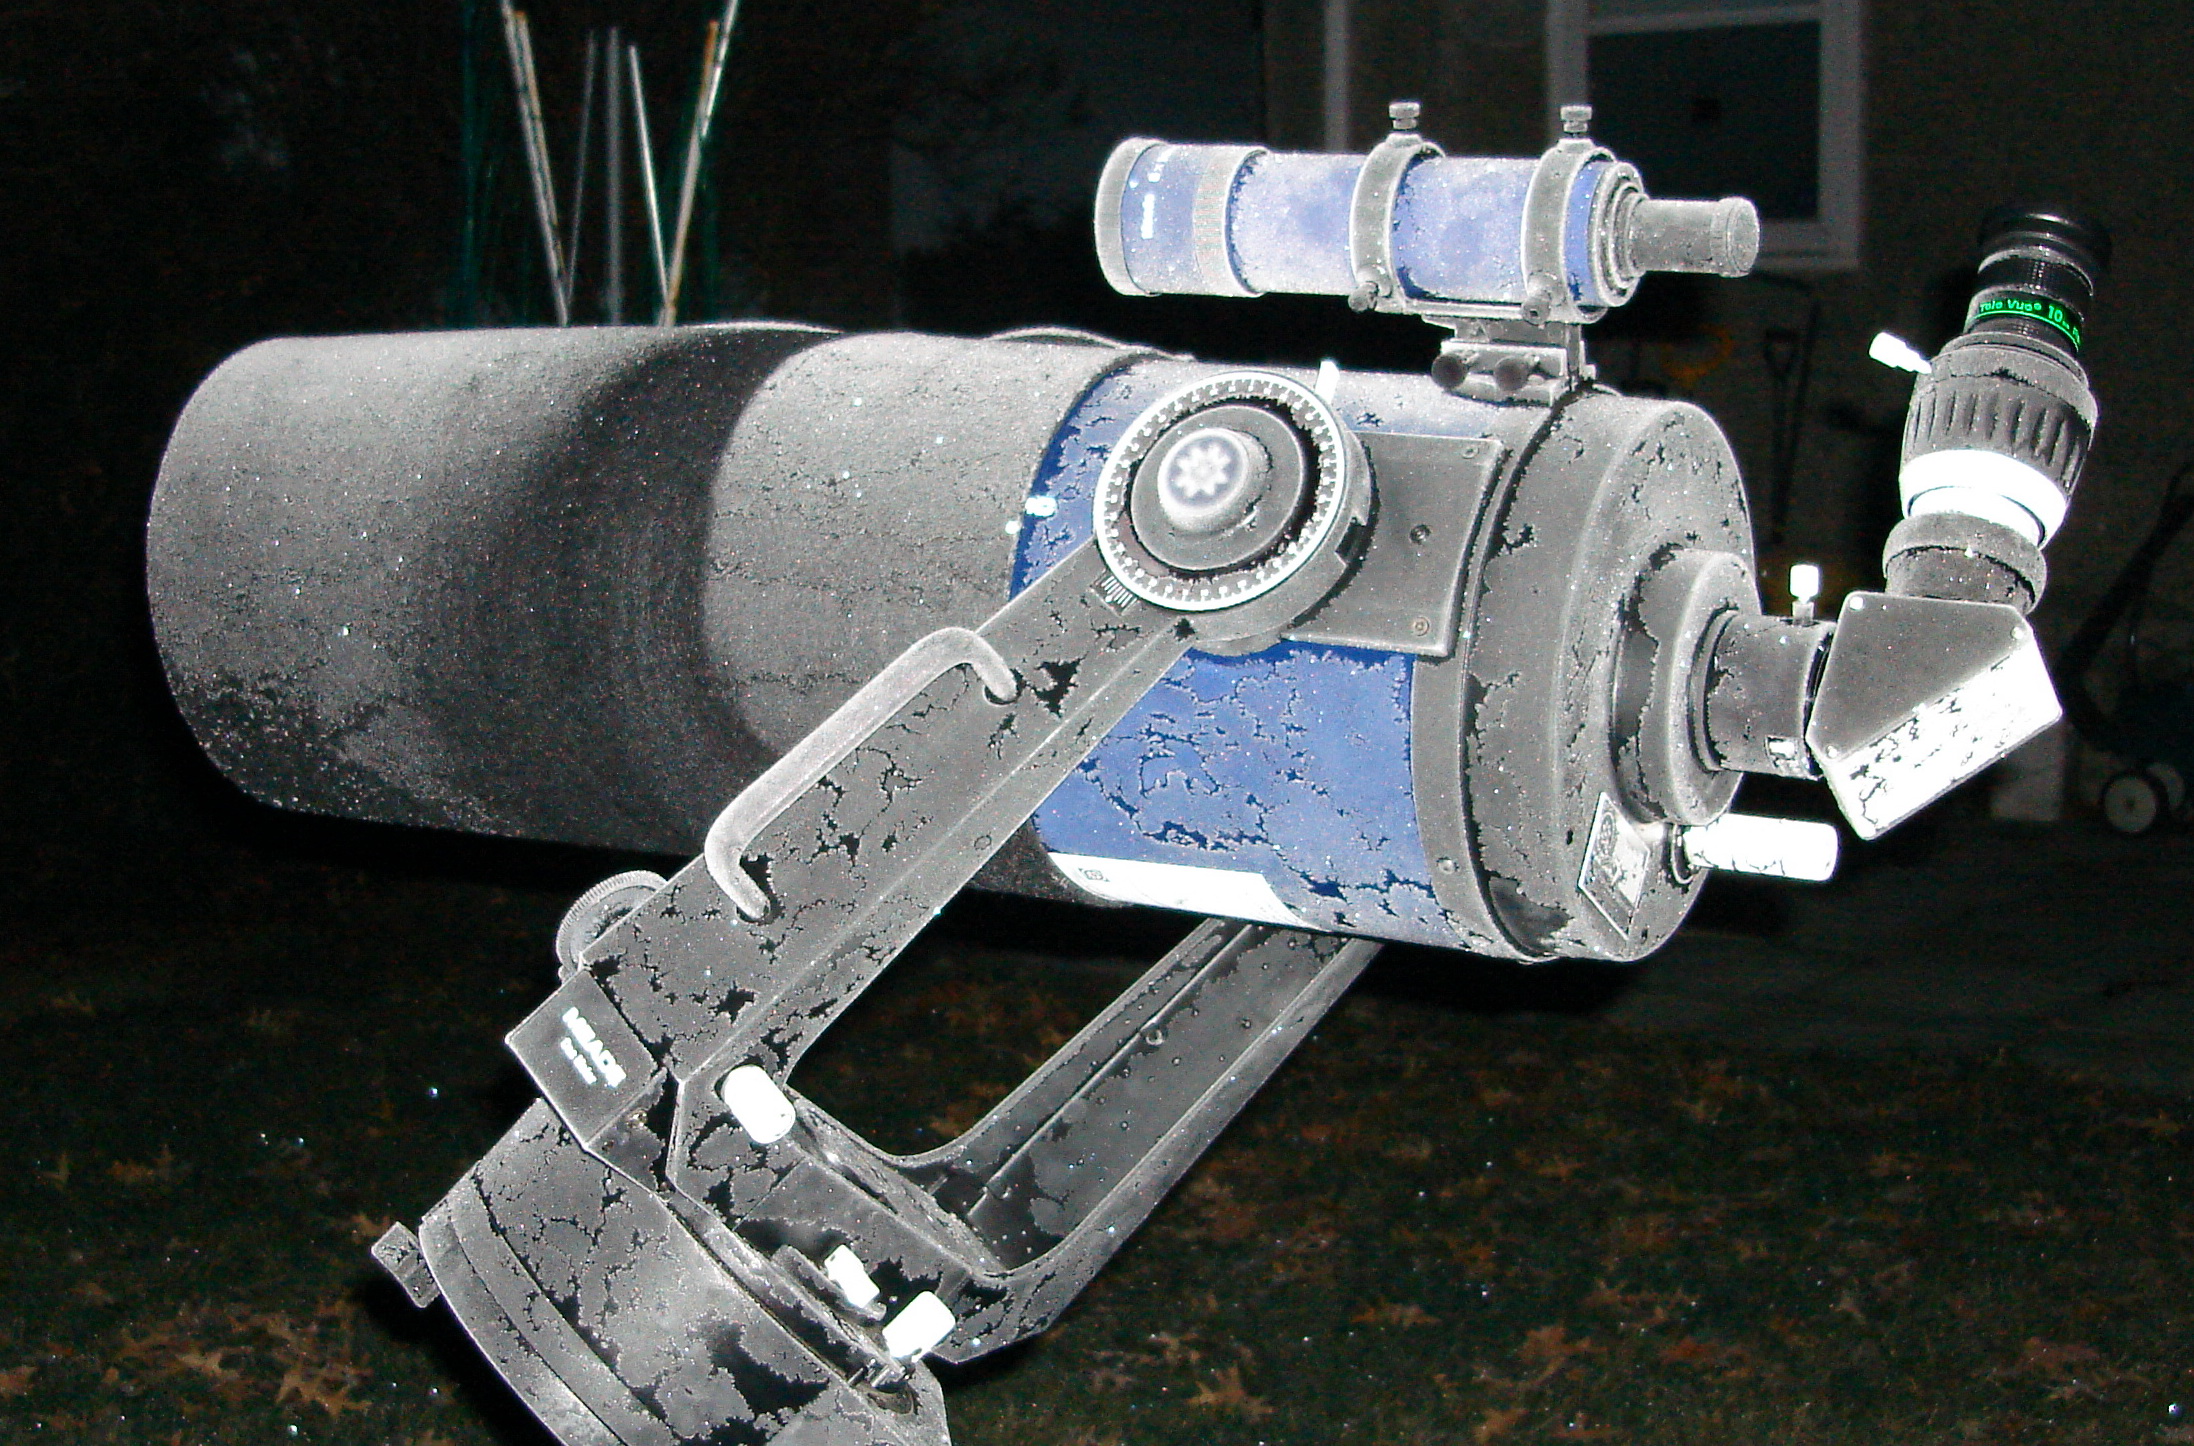
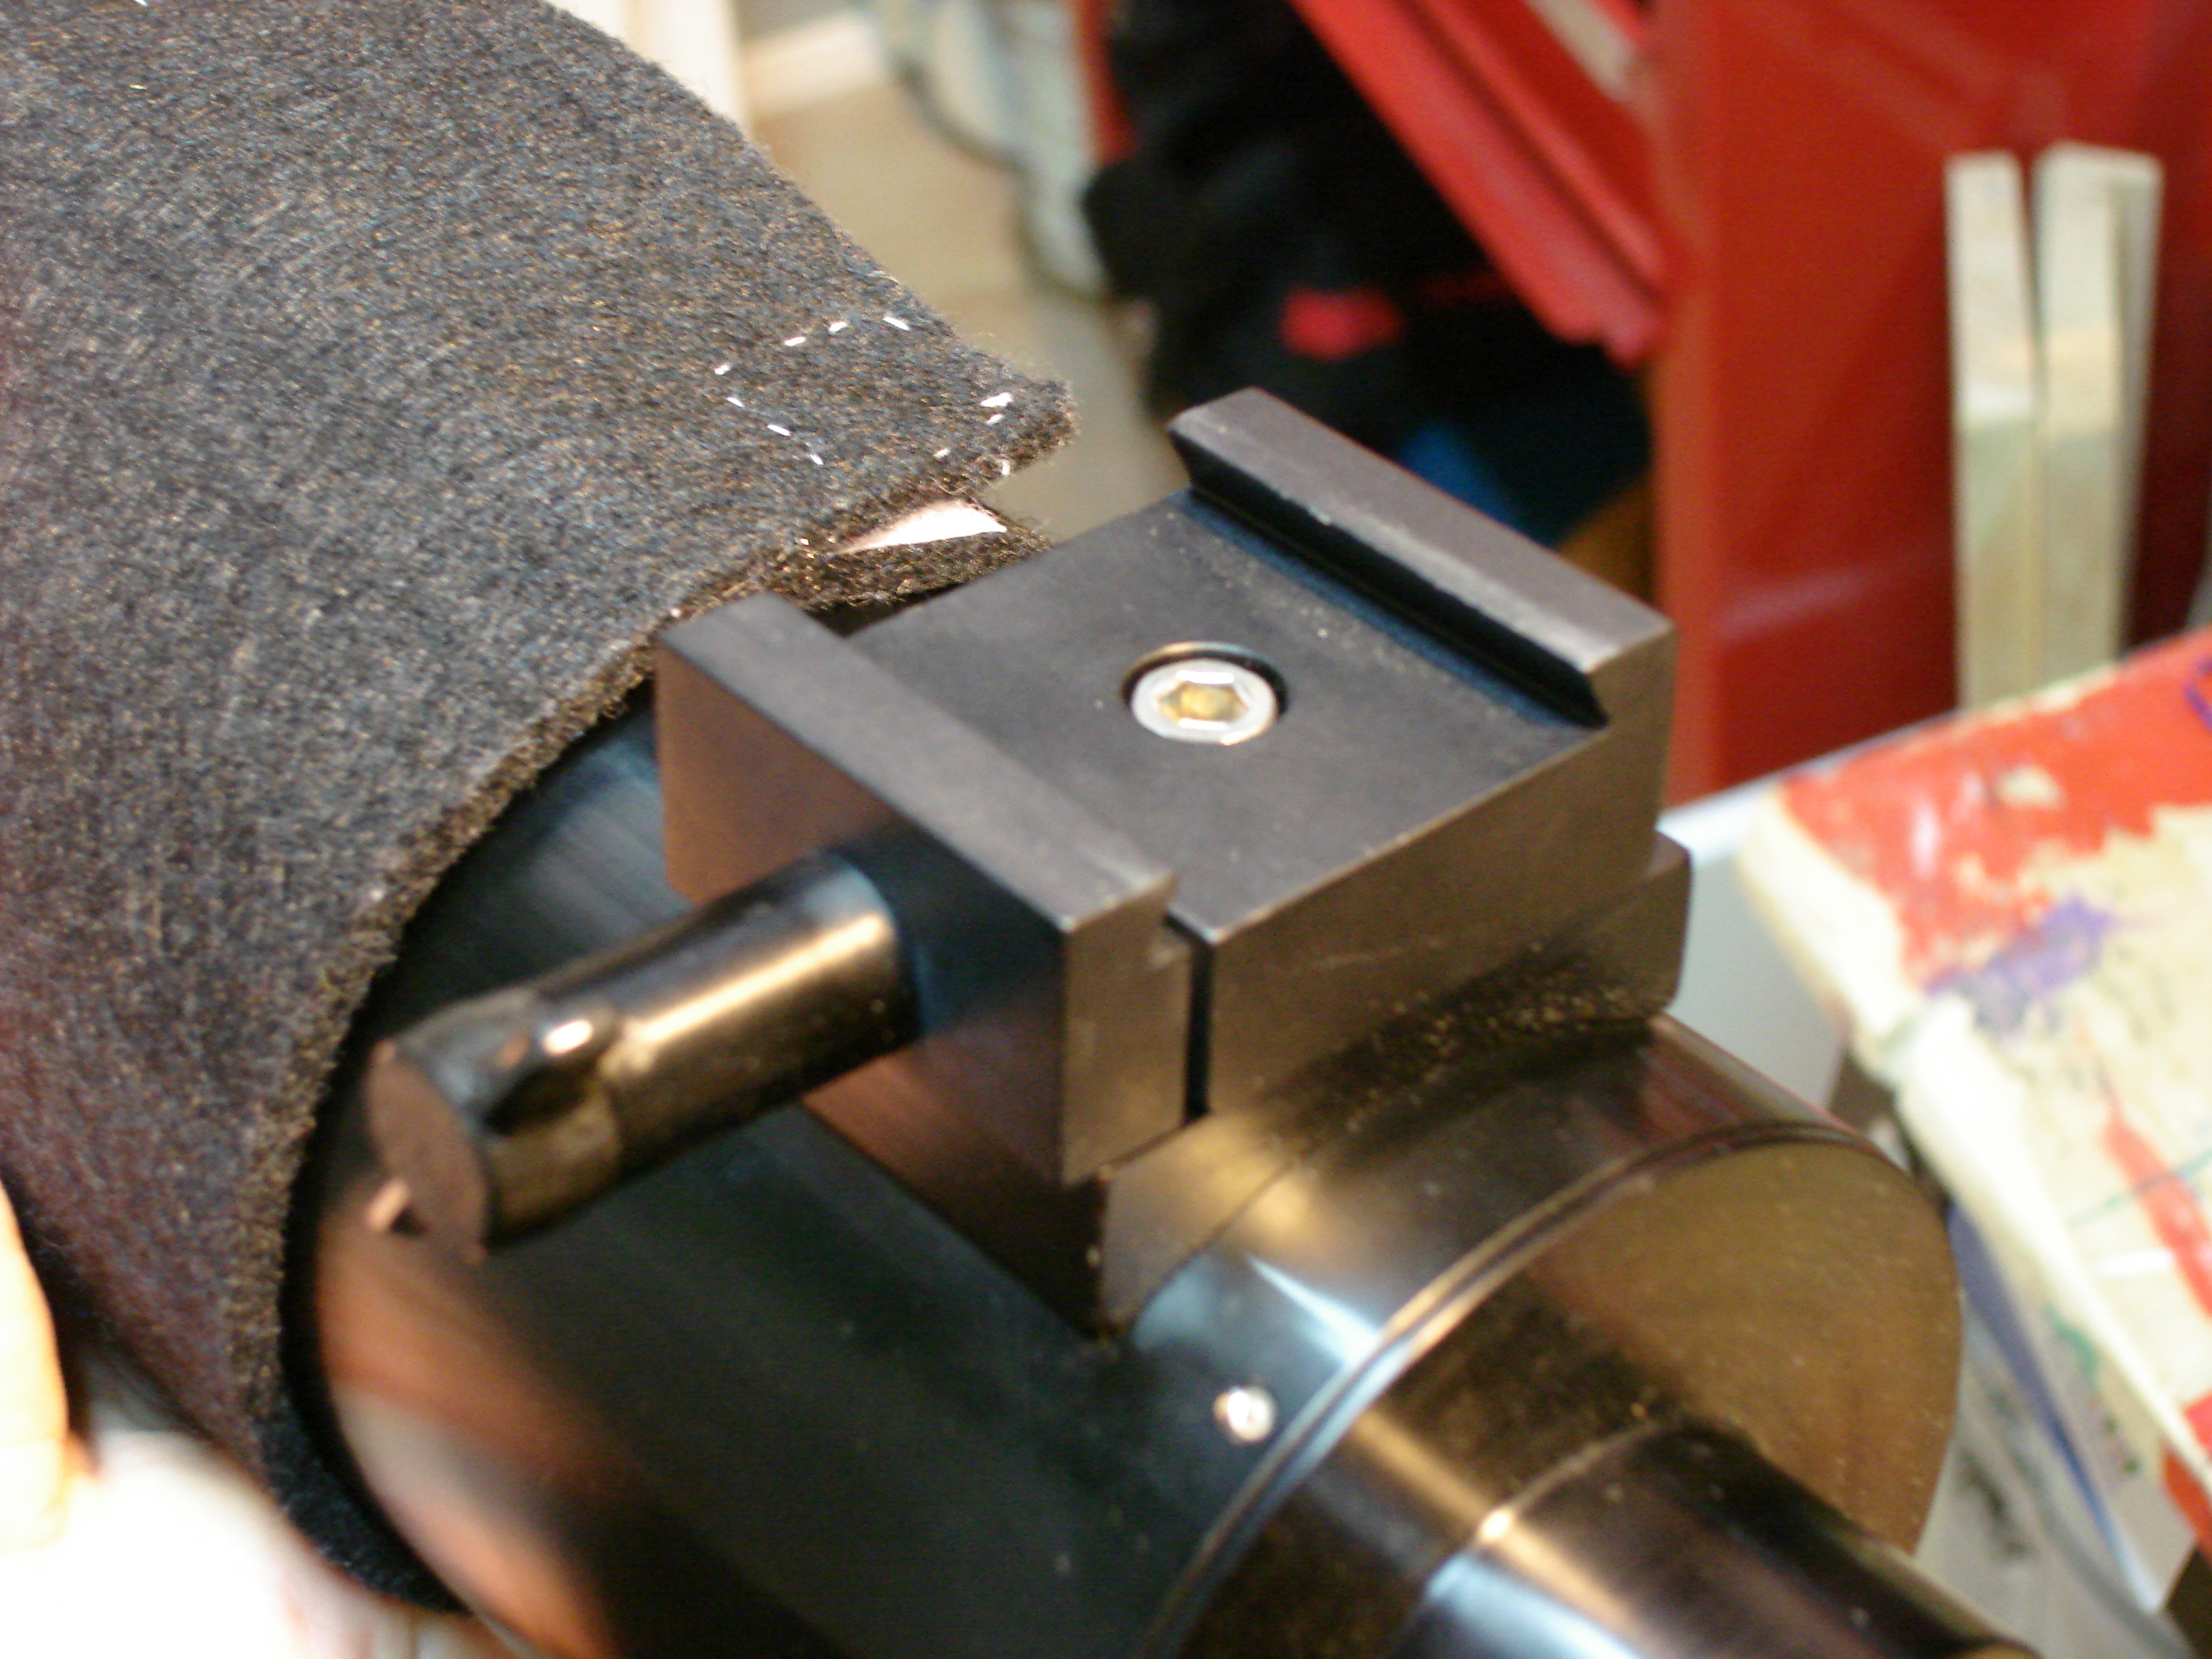
#10 Cheap dew shield I just so happen to have some experience with the science of dew formation from my work. It all has to do with radiative heat transfer. For dew to form on a surface, the surface needs to be below the dew point temperature for the local surroundings. The dew point temperature is defined as the temperature at which the air can no longer hold the mass of water per unit volume it currently has, also called the point of saturation. In high relative humidity, the dew point temperature is just a few degrees below the ambient air temperature, so anything that results in the telescope optics being slightly below air temperature will cause dew to form. By the same token, breathing on your optics results in the local humidity being suddenly higher, and the new local dew point being above your telescope's current temperature resulting in instant fogging. The same is also true of frost formation. Unluckily for us astronomers, a nice clear sky has an apparent temperature that is much colder than the local air temperature (you are looking into space after all!). When you are looking up at the heavens with your telescope, it exchanges heat with the cold sky through radiation, resulting in the telescope temperature cooling down to below the dew point temperature, and thus causing dew to form. The solution for keeping dew (or frost) off of your optics is to either: 1. Actively keep the temperature of your optics at or above air temperature (ie. electric dew protection); or 2. Remove the line-of-sight between your optics and the cold sky. The simplest solution is #2, which is why most telescopes either come with a dew shield, or you can buy one from somewhere. Dew shields work great, but are not effective when you are looking at targets that are mostly overhead. In this case the dew shield is not blocking any of the view of the coldest part of the sky directly overhead. To know if your dew shield is effective at minimizing dew on your optics, aim your telescope at the elevation you normally observe objects at, and look to see if a vertical line down from the zenith can see any of your objective. If it can then the dew shield isn't going to give you enough protection. I am just starting back into this hobby, so I don't really know what objects I look at typically, or how prone I am going to be to dew/frost. For now I use a home made dew shield. It is a piece of heavy wool felt that I wrap around the end of my telescope, and secure with velcro. It has worked well for me, but there have been a few nights when my targets were high overhead, and the dew shield just wasn't able to protect my corrector plate from fogging up. There is a picture of my hand made dew shield below. I think it cost me about $6 to make.
|
| November 10, 2009
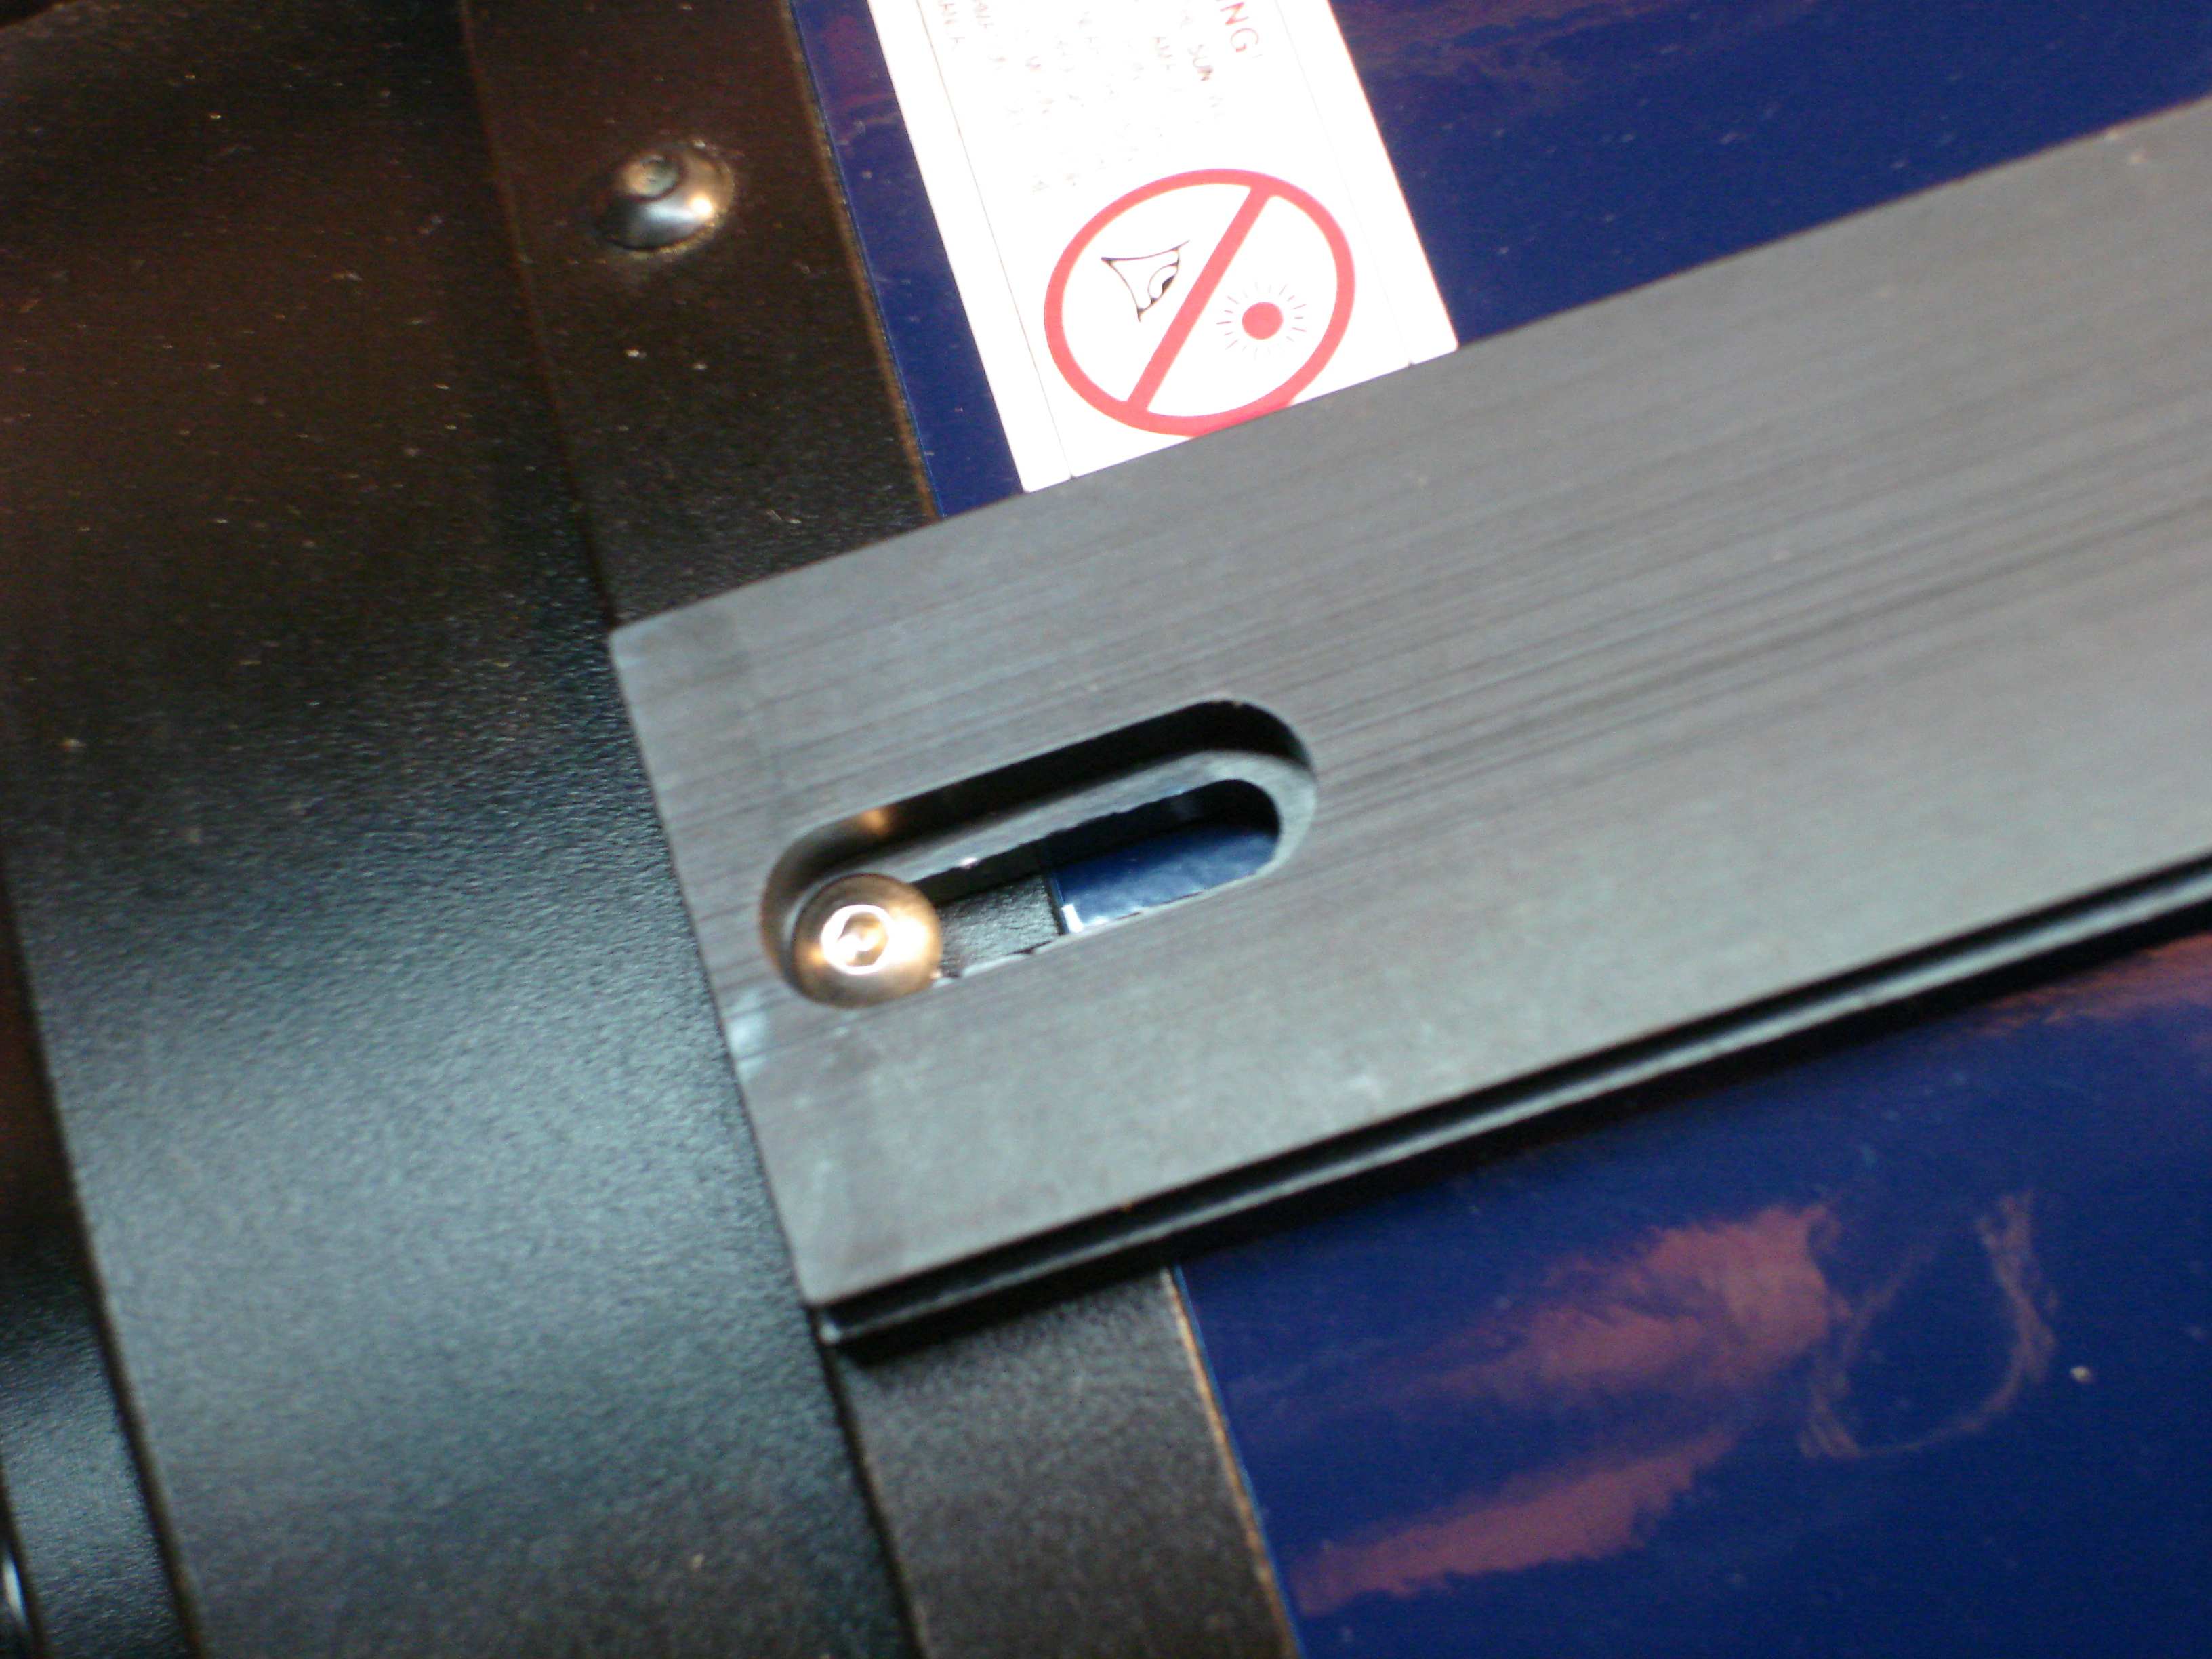
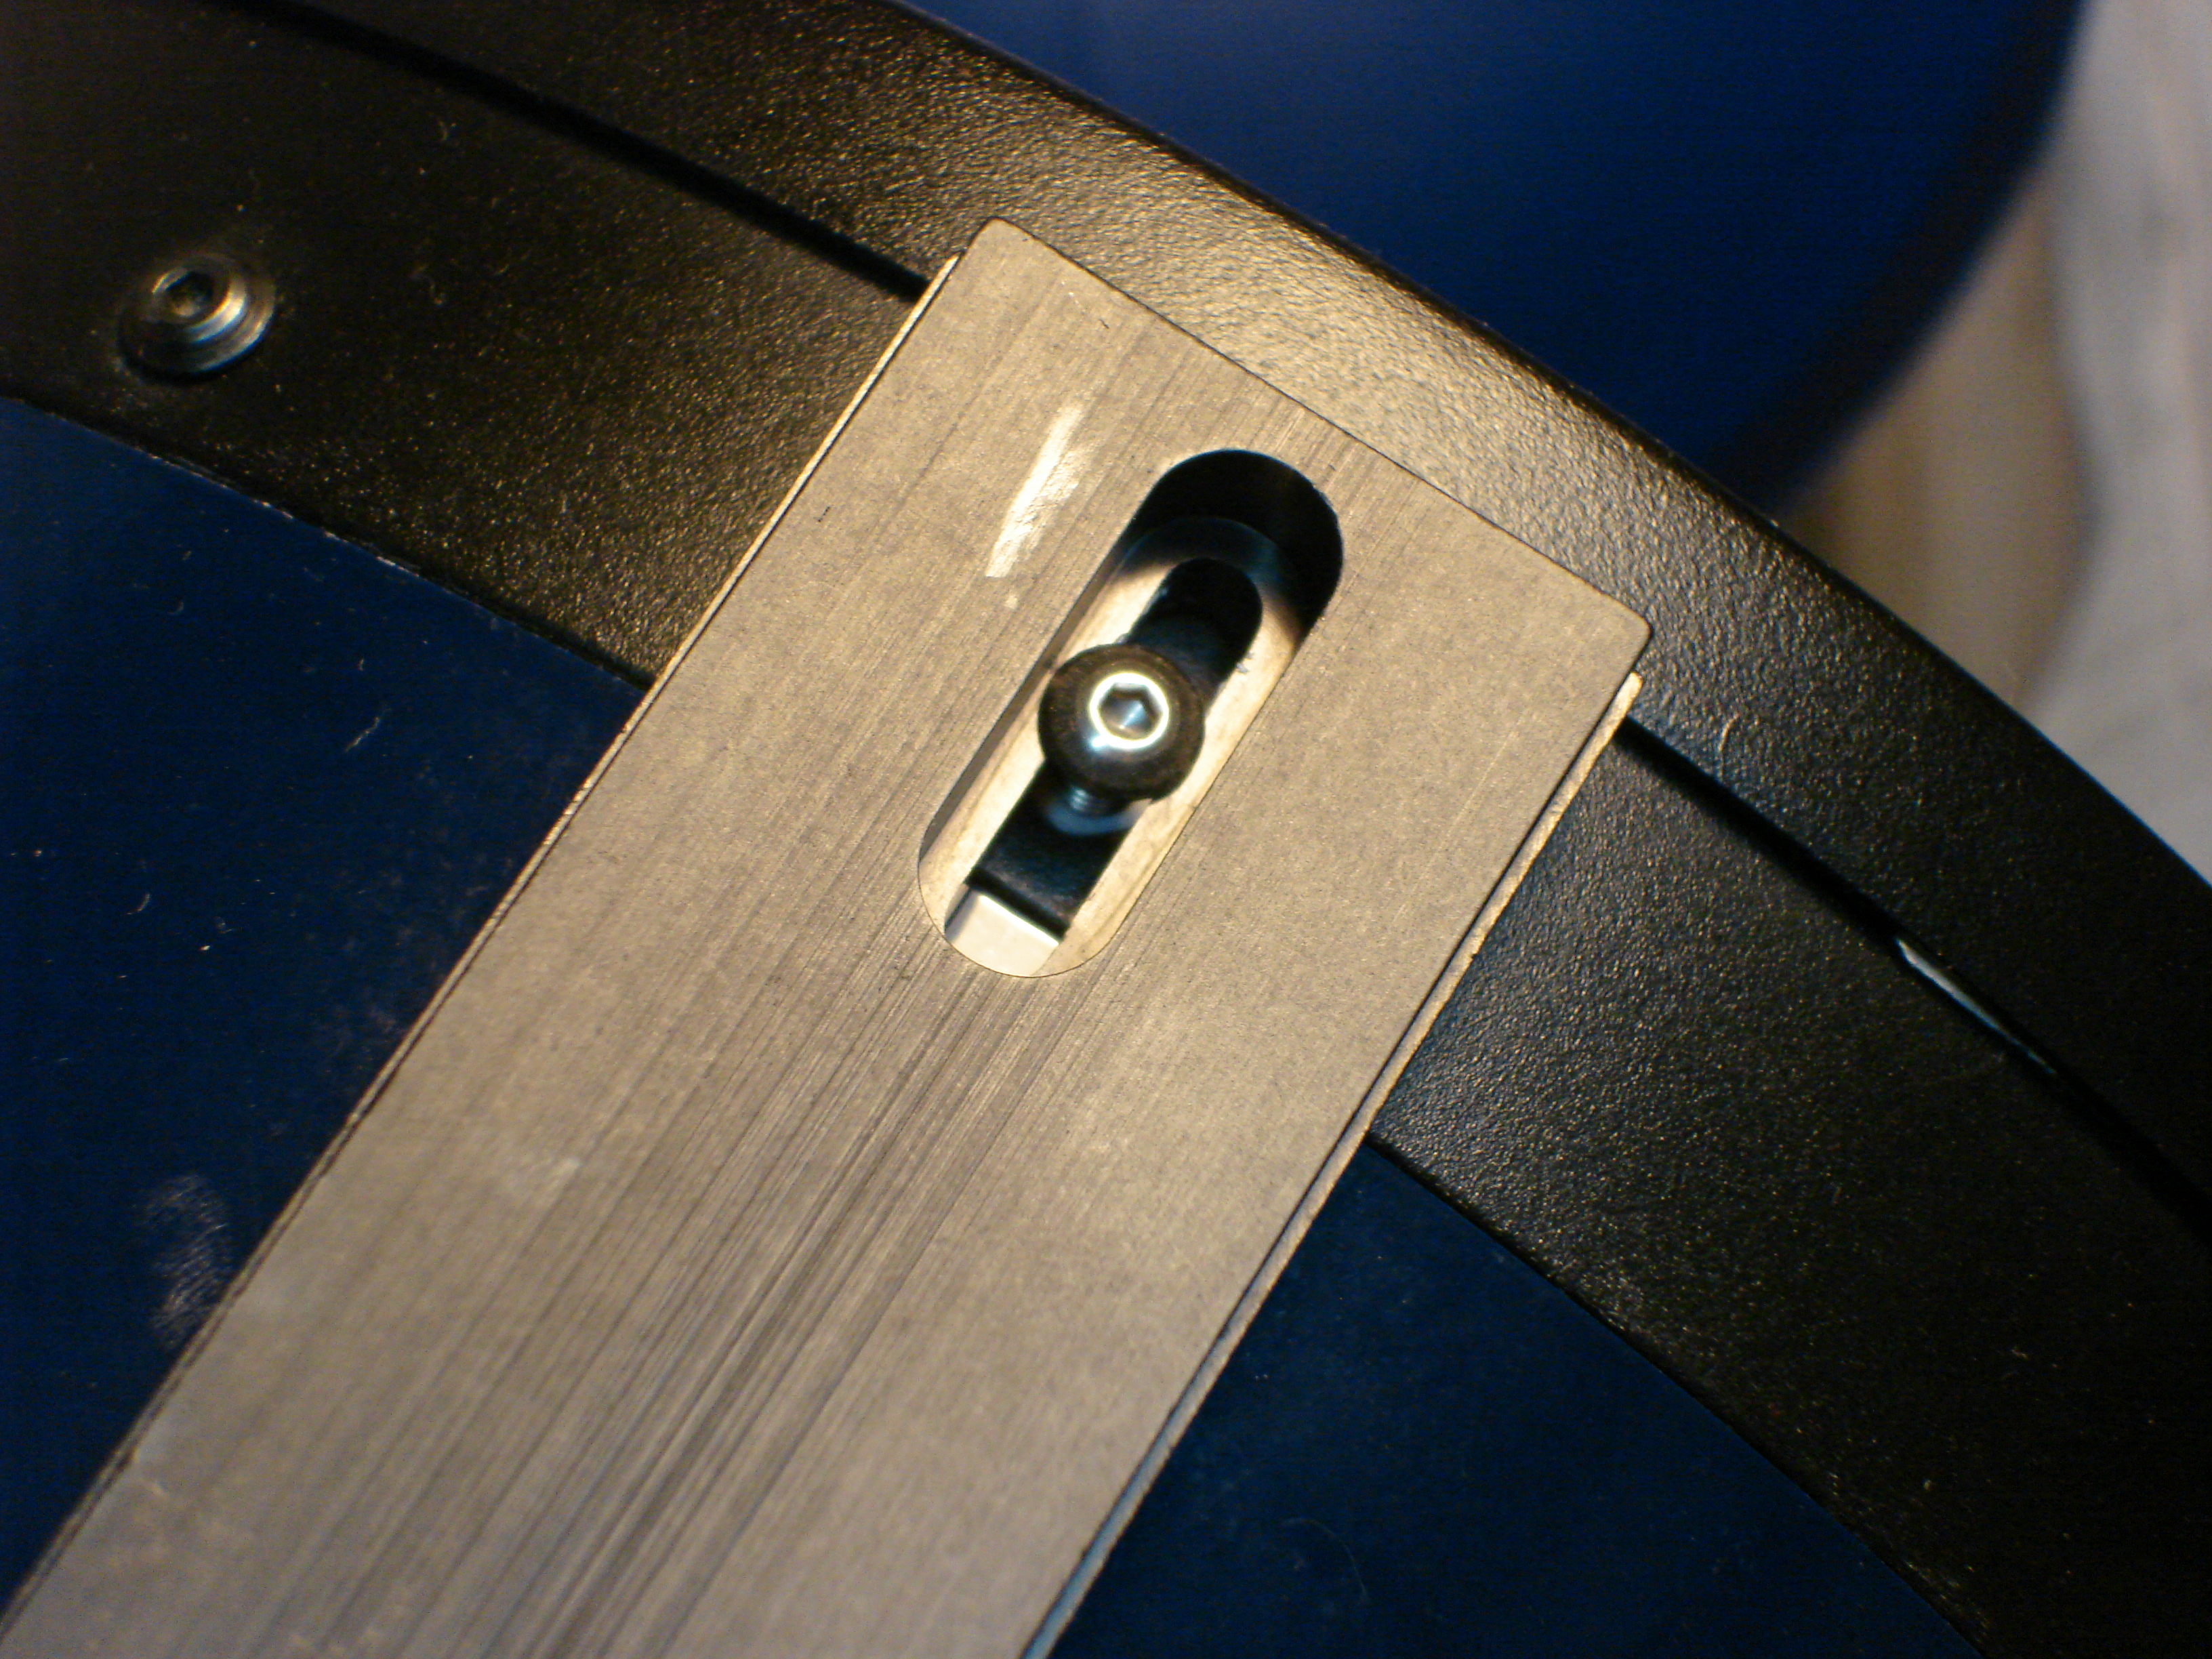
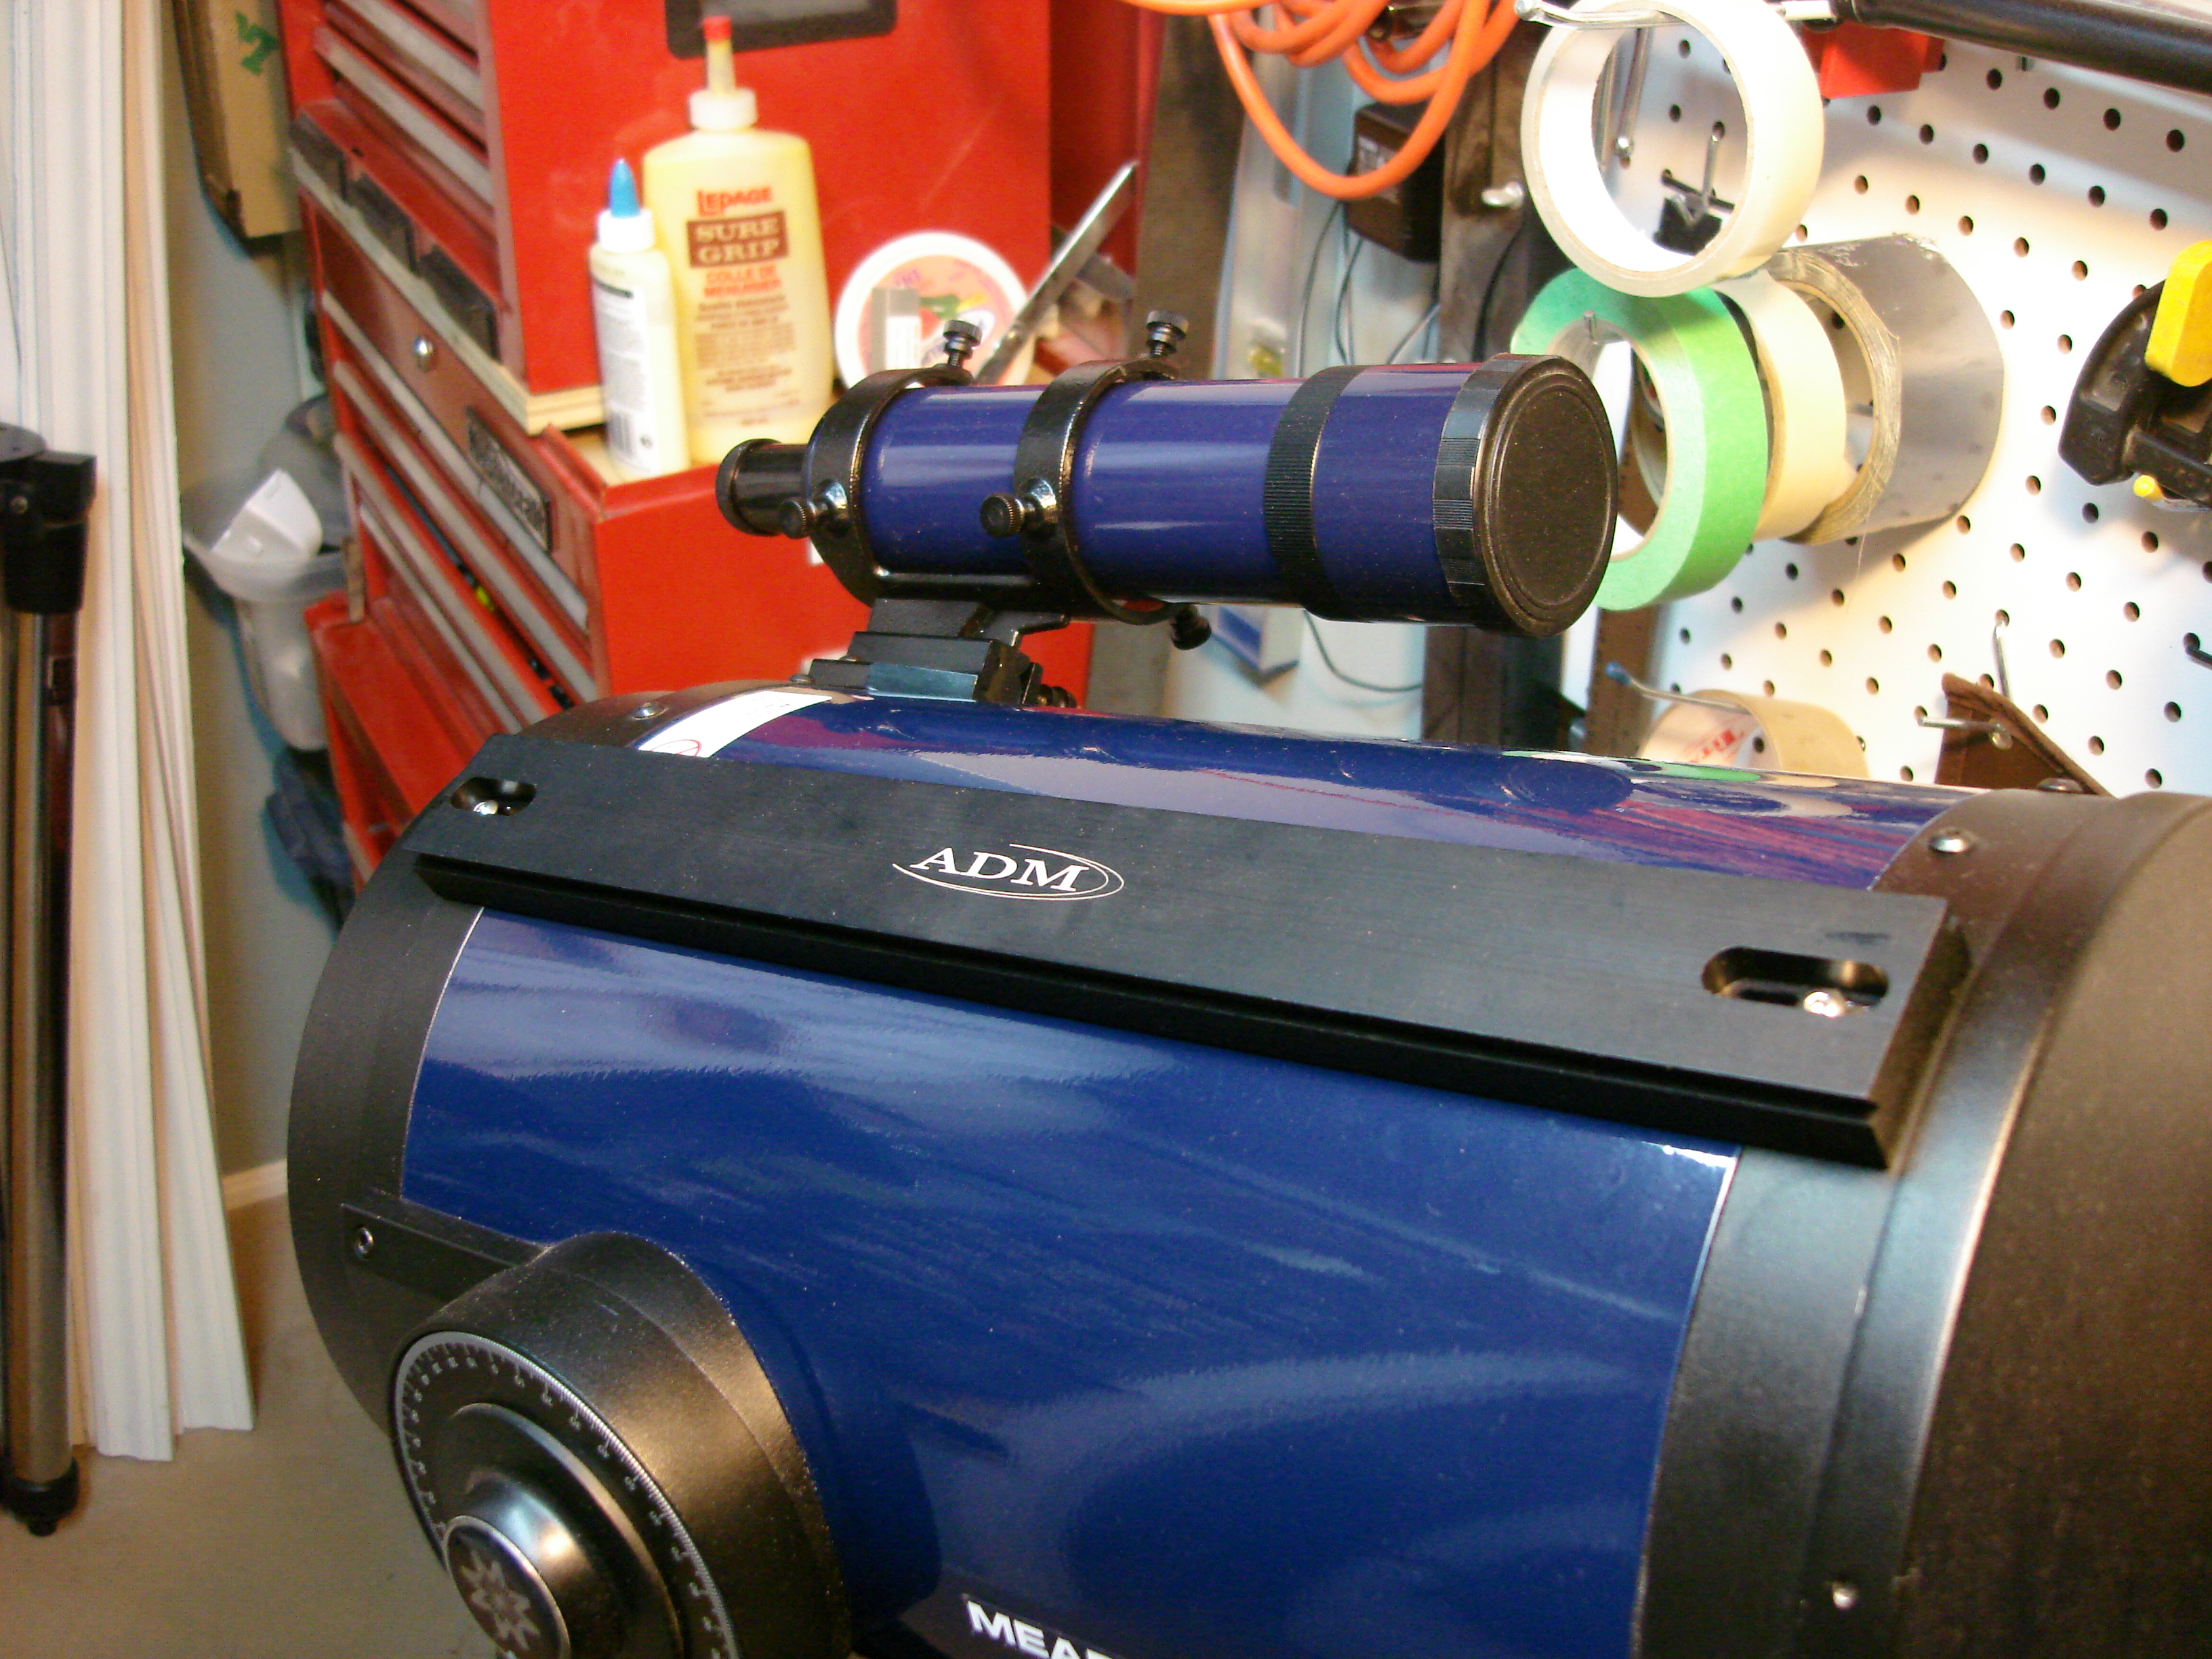
#9 Piggy backing small refractor I knew early on that I'd want to attach other objects to the LX10 to take advantage of the sidereal tracking. This could be a camera or another small telescope to aid in finding deepsky objects in my light polluted backyard. I could have rigged up something that I made myself, but it seemed to make more sense just to buy something off the shelf. I chose the mini-dovetail system made by ADM in the U.S. I ordered the corresponding dovetail bar for my OTA size, as well as a saddle. It was reasonably priced and easy to install including all the necessary hardware. Very nice quality stuff. Images of the steps and final product are below. I did have trouble with one of the screws in the OTA. The hex socket stripped so I had to use a Dremel tool to cut a slot in the head of the screw so I could get it out. All the screws seemed to be slightly corroded in place, I guess probably due to the age of my OTA. |
| March 6, 2010
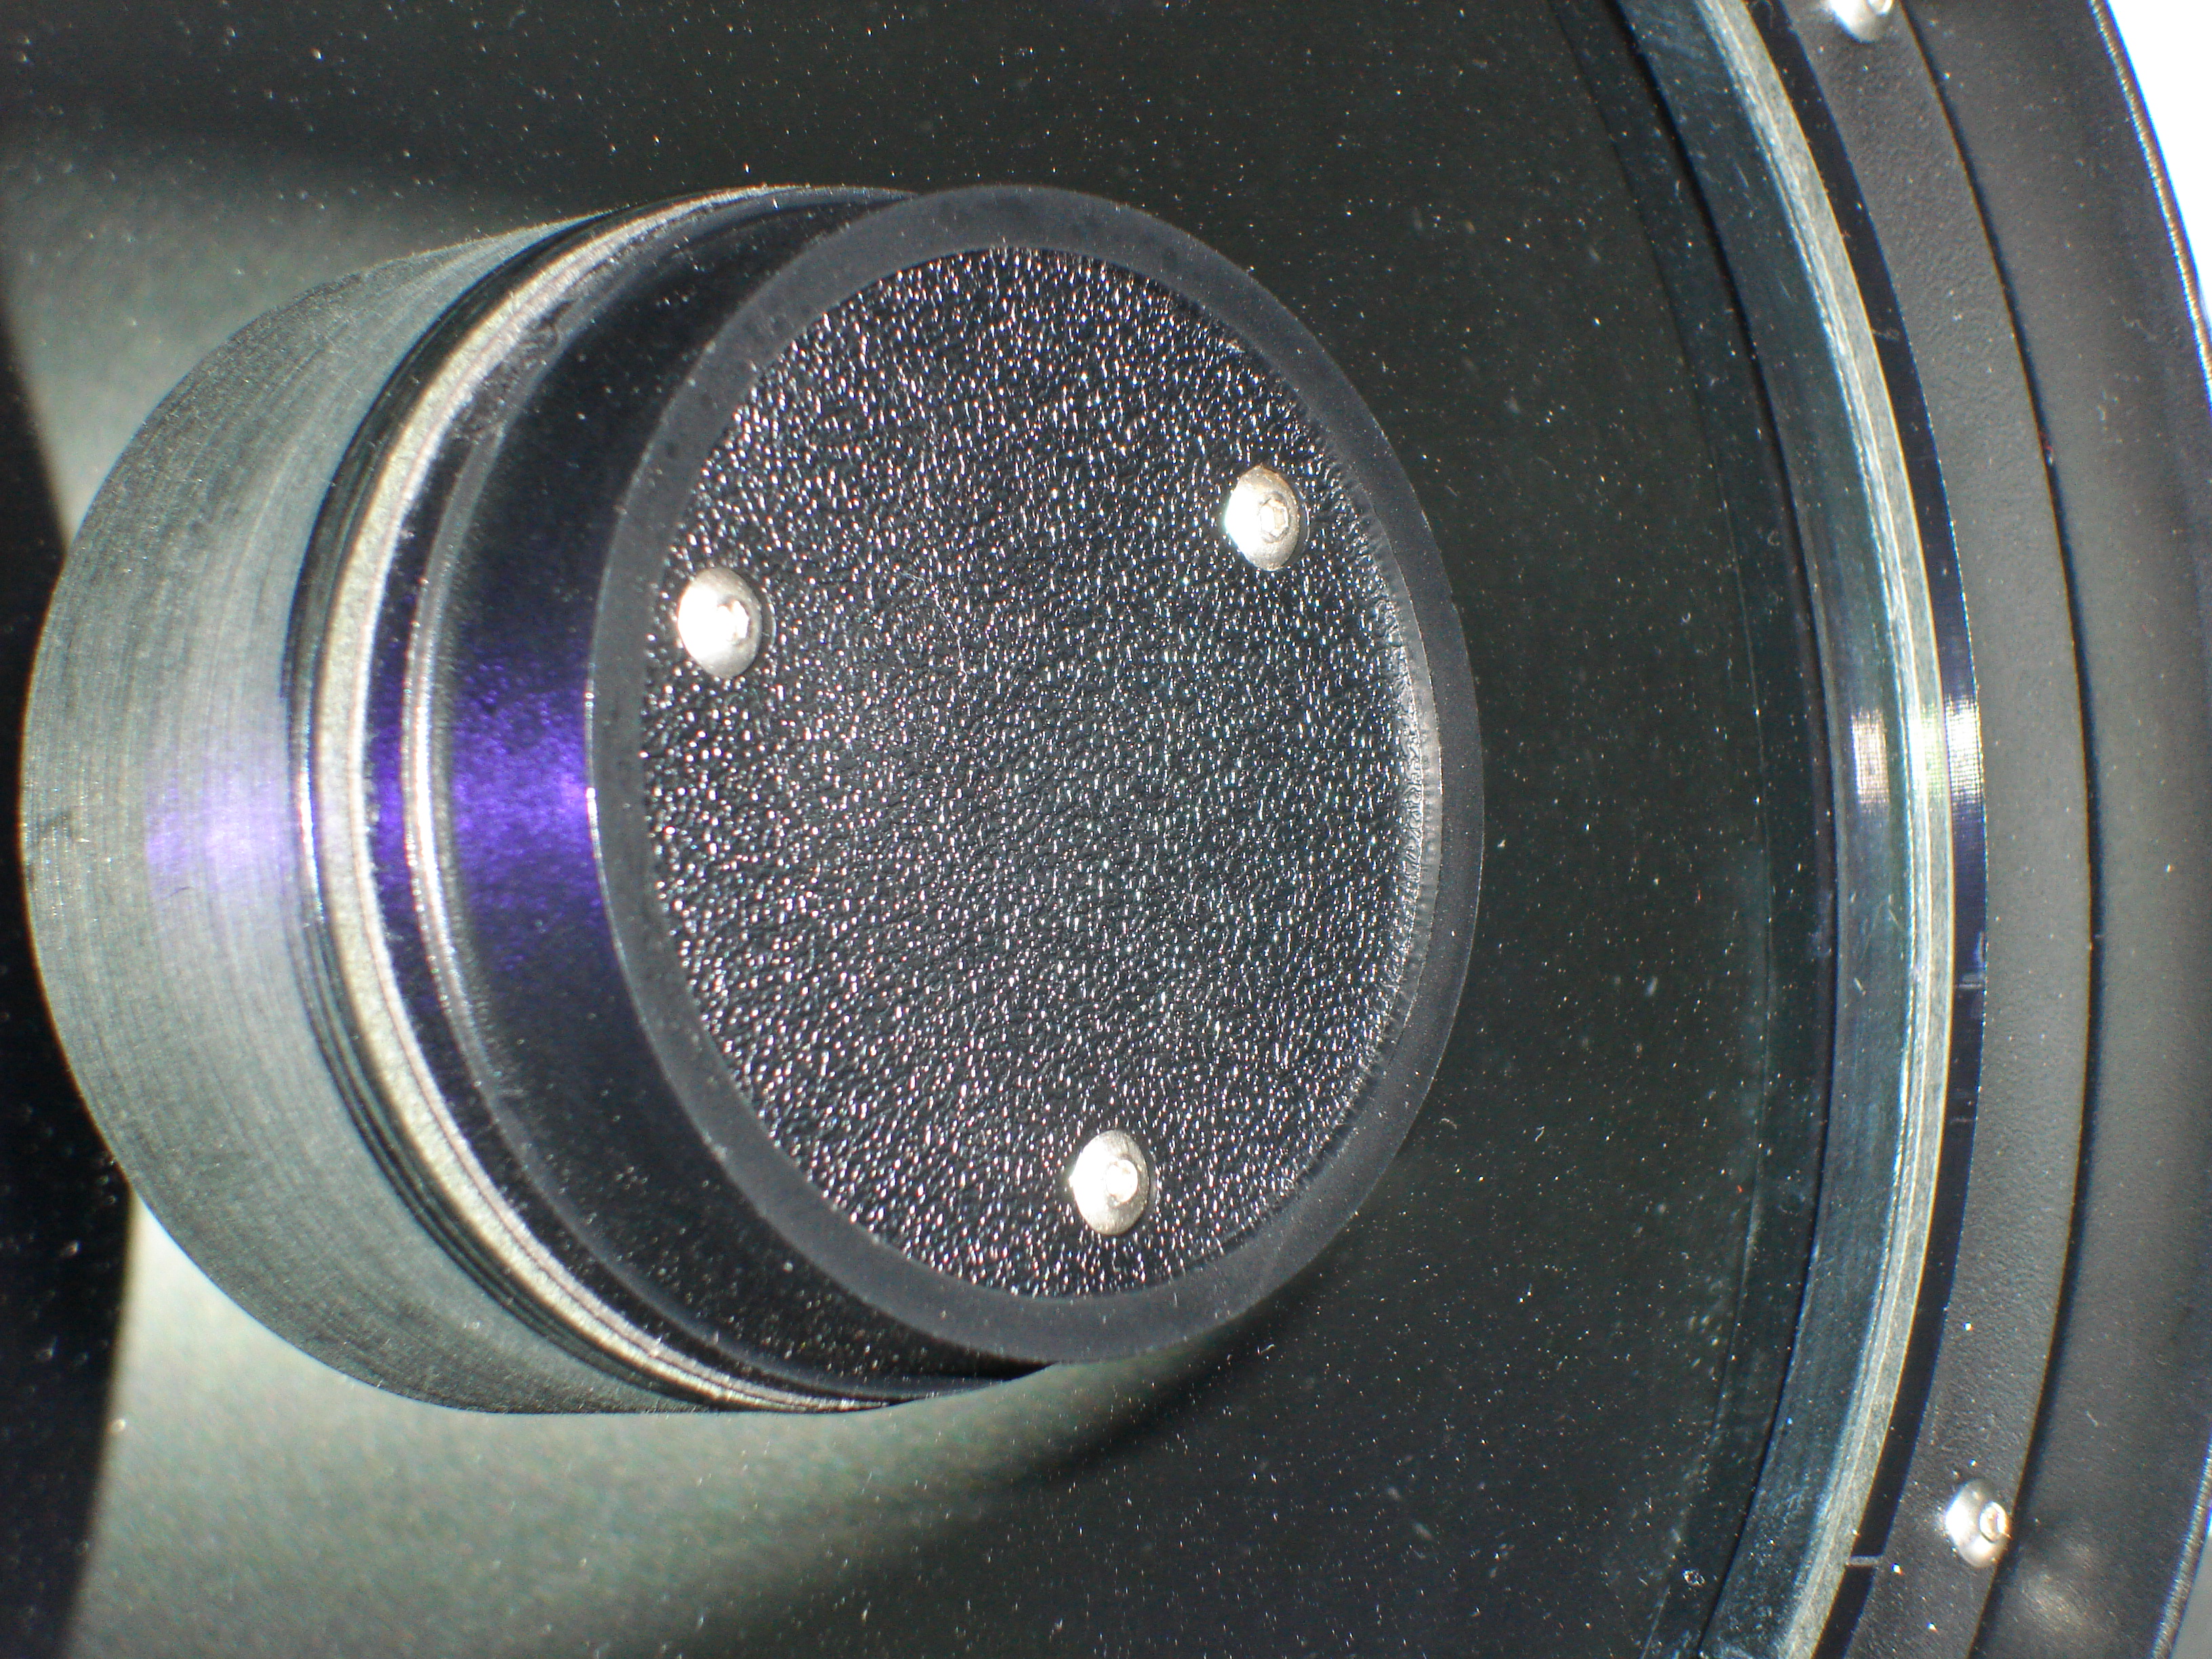
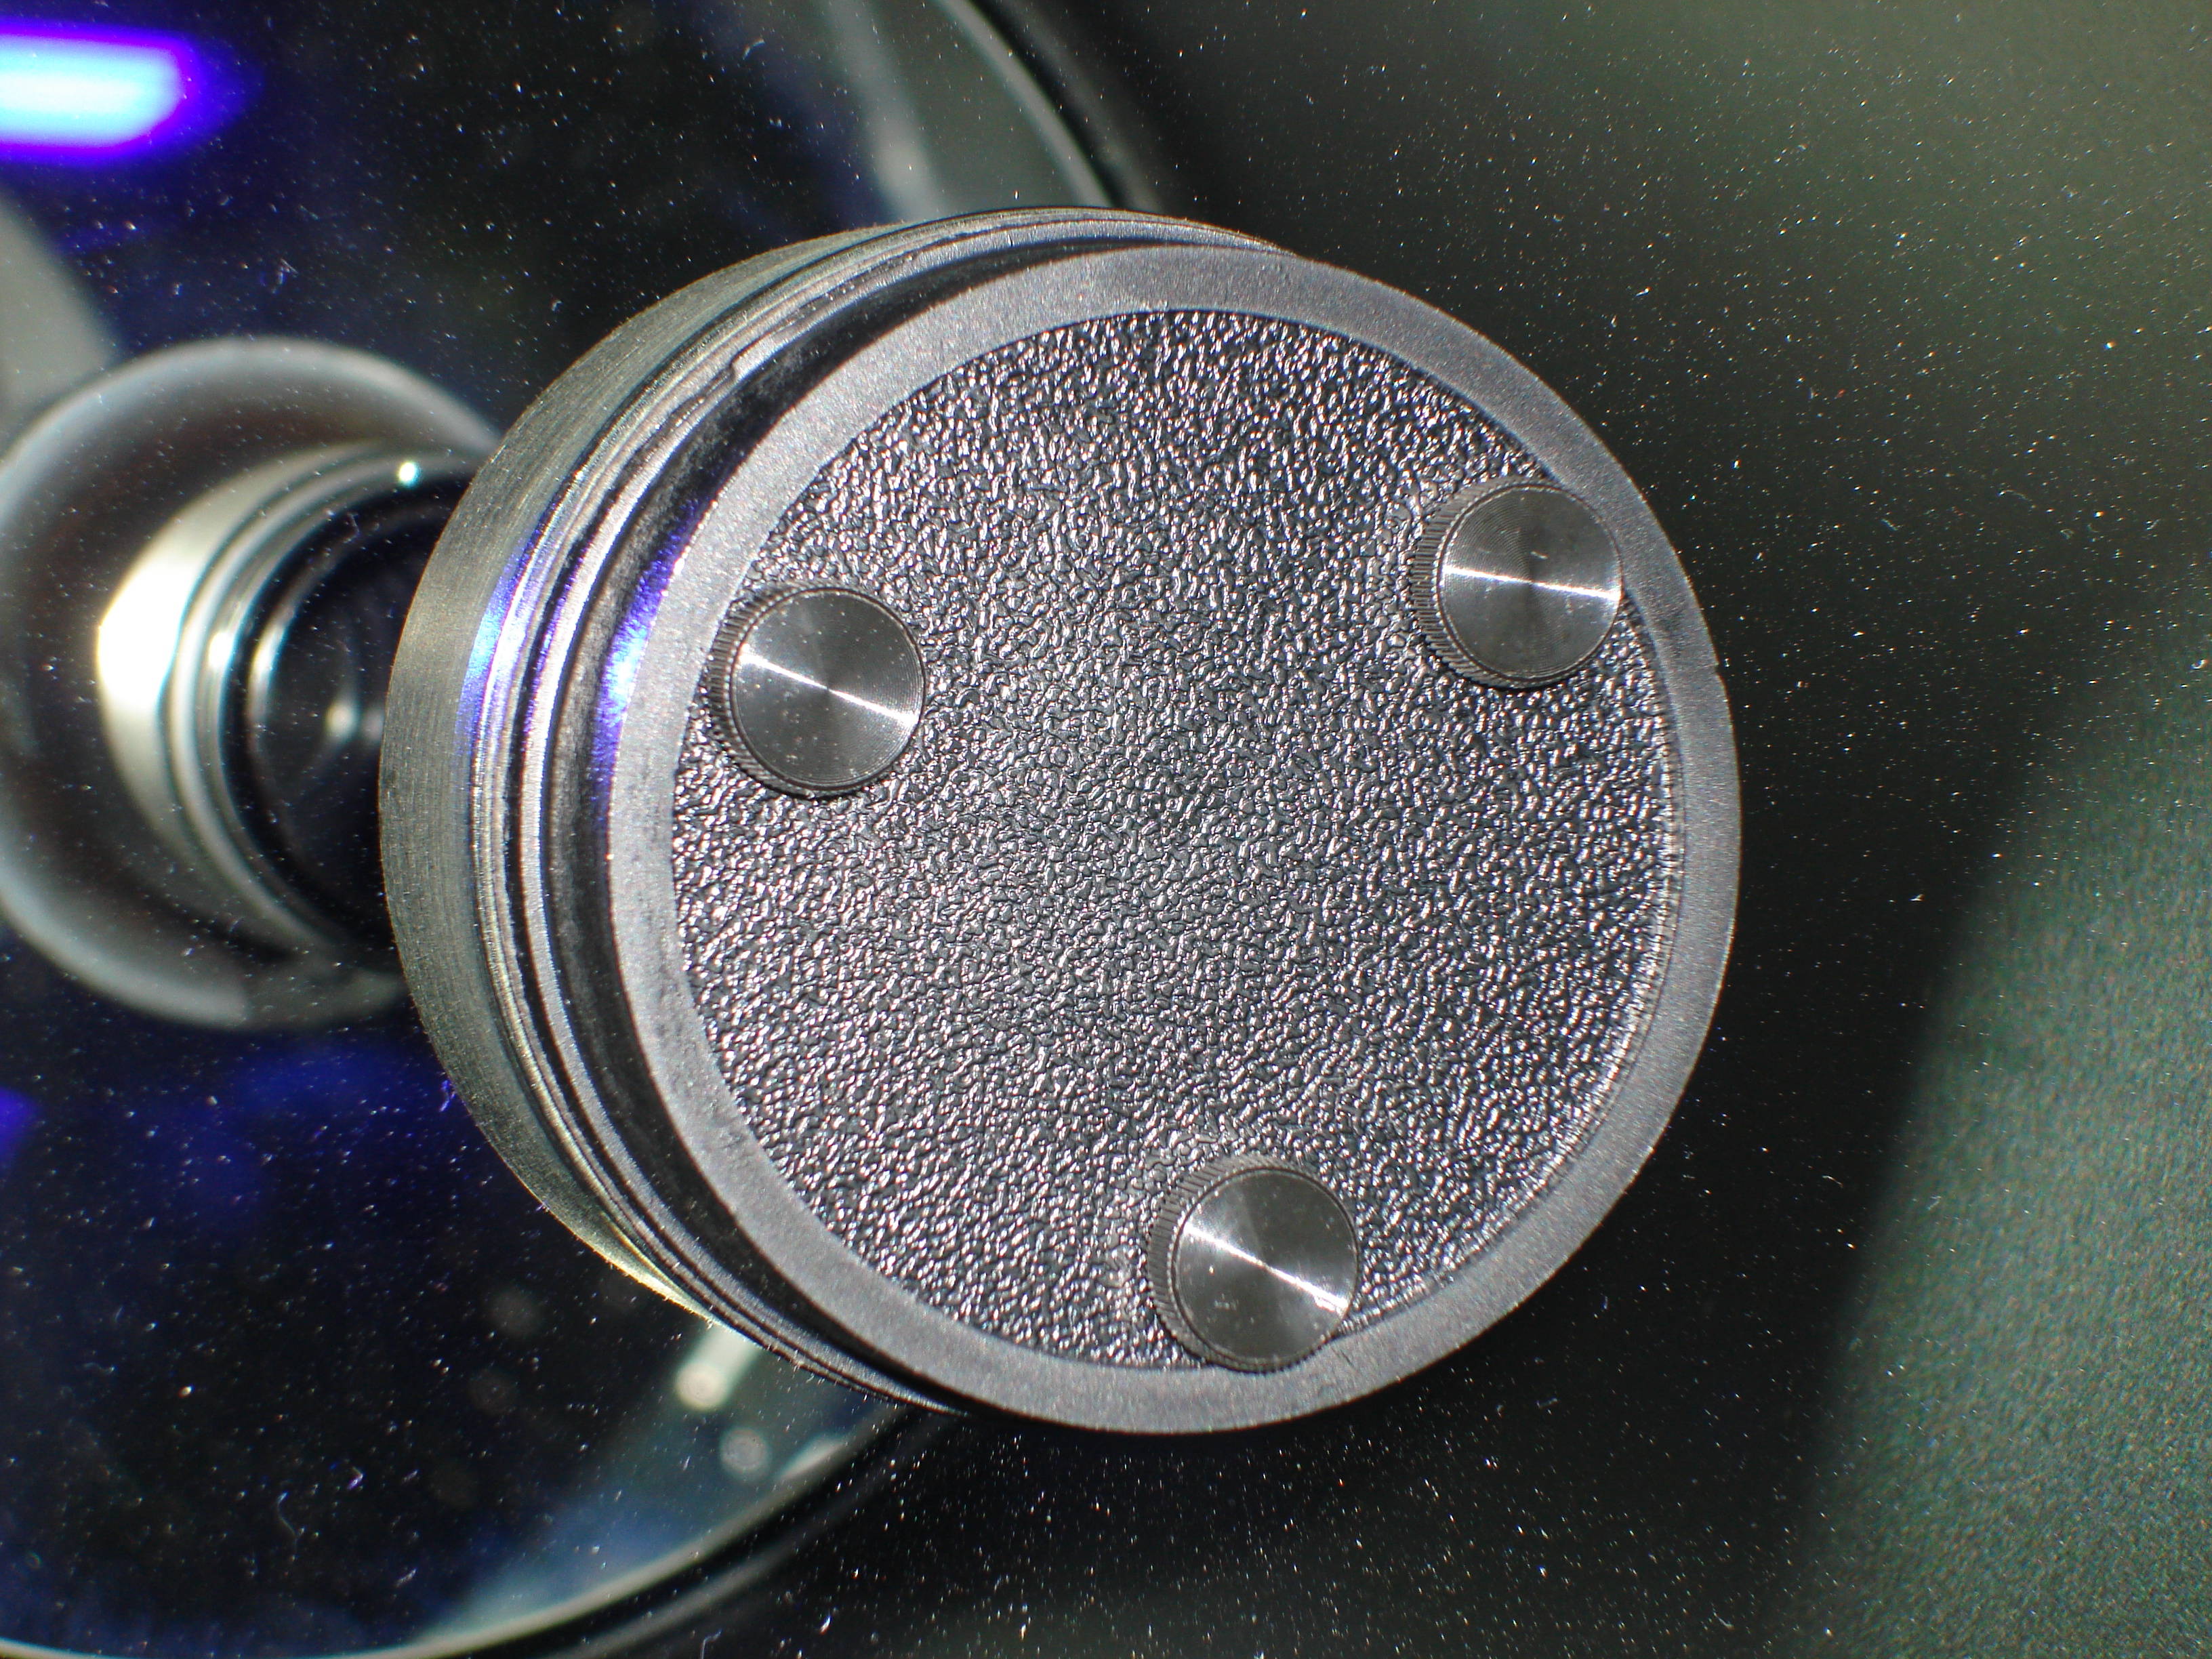
#6 Simplifying collimation Reading the instructions in the LX10 manual, and looking at the teensy-weensy hex socket head screws that you have to turn, made me initially kind of afraid to collimate my telescope. I later read online about Bob's Knobs, and how many people seem to be getting them and swapping them in for the teensy-weensy socket head screws. I ordered a set. They were reasonably priced, and came with pretty detailed instructions on how to install them. Basically you snug up all three of your existing collimation screws, then one by one remove them and in its place put the big finger knob ones from Bob's Knobs. Very easy. After you're done you need to do a collimation, but with the knobs it was easy. You can easily reach with your hand while you're still looking through the scope and make the adjustment. You can even watch the shadow of your hand relative to the star image to know which knob you need to adjust. Why was I so afraid of this before?! Images before and after are below.
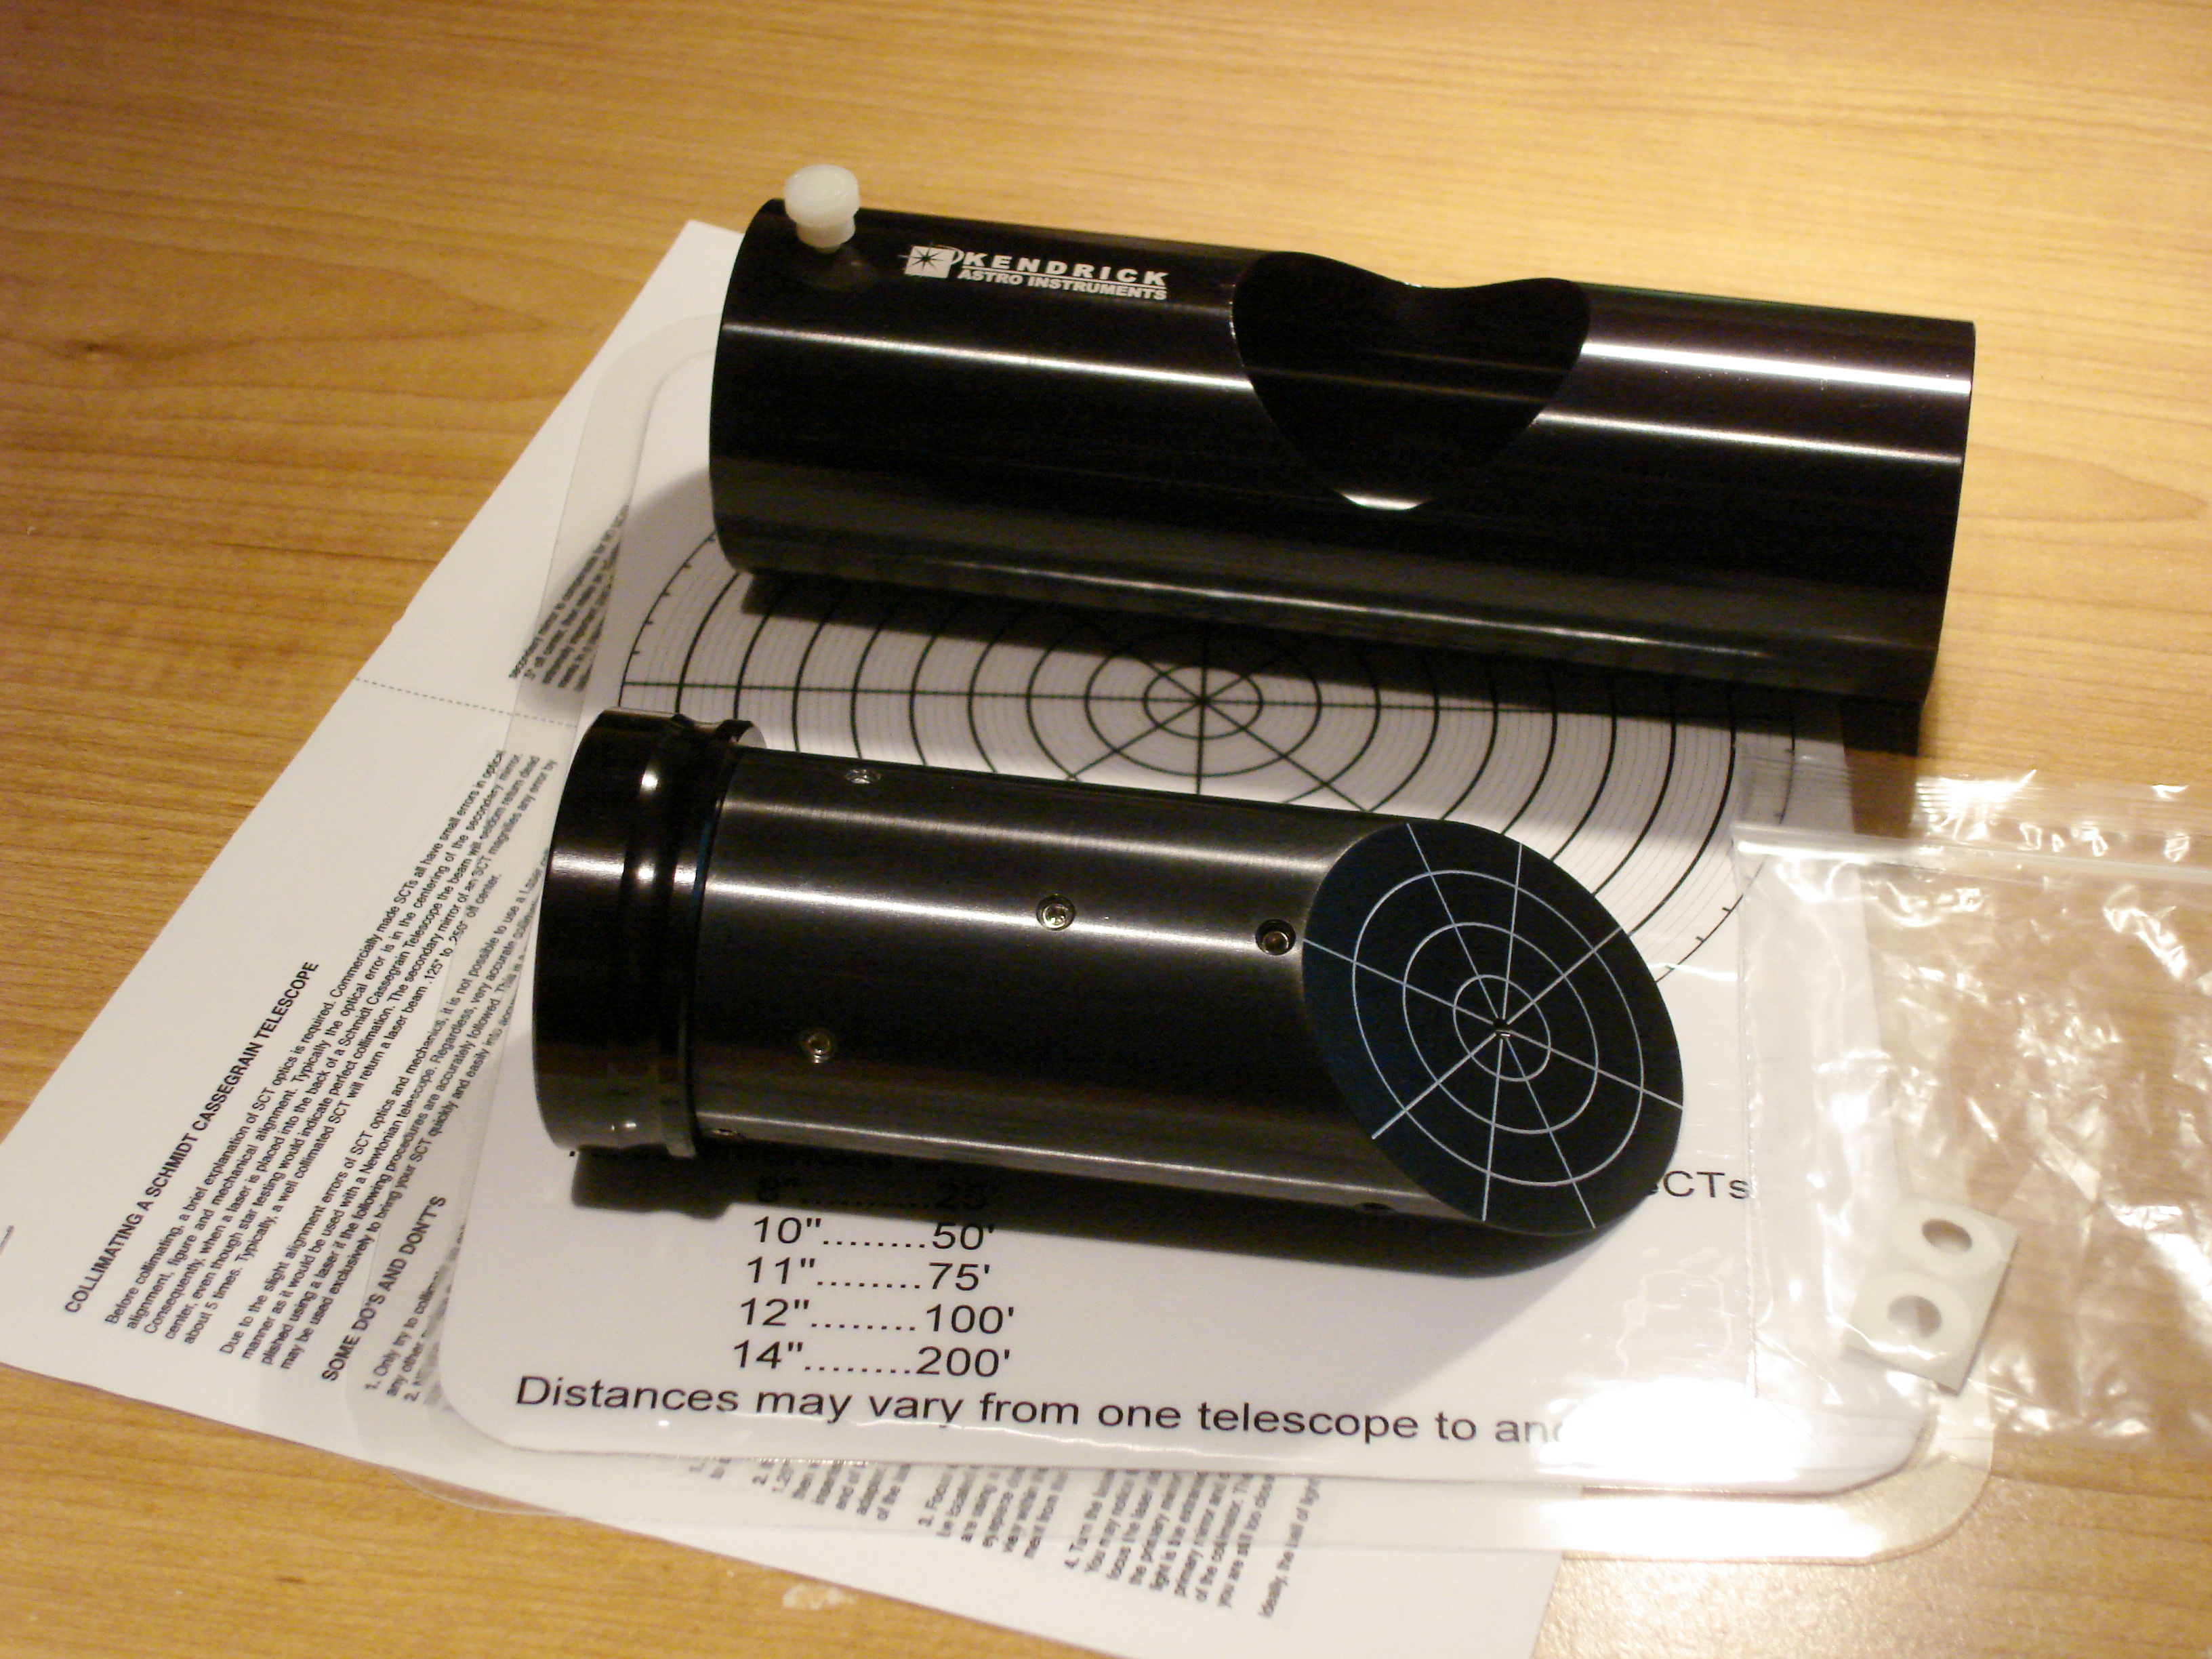
My engineering background set me to wondering about how one would go about collimating in a more controlled environment. At the time I had not yet made the fixes to the drive unit so tracking a star for the purposes of doing a collimation was a hassle. I found a number of laser collimator suppliers online. The one in Toronto, Canada, Kendrick Astro Instruments (known for their dew removal systems) had a reasonably priced unit and a pretty clear procedure to follow. They have a promise of better collimation than by star test, so I figured what the heck and bought one. It is a well built unit, but it had a glitch from the start. The battery that came with it was flat, and when I replaced it that one went flat in a couple of days with the unit turned off. After my own investigations I found that the switch they were using was wired in a way that resulted in there being a short circuit across the battery...a pretty silly mistake. When I told Kendrick about what I had found they were very nice about it, and offered to fix the unit. I fixed it myself since it was an easy snip-snip. As for using the laser collimator, well it is not as easy as the accompanying instructions would suggest. For one thing, the target needs to be far away so that it can be brought into focus, about 20m for my scope. The laser light that reachs the target is just focused scattered light from the laser (the bulk gets reflected back from the secondary) which I found extremely difficult to see. To see it affectively I had to wait until twilight, but then the target was too dark to see through the telescope for re-centering. I had to rig up a light that I could turn on when recentering the telescope on the target, and off when I wanted to see the laser dot. Also, to be able to see the laser dot on the target from the location of the telescope I had to use a second telescope. It was all quite a lot of song-and-dance if you ask me. In the end I found the collimation I got using the laser collimator was not as good as when I had my tracking fixed and I just did it by star test, which was dead easy with the Bob's Knobs.
|
| March 12, 2010
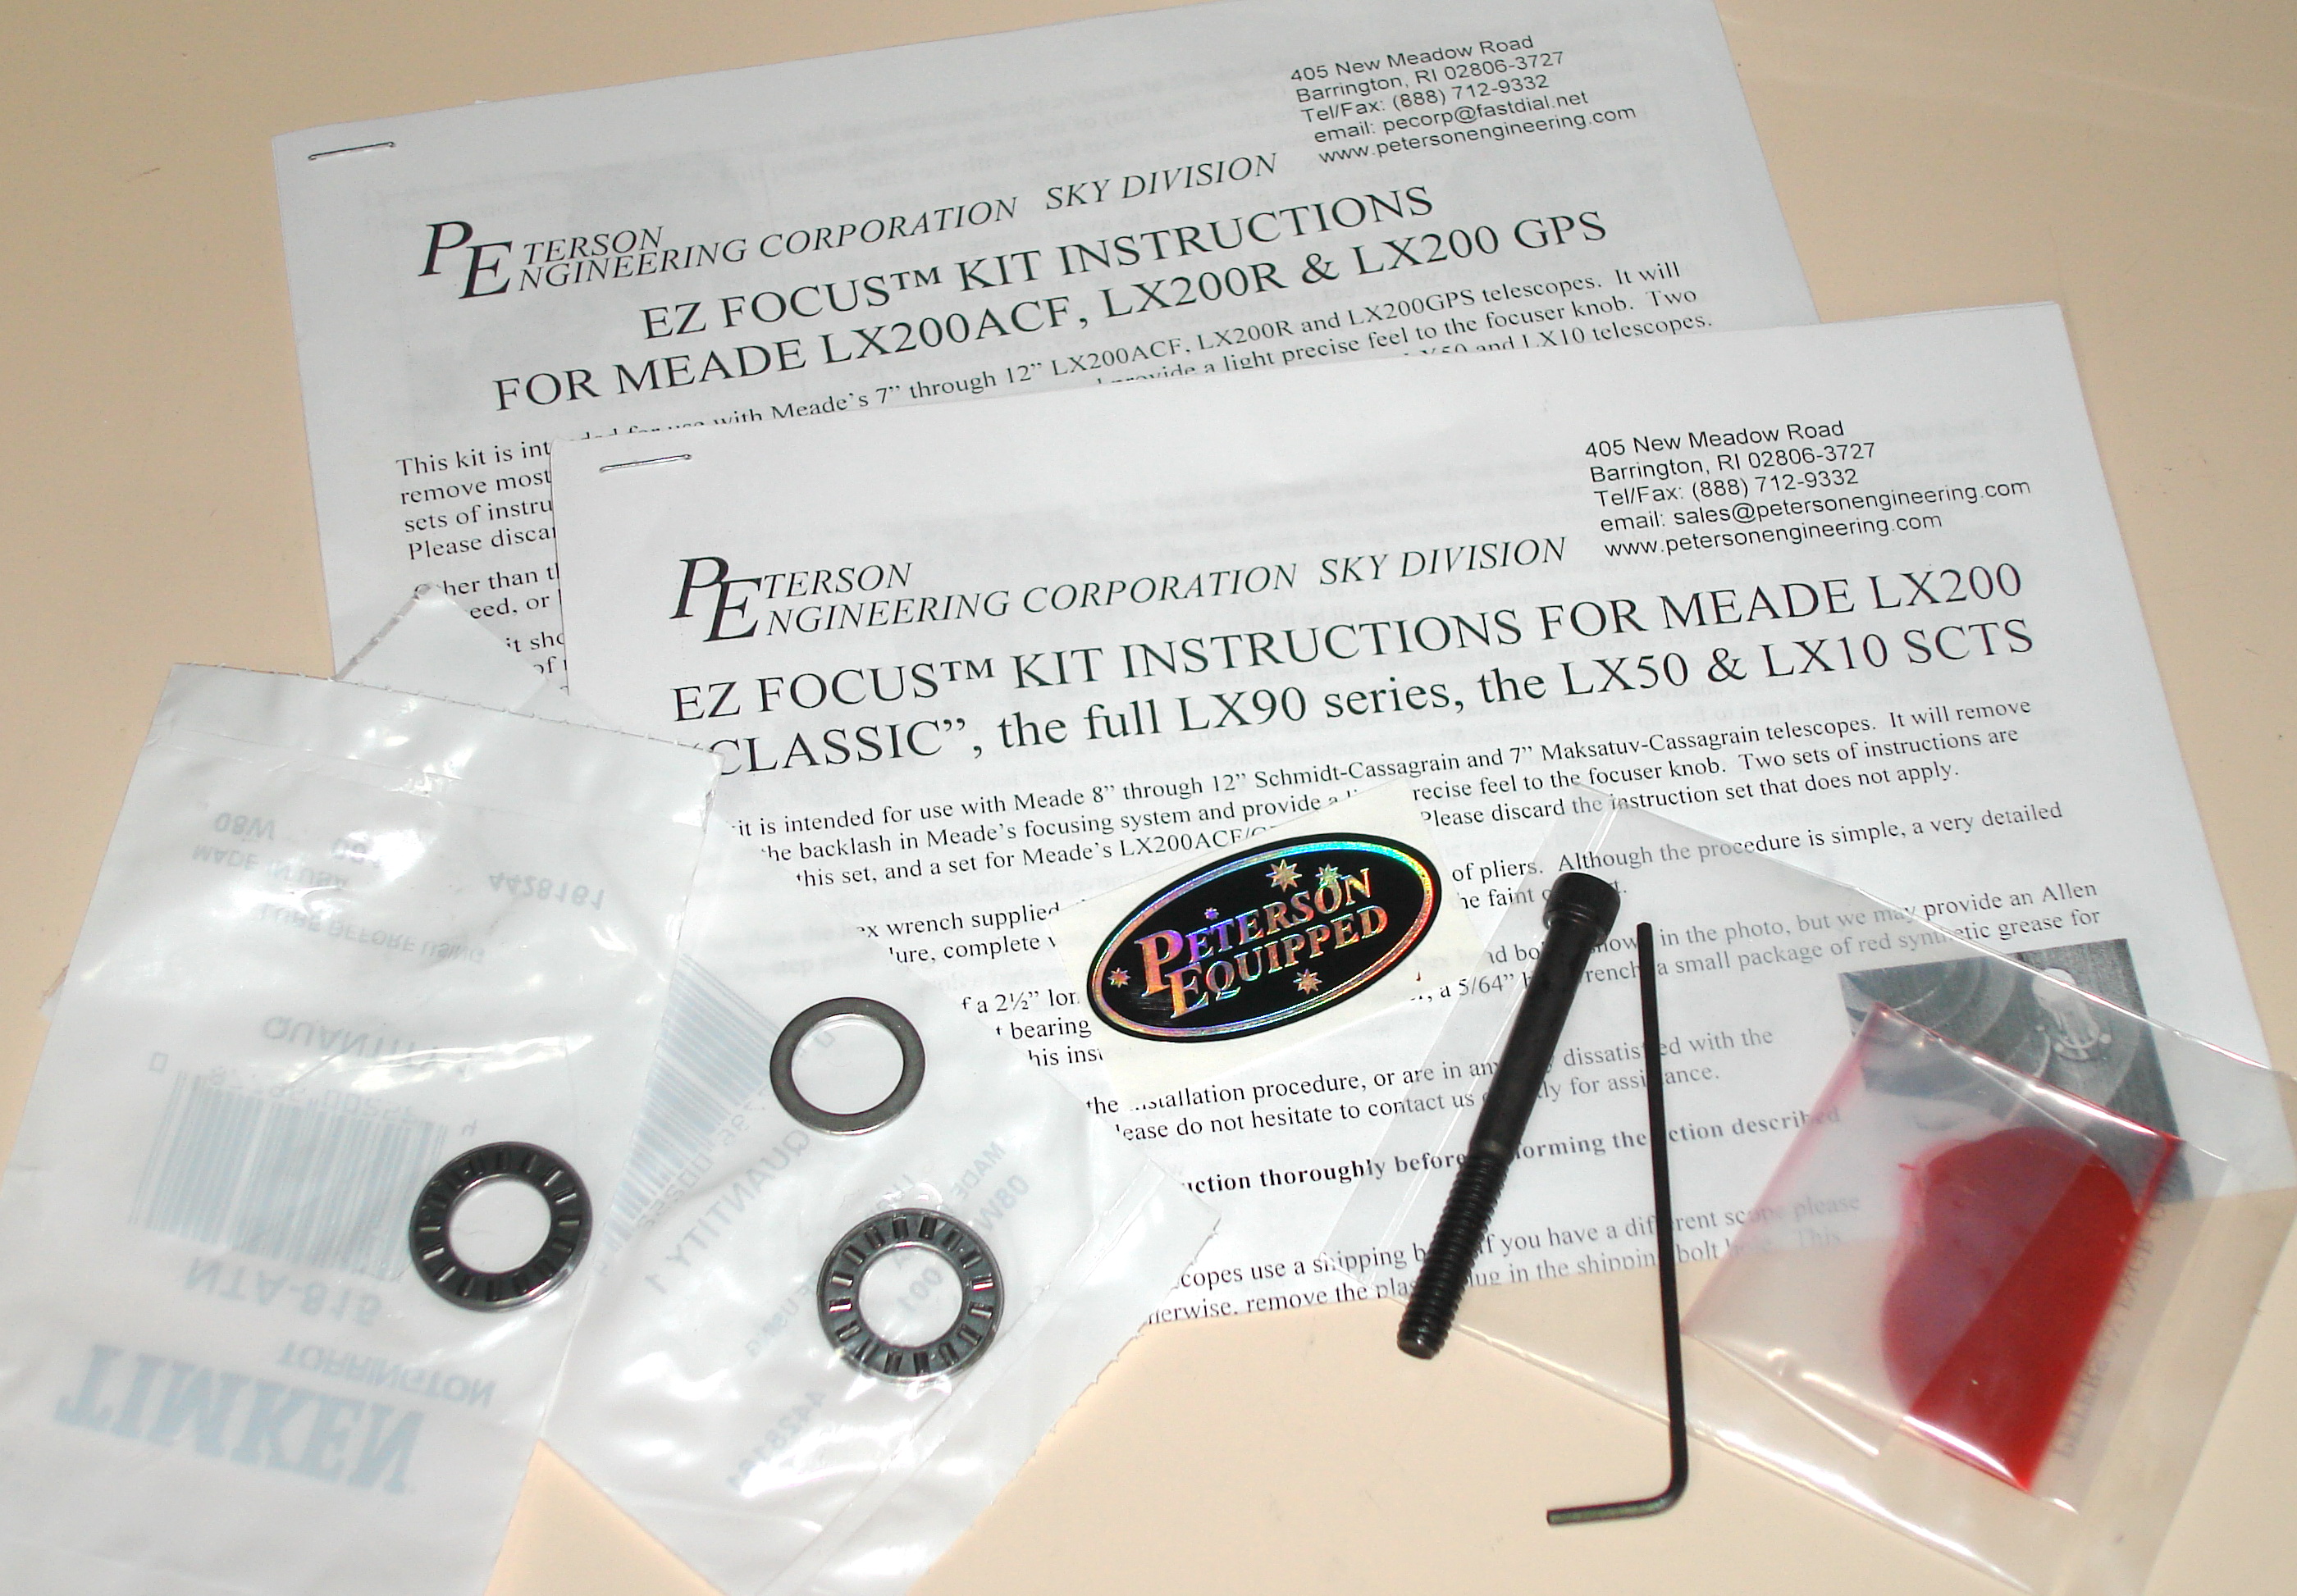
#4 & #5 Focuser tune-up I have been very frustrated by the focuser backlash and mirror shift with my LX10. Before my tune-up it would take a full turn and a half of the focuser knob to take-up the slack and start moving the mirror when changing directions. The mirror shift I didn't find too-too bad (maybe 1/4 of the FOV when at 200x), but if I could fix that while doing the tune-up then all the better. The tune-up consisted of installing the Peterson Engineering "EZ Focus" kit, which I purchased over the internet. The tune-up kit replaces the metal-on-metal surfaces of the focusing mechanism with needle bearings to allow you to snug the mechanism up better (thus removing the back-lash) but still have a smooth focus action. The kit was reasonably priced, and came complete with all the parts I needed as well as a detailed step-by-step set of instructions.
I followed the provided instructions closely, and had no problems through the whole procedure. The whole thing took maybe an hour to do, and I was taking my time. The end result was a great improvement in focusing. Backlash was virtually elliminated, and mirror shift was significantly less. Note that the EZ Focus kit does nothing to fix mirror shift, but during the installation procedure you perform a step that redistributes the grease on the baffle tube which does the trick.
|
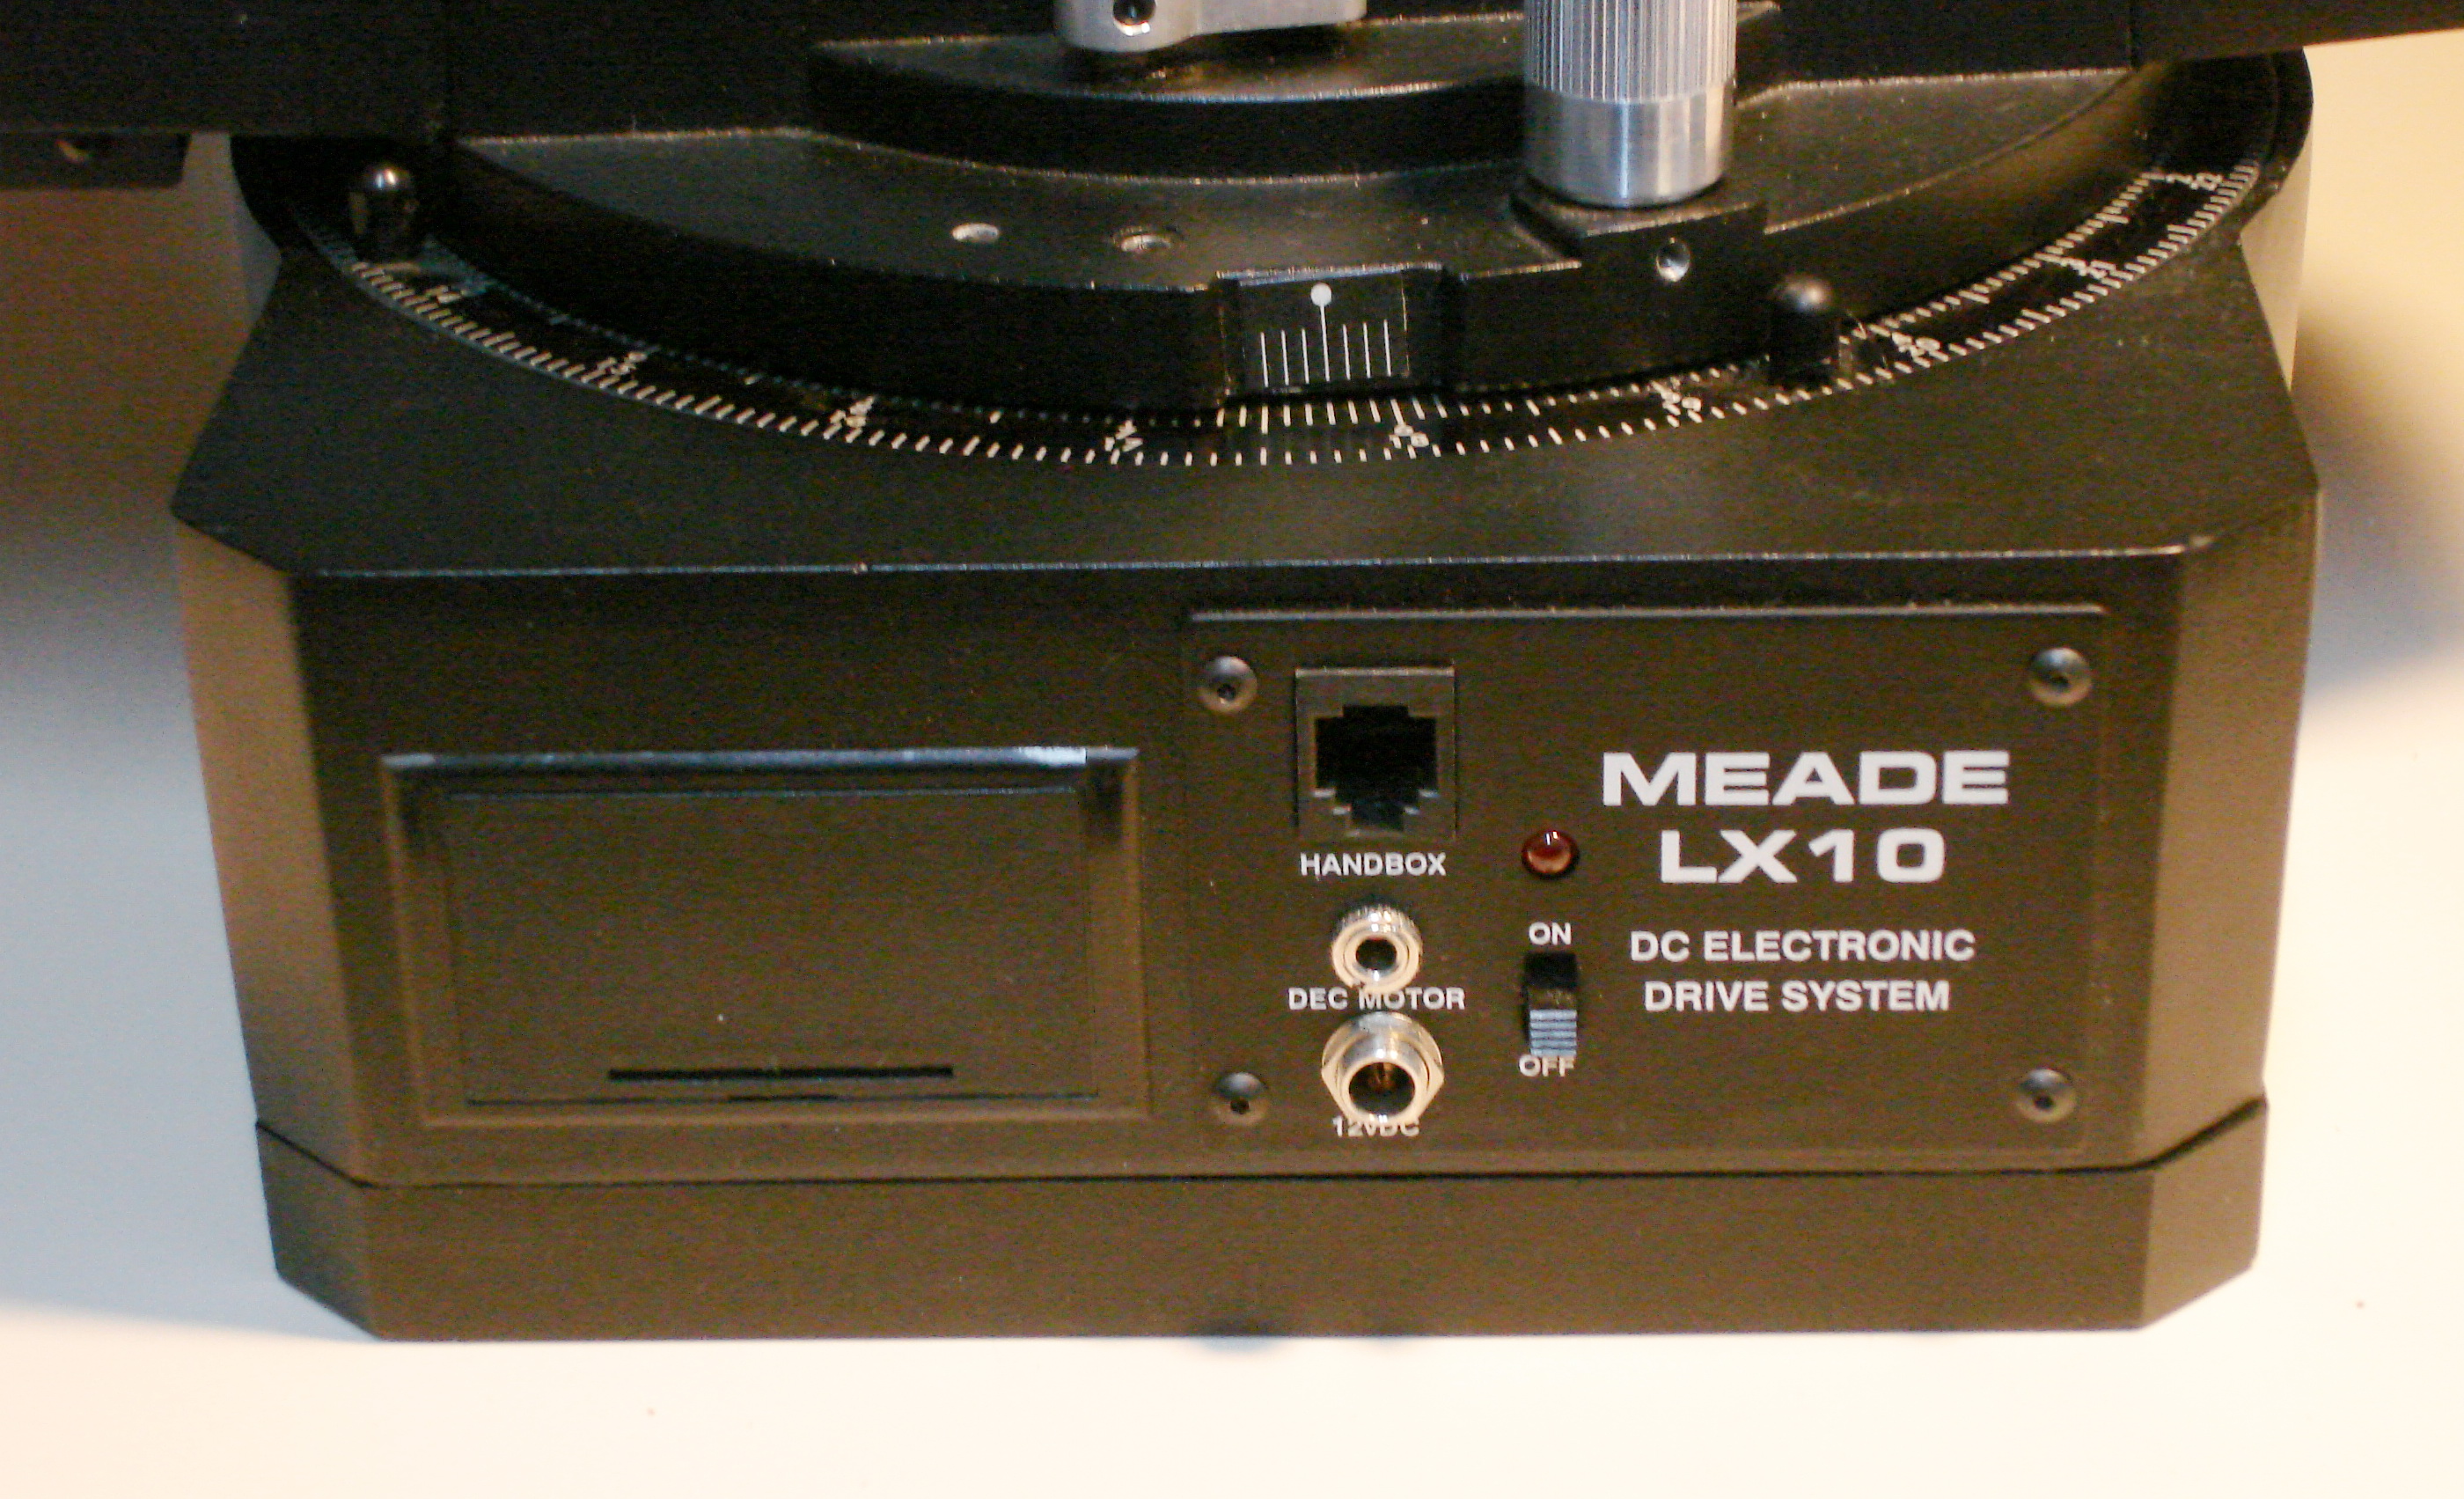
| March 17, 2010
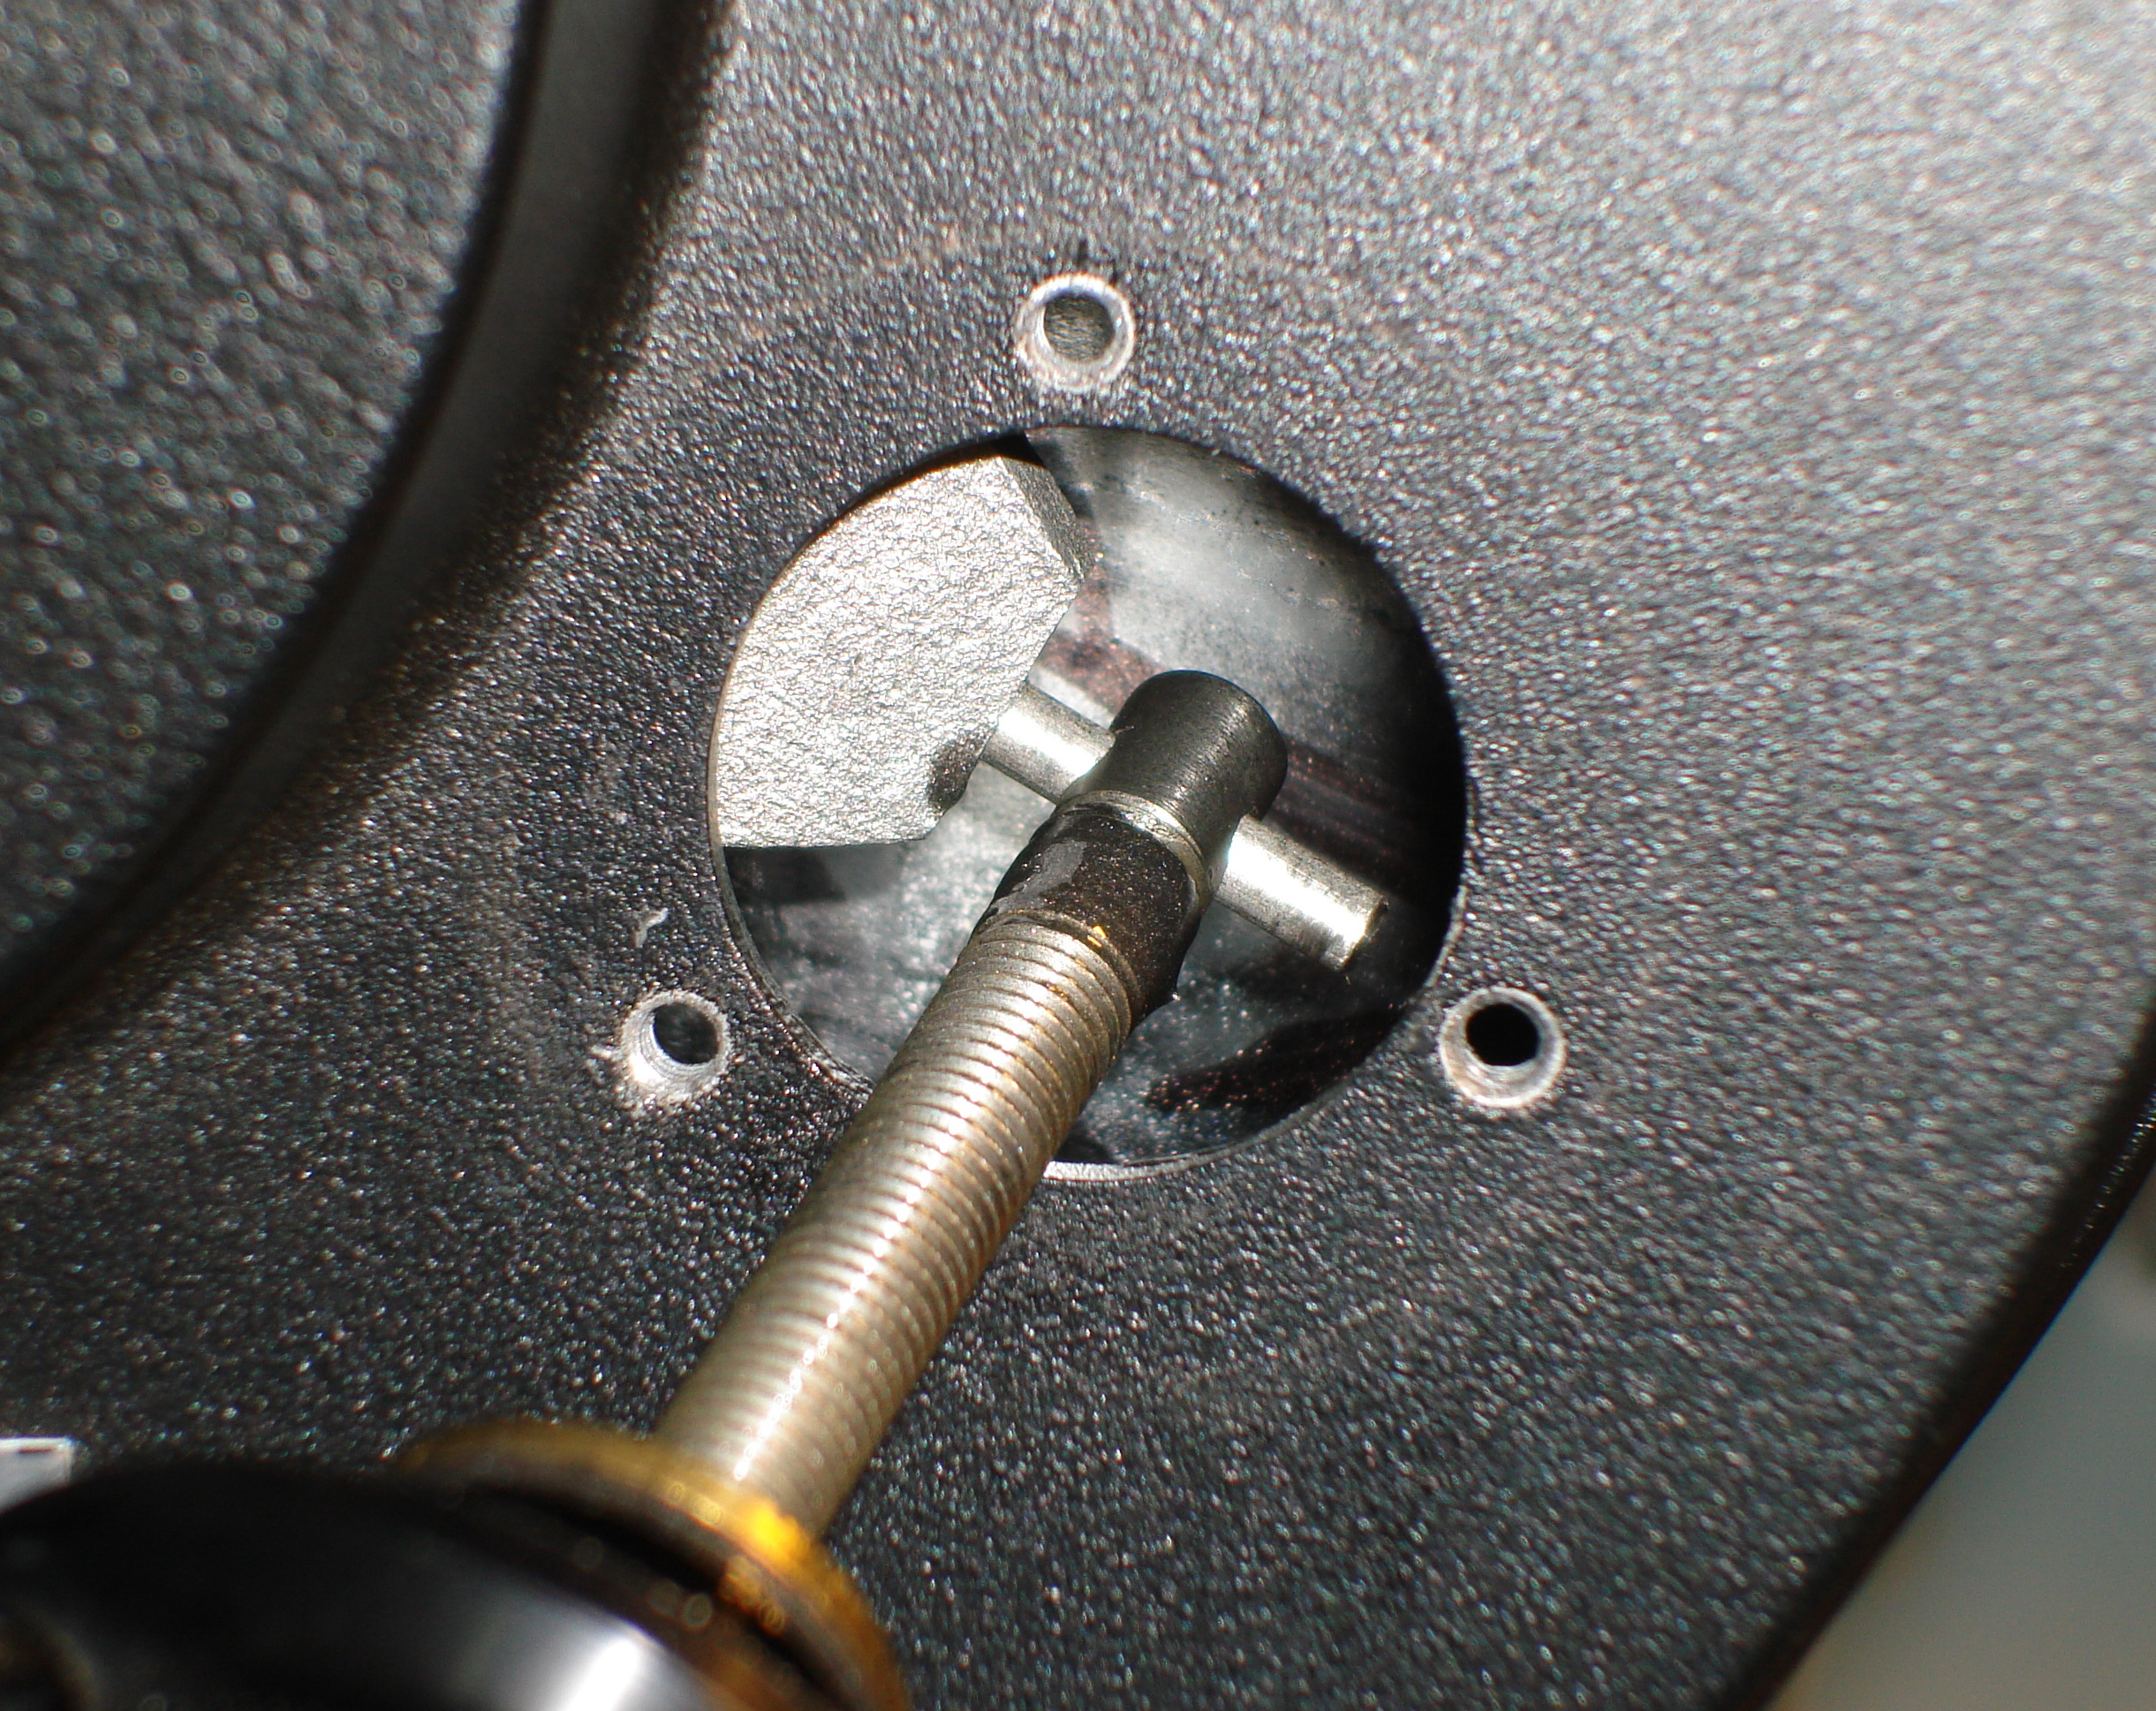
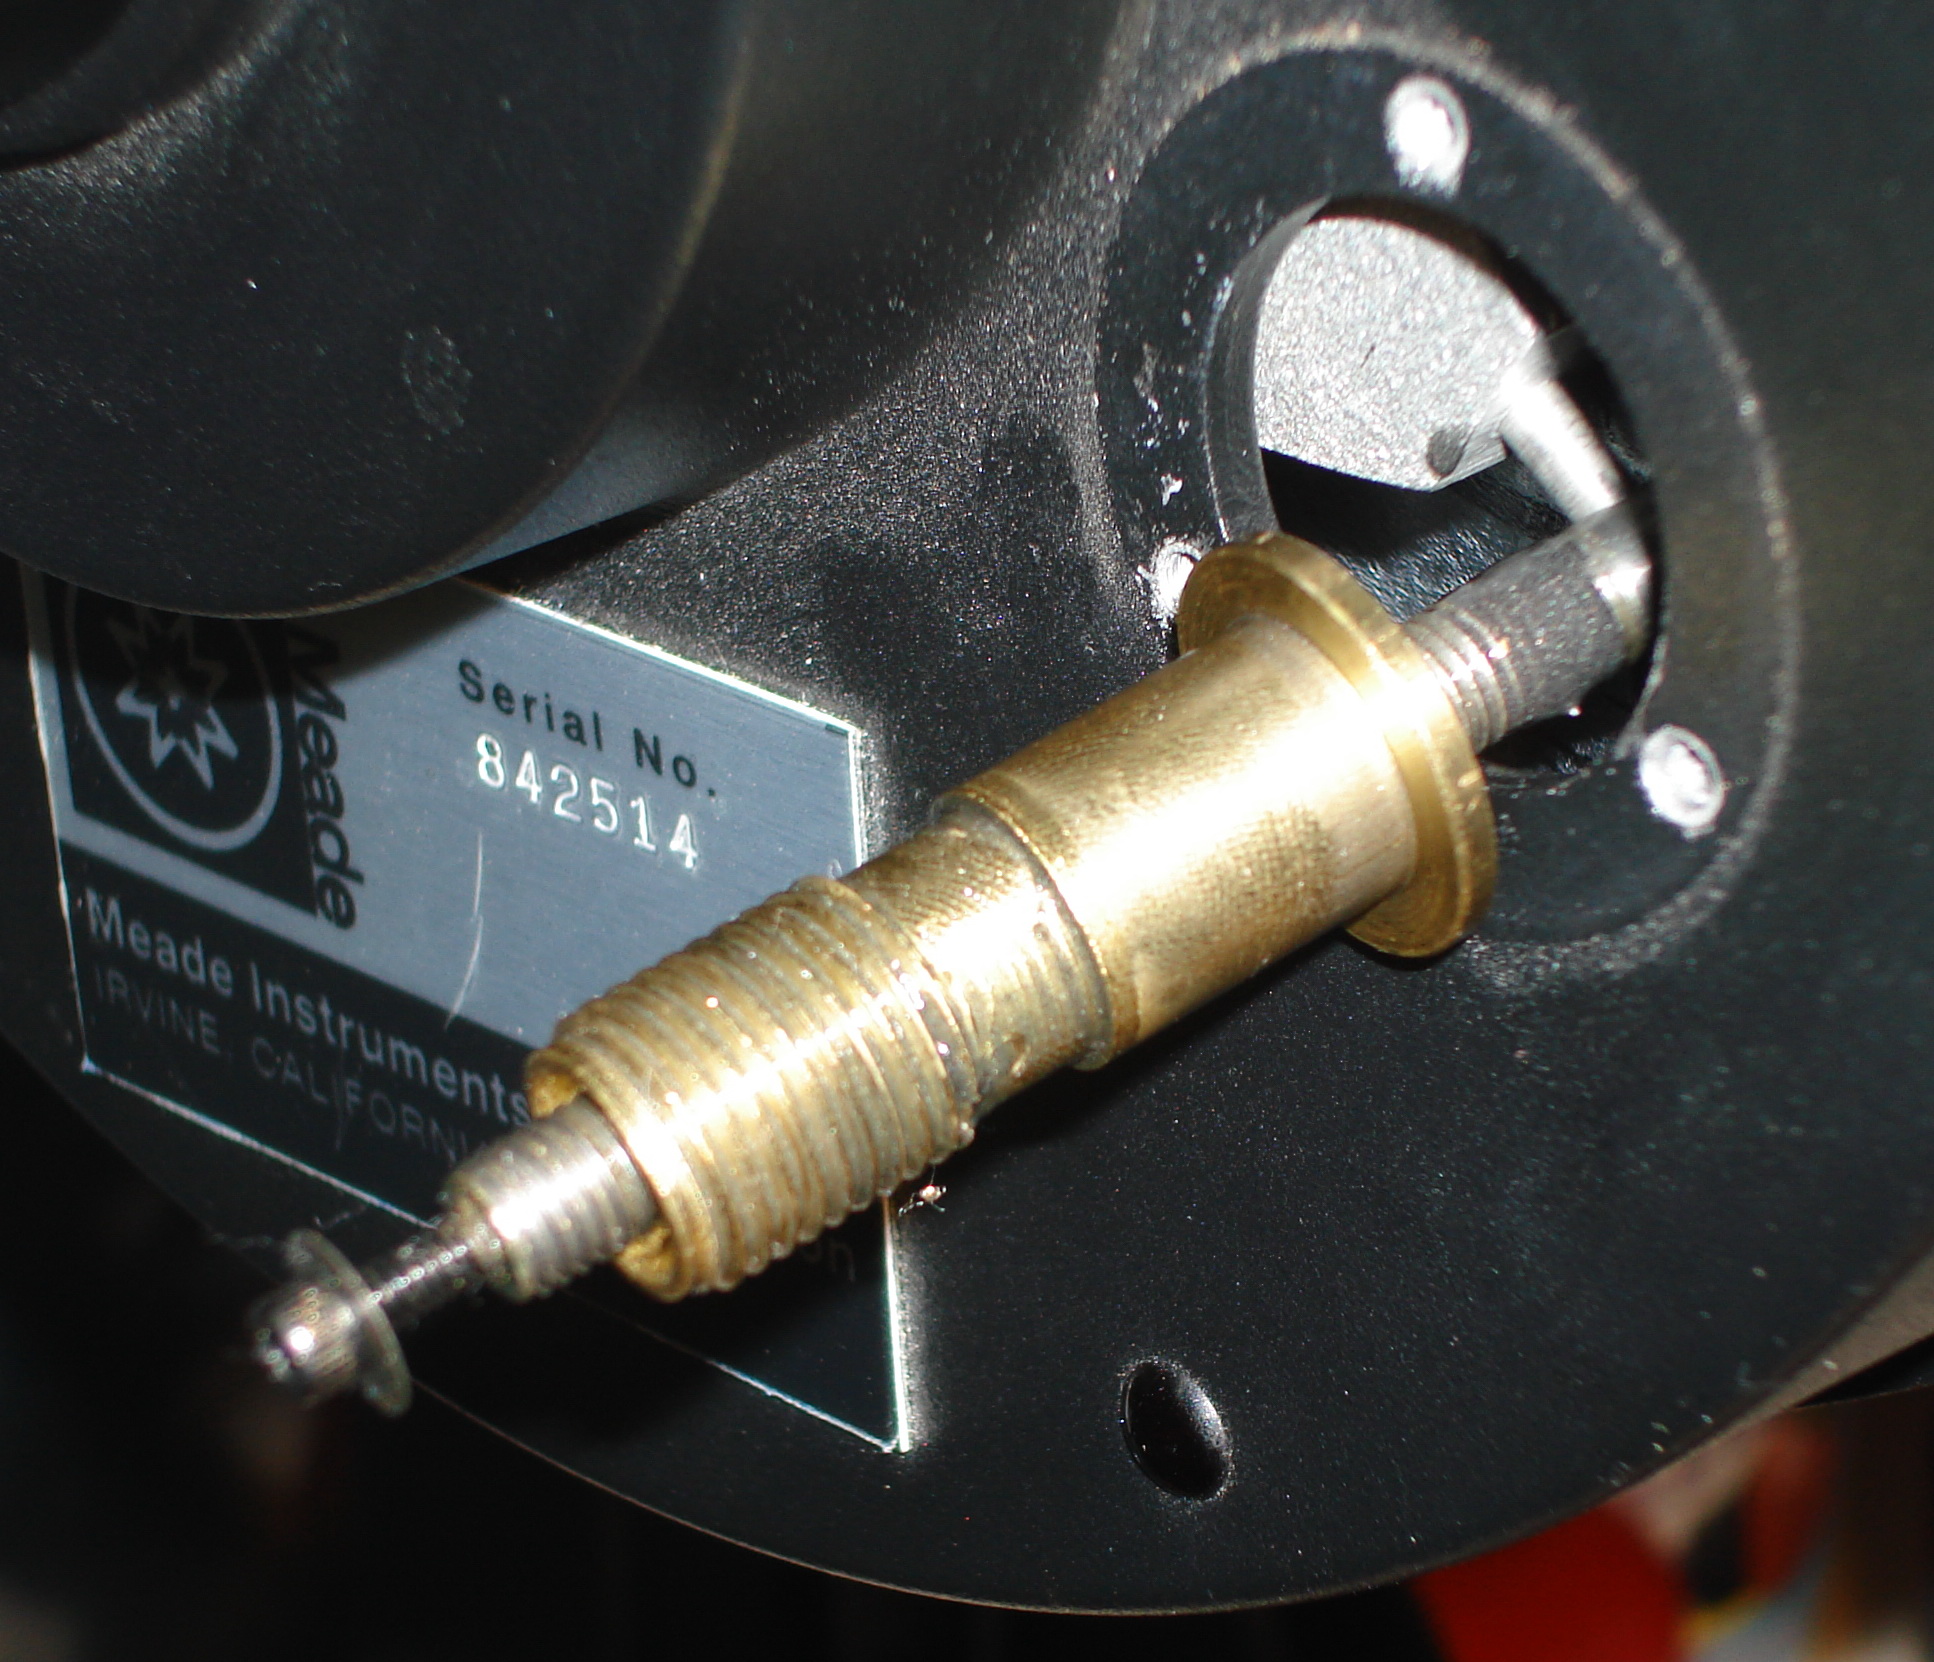
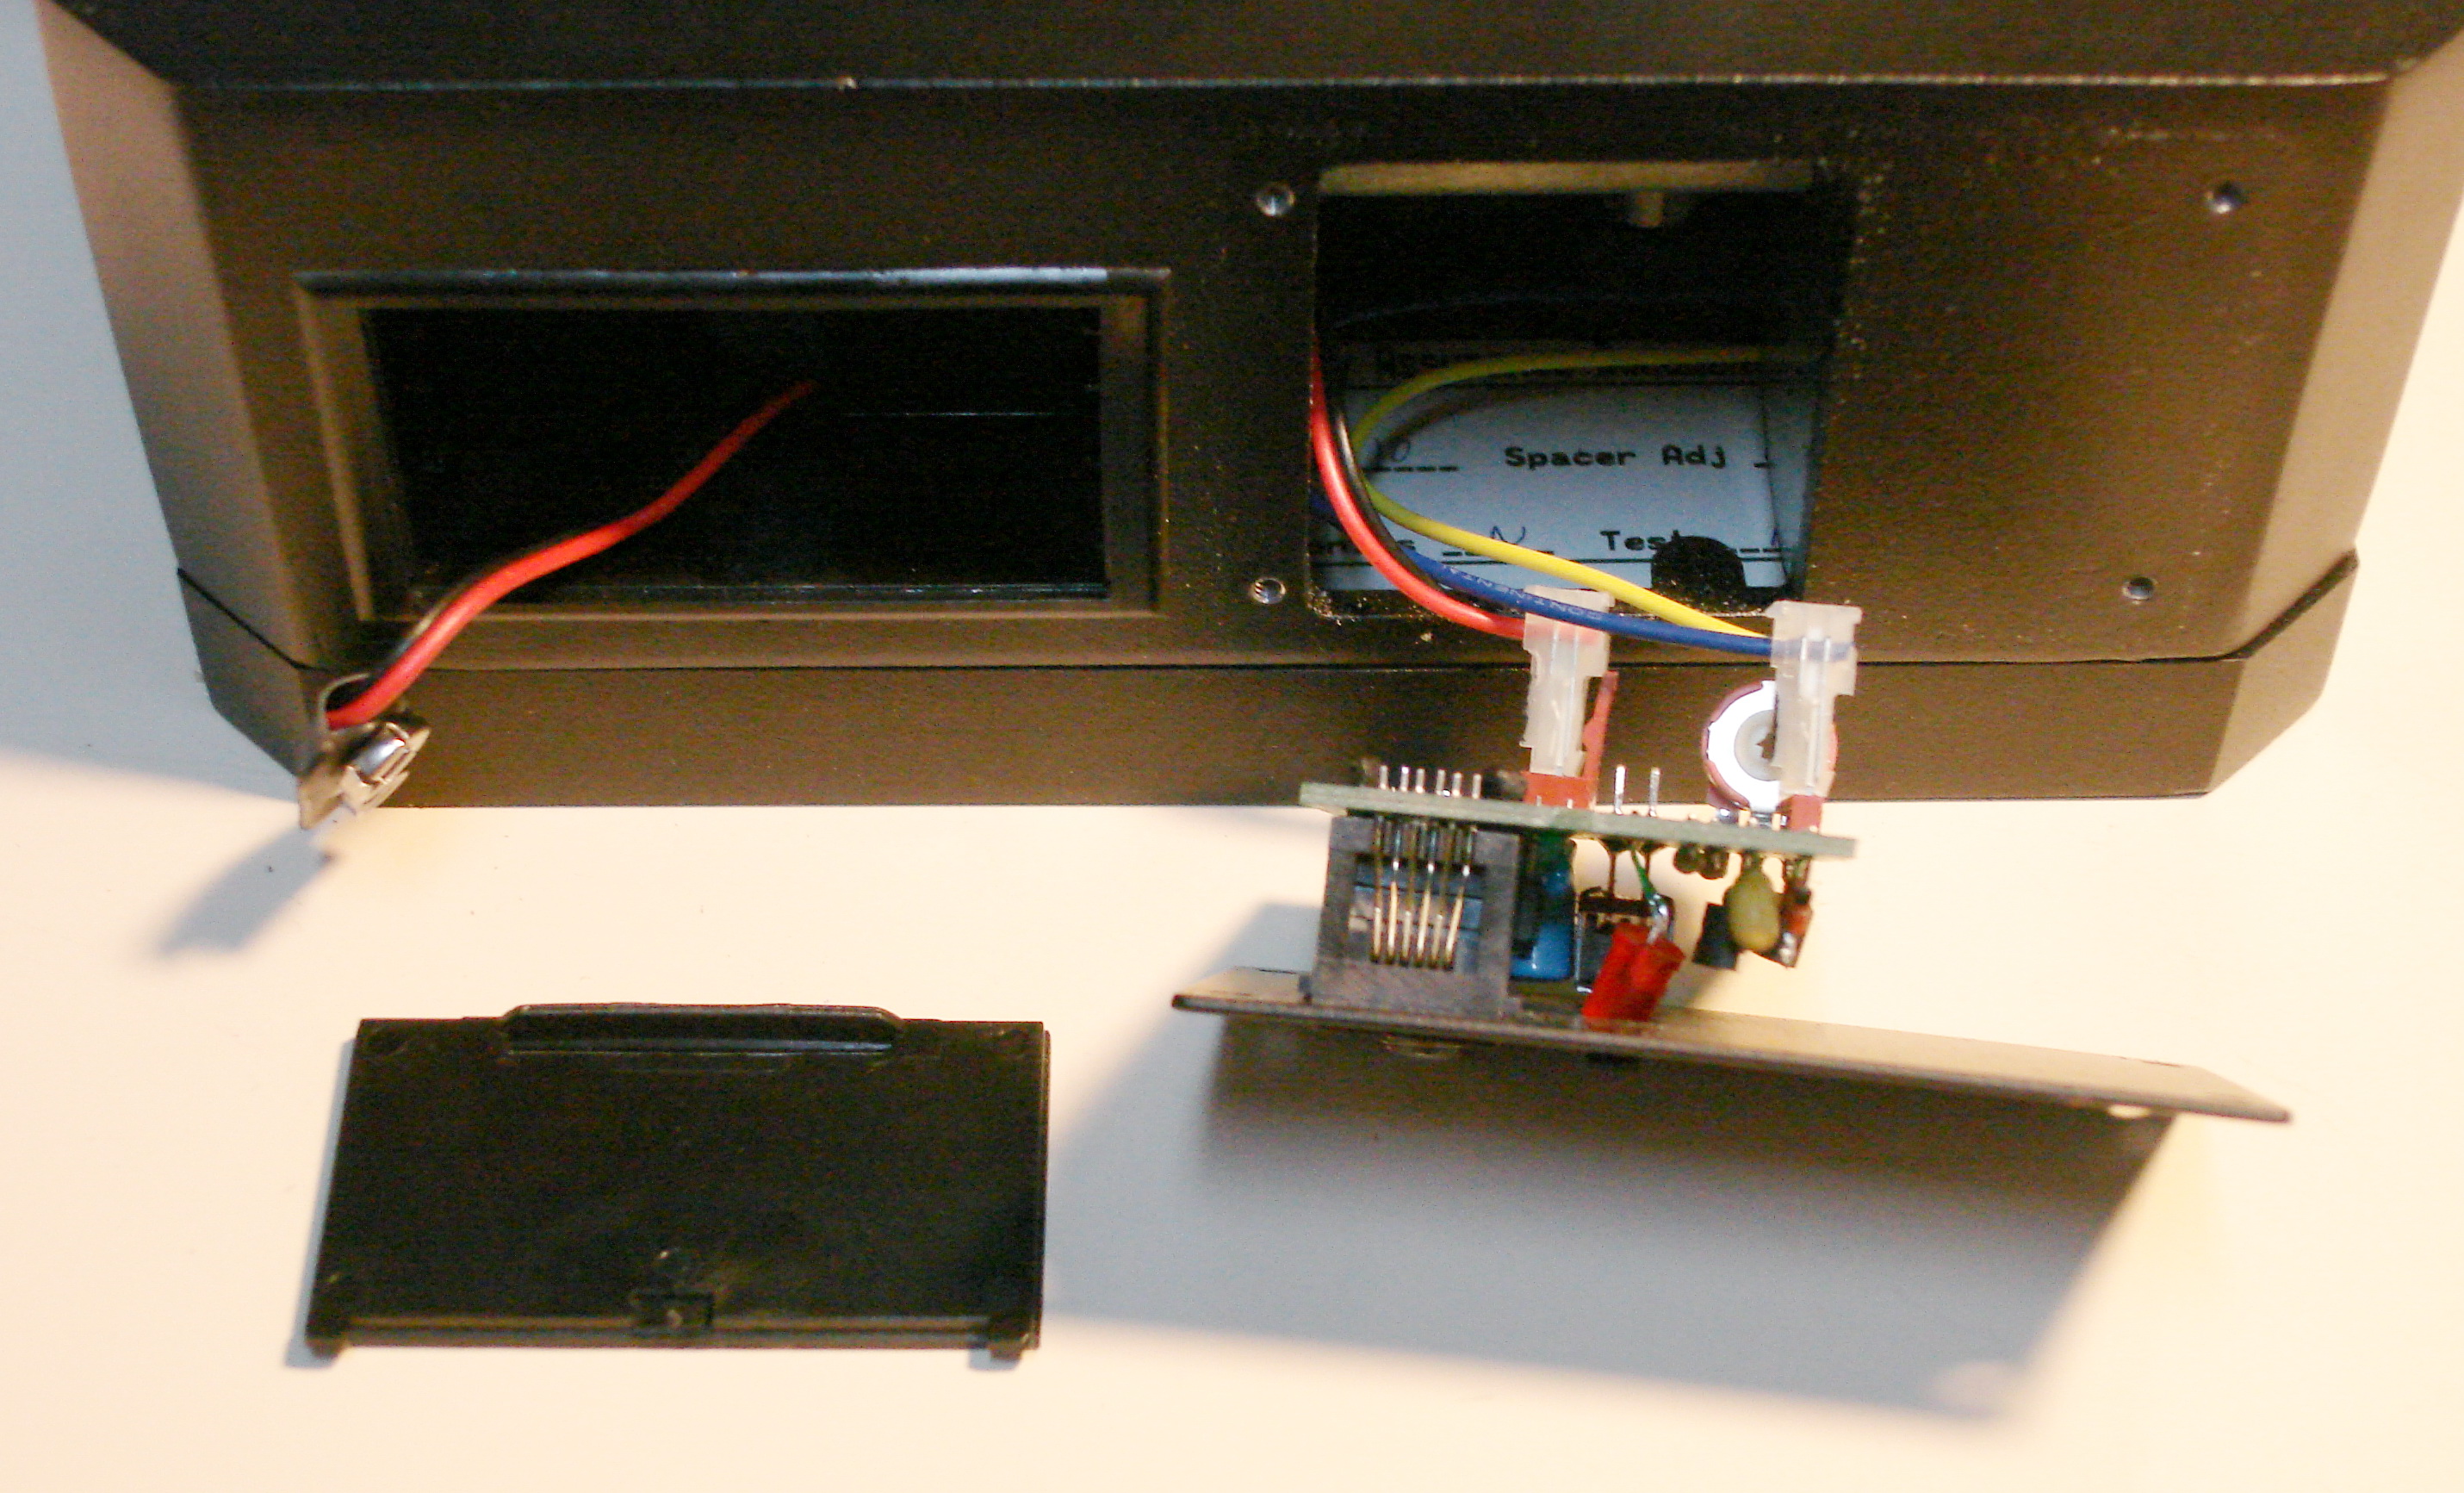
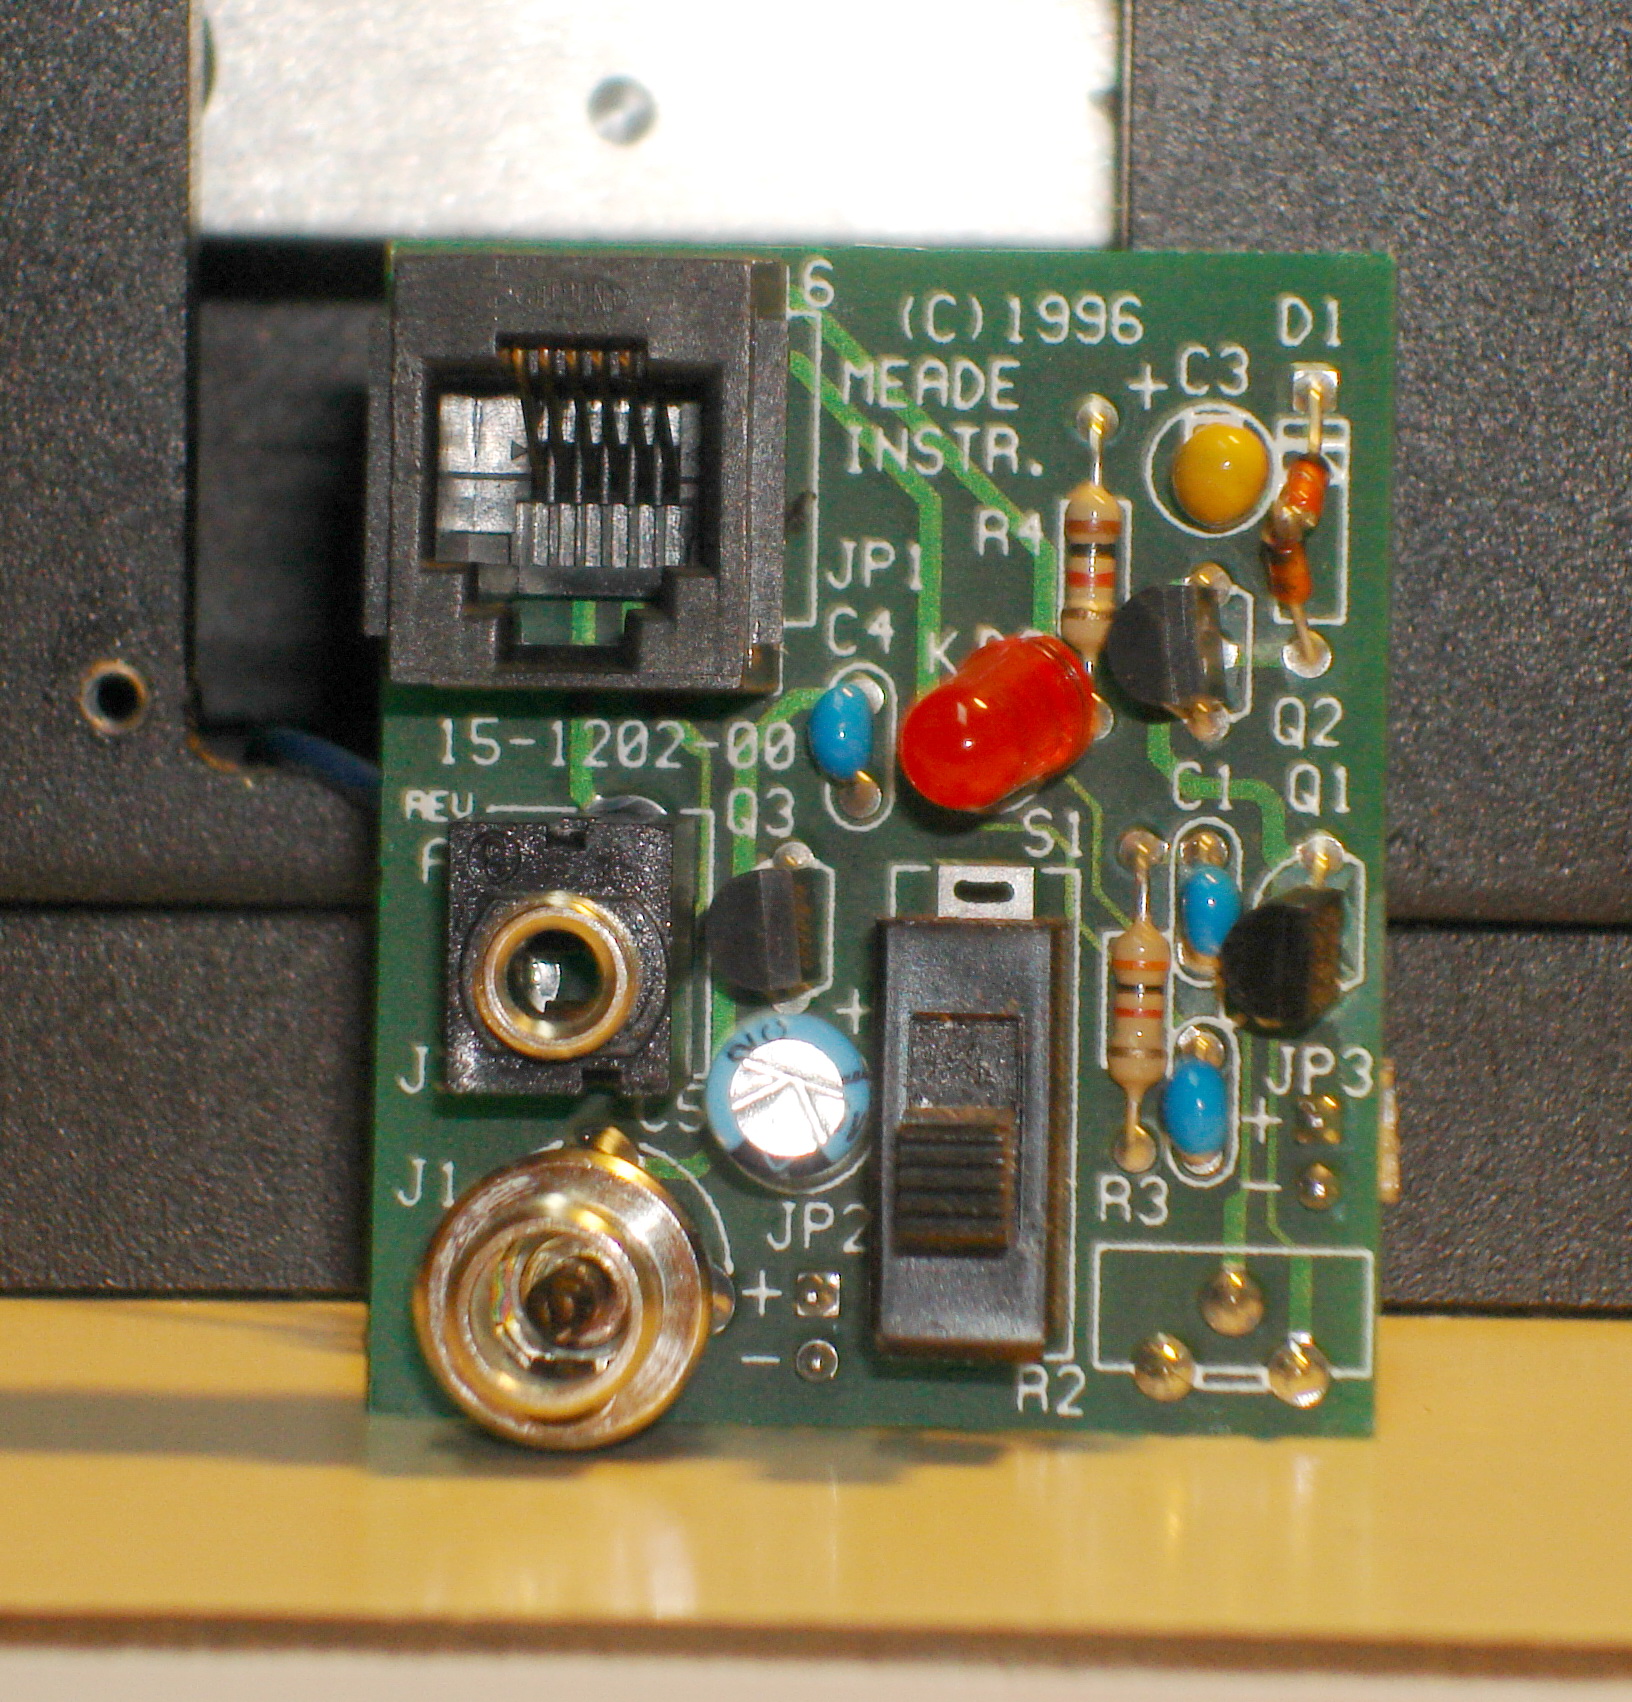
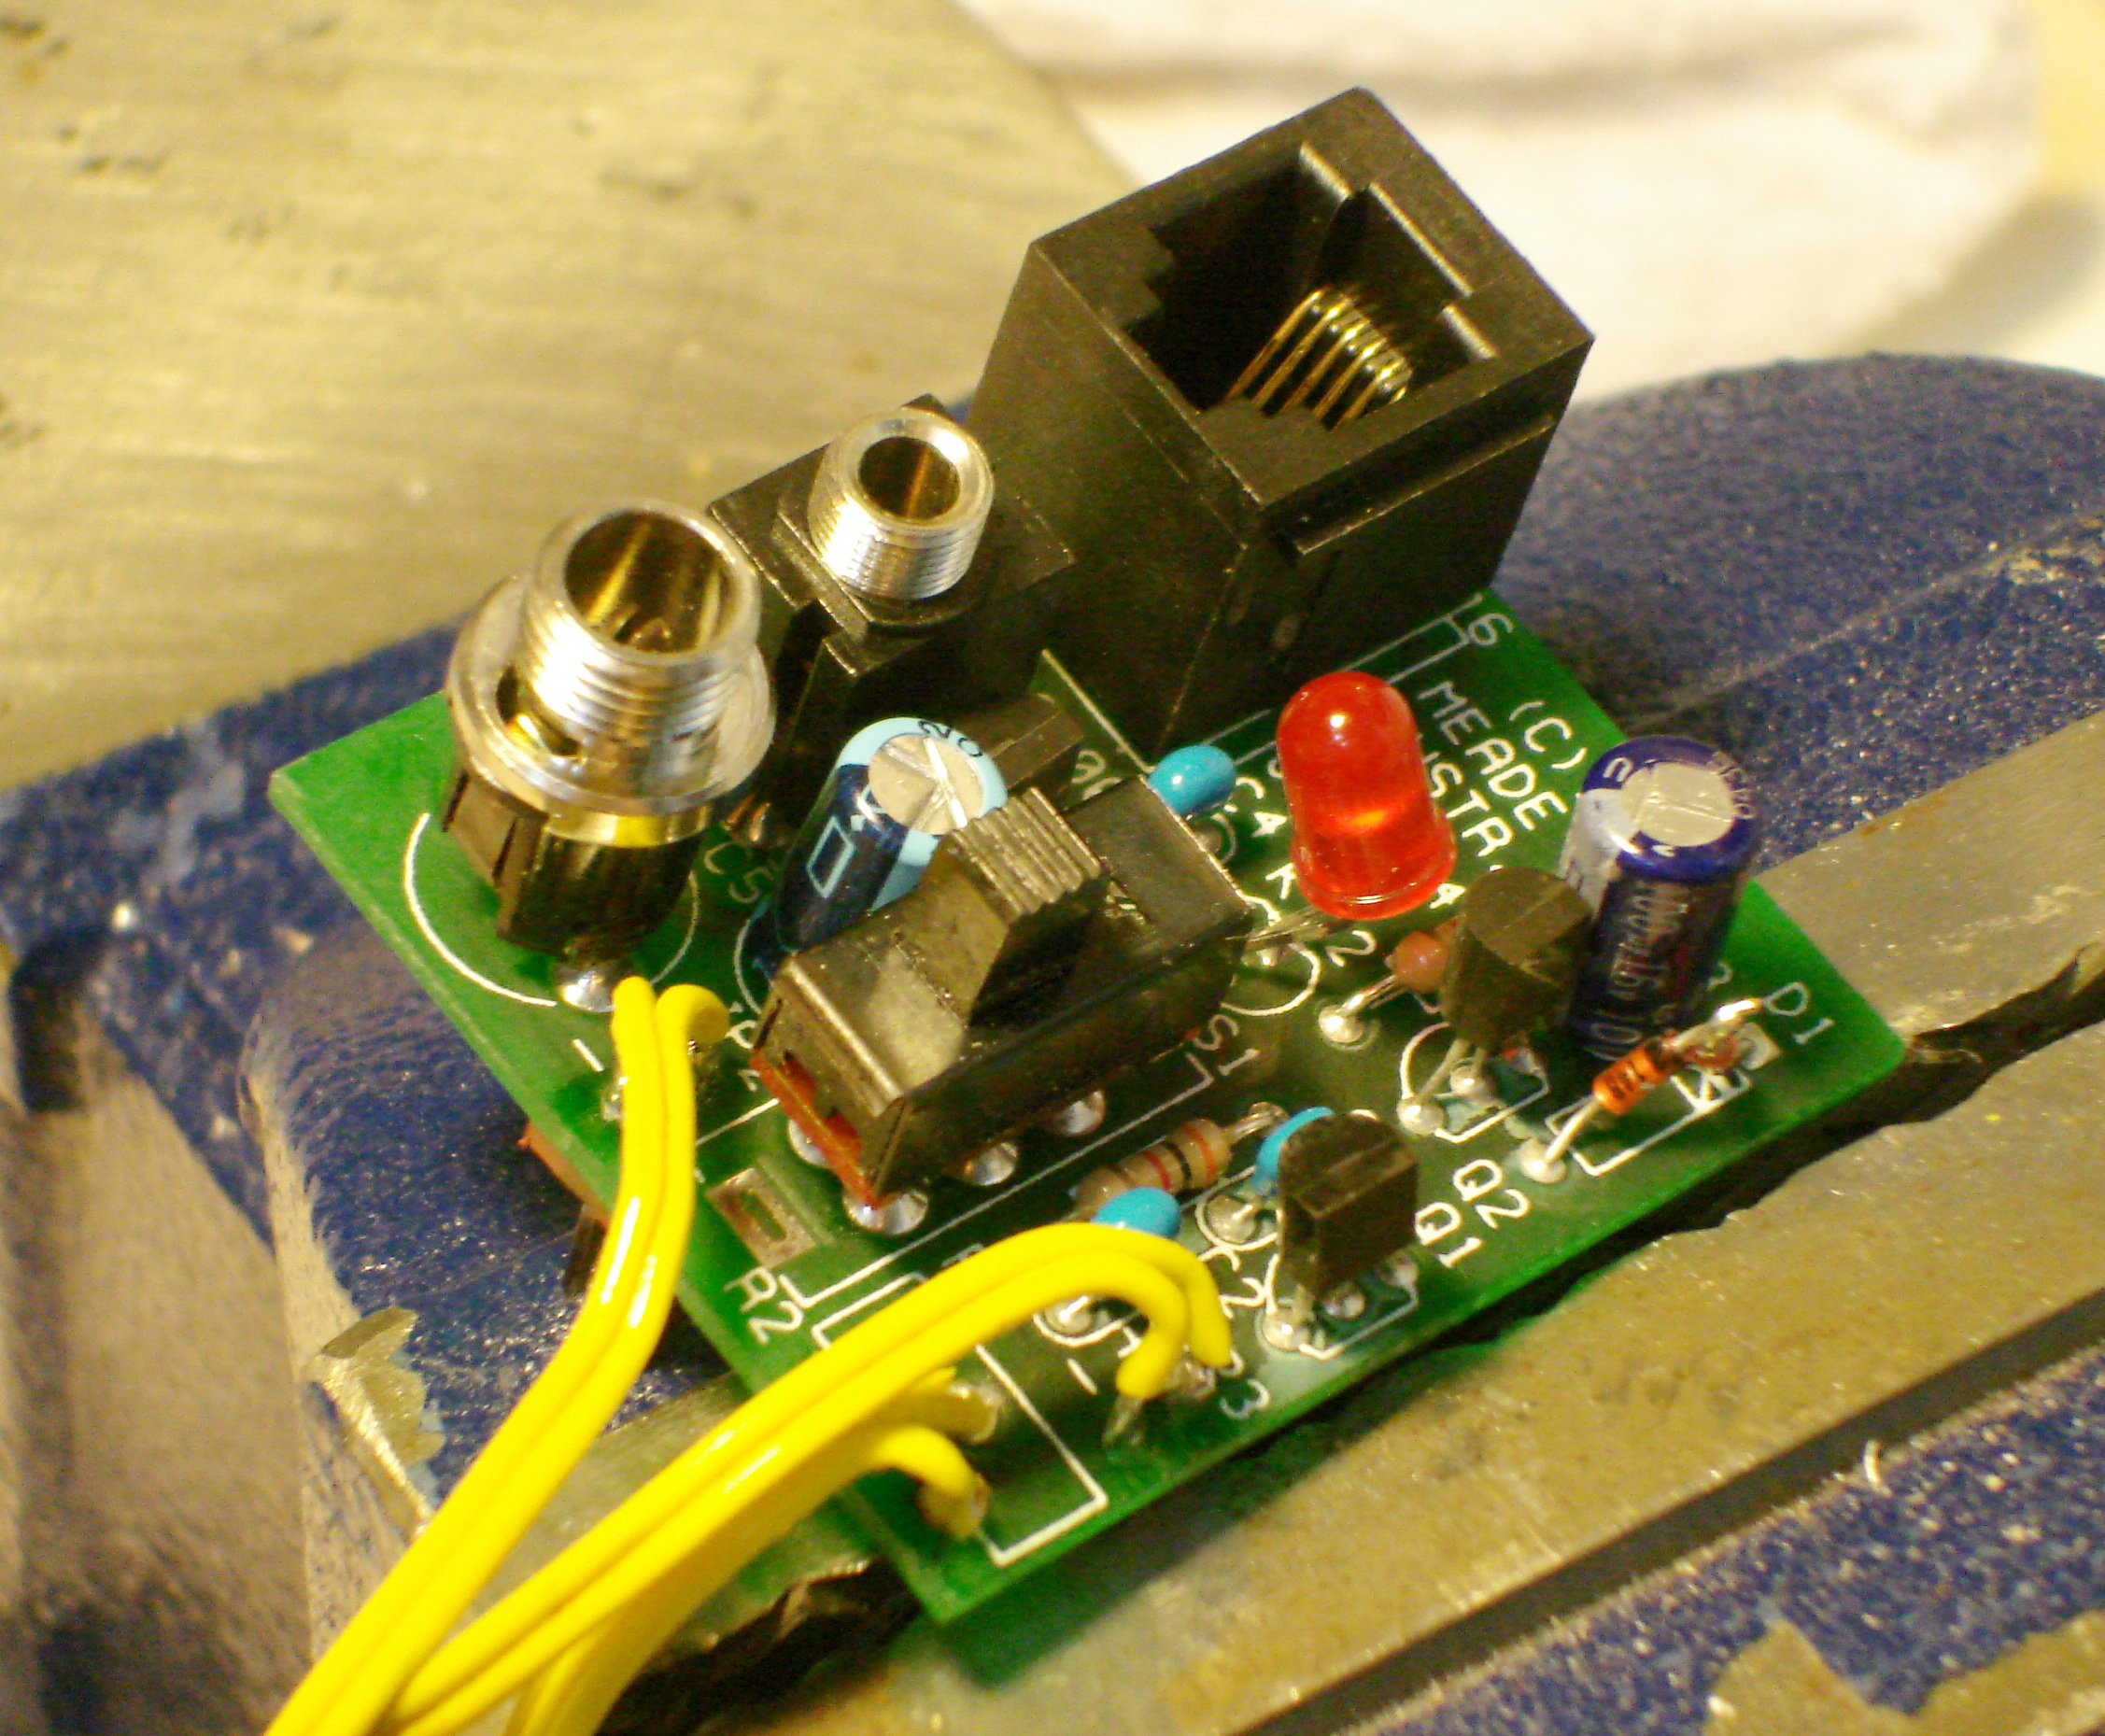
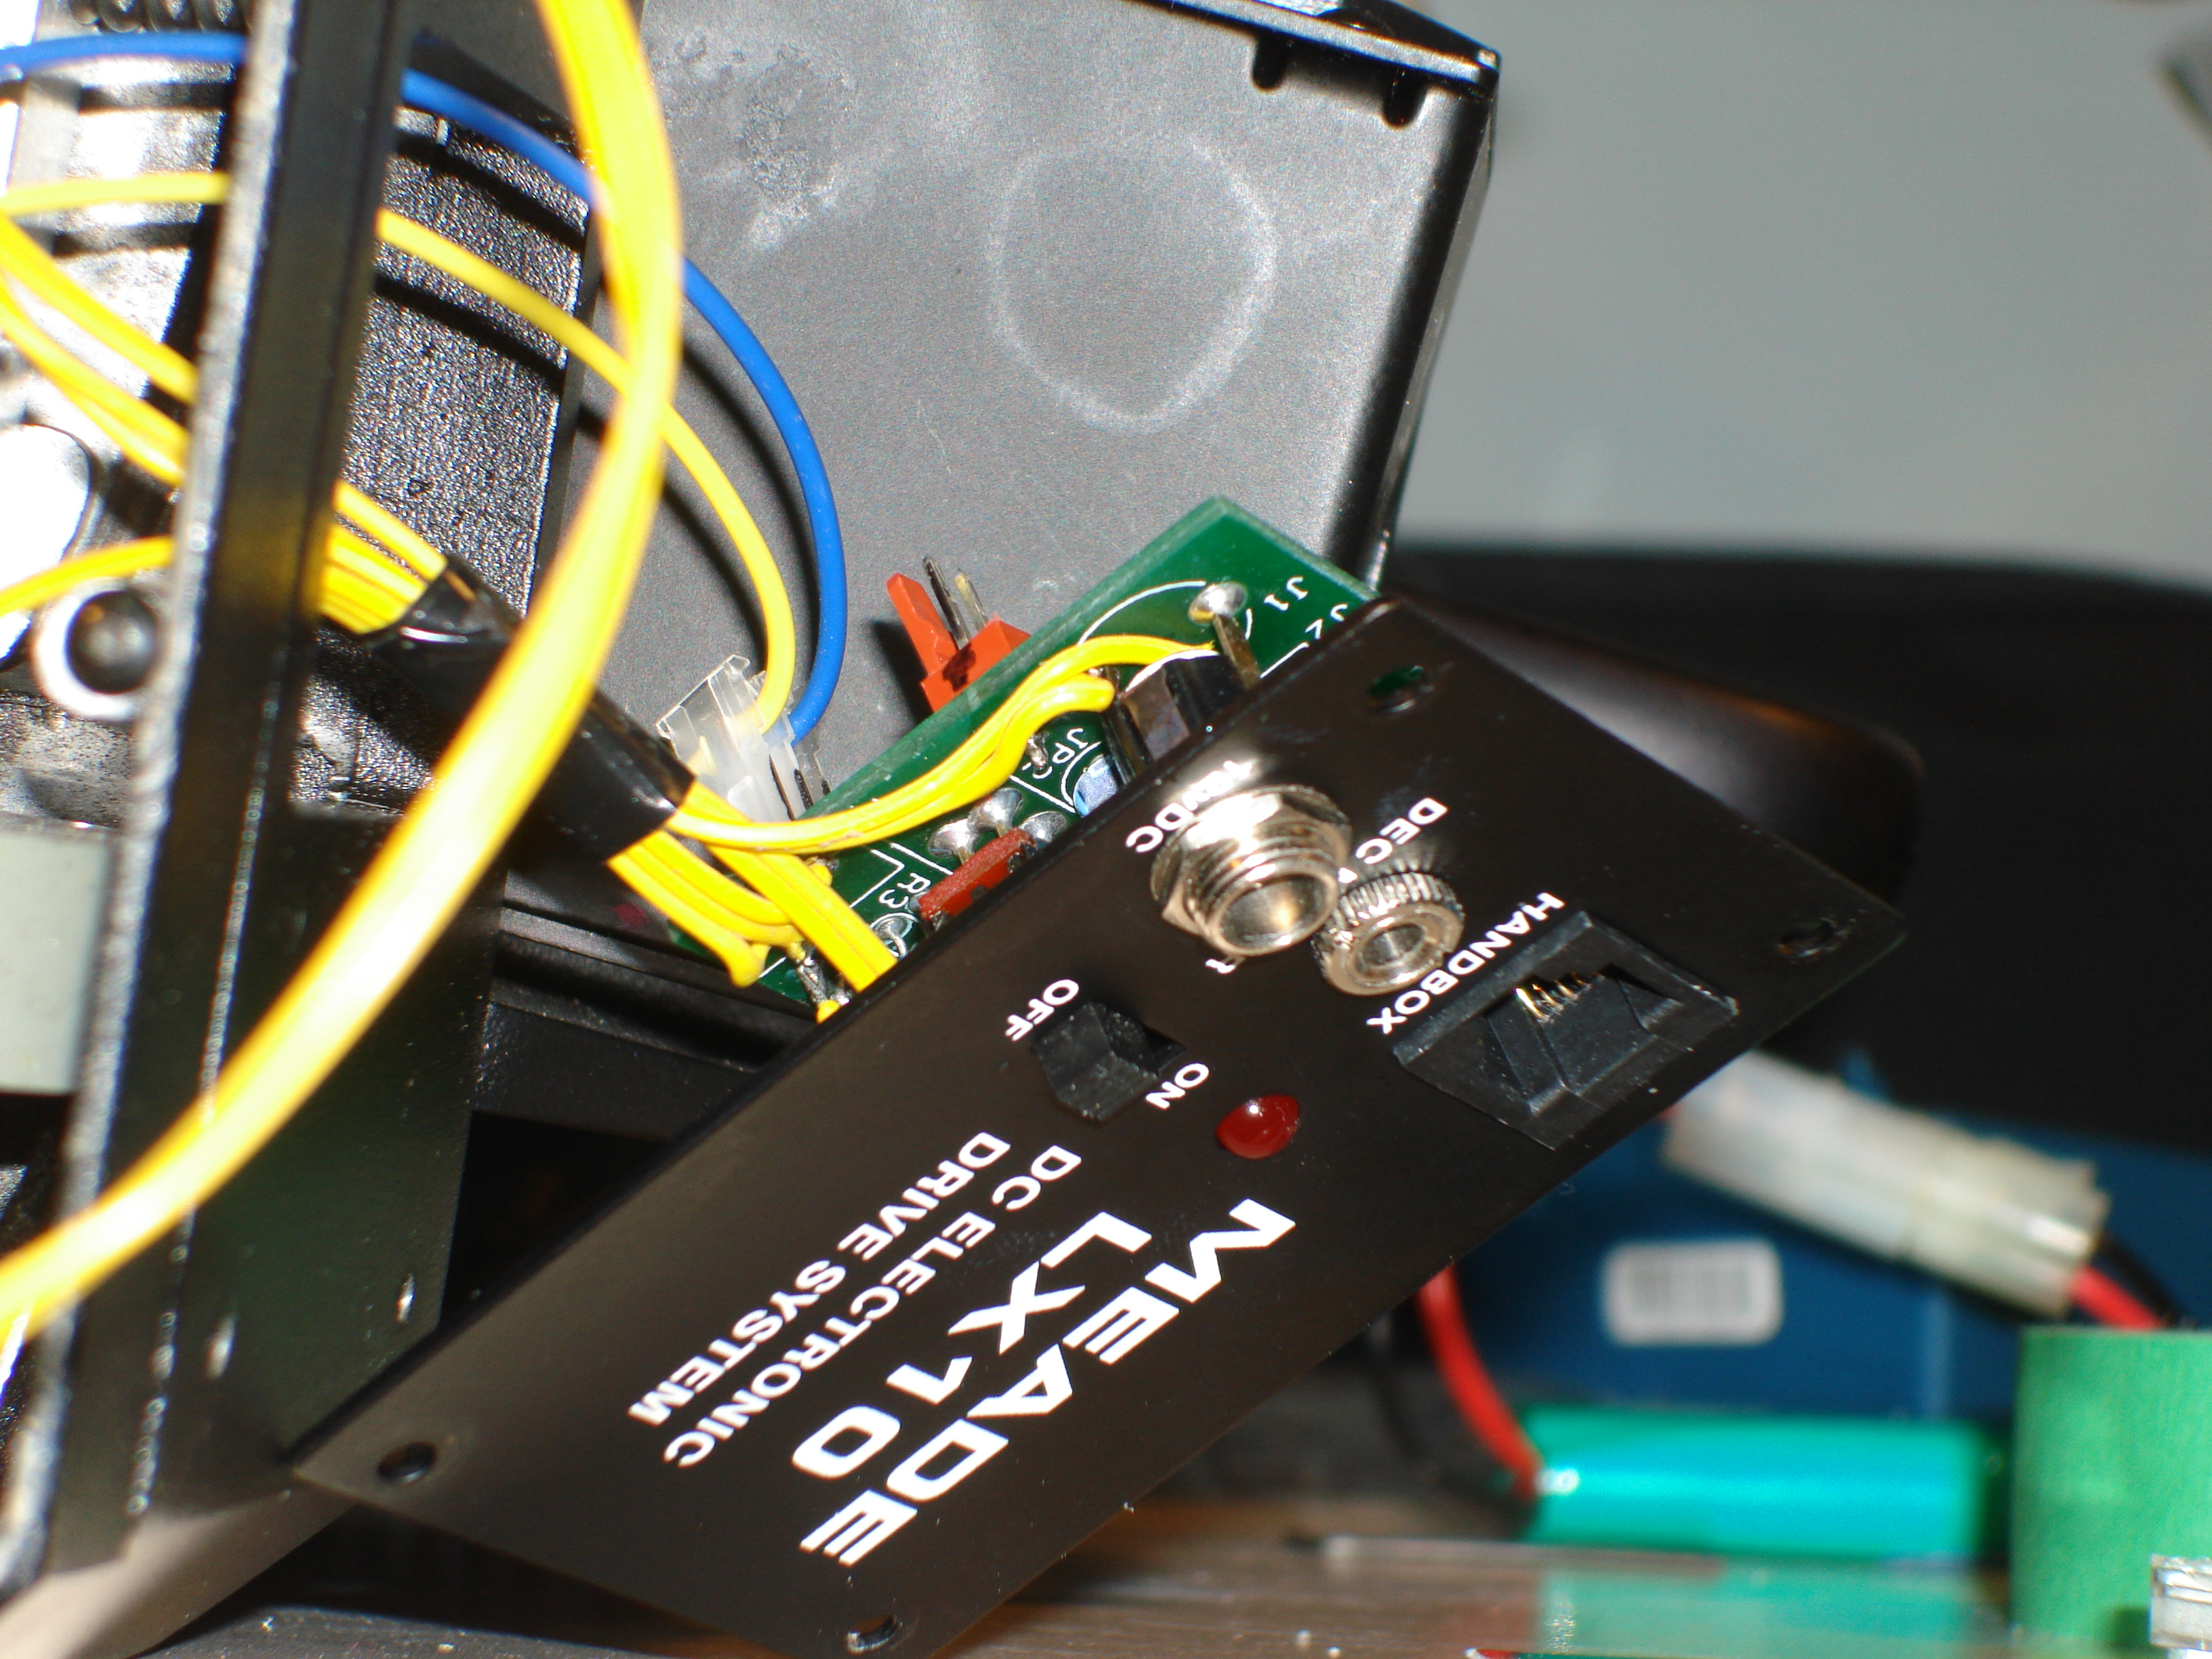
#2 & #3 Drive electronics I'm glad that I found the Yahoo LX-10 User's Group, because the issues I found with the Right Ascension drive being a little too quick and the hand control causing the drive to get stuck were both already addressed in the message and file areas. I implemented the modifications recommended on the user group, namely: moving the drive speed trim pot to the exterior of the mount so it can be adjusted easily, and changing capacitor # C3 with something larger (in my case I used 100mF). When I wired in the external trim pot (a multi turn, wire round 1Kohm potentiometer) I also wired in a small analog panel meter and toggle switch that allows me to read off either the battery voltage or the voltage that is being sent to the drive motor. Tapping into the Meade circuit board was quite easy as there are already unused terminals on the PCB board right where I wanted to connect in. I removed the internal battery pack, and replaced the space with an aluminum panel that holds the potentiometer, switch, and meter. The whole job took maybe 2-3 hours to complete, a lot of which was fiddling with getting everything back into the mount base nicely, and playing with the calibration of the meter.
The changes work great. It is very easy to adjust the speed of the motor now on the fly. If the tracking is a bit behind or ahead, I just tweak the potentiometer a bit until it is bang on. The meter worked out well also, allowing me to check the status of my battery pack as well as note the voltage changes to the motor as the ambient temperature changes or the load on the mount (ie. extra stuff hanging off the telescope). I am pleased with how this mod turned out. |
| March 19, 2010
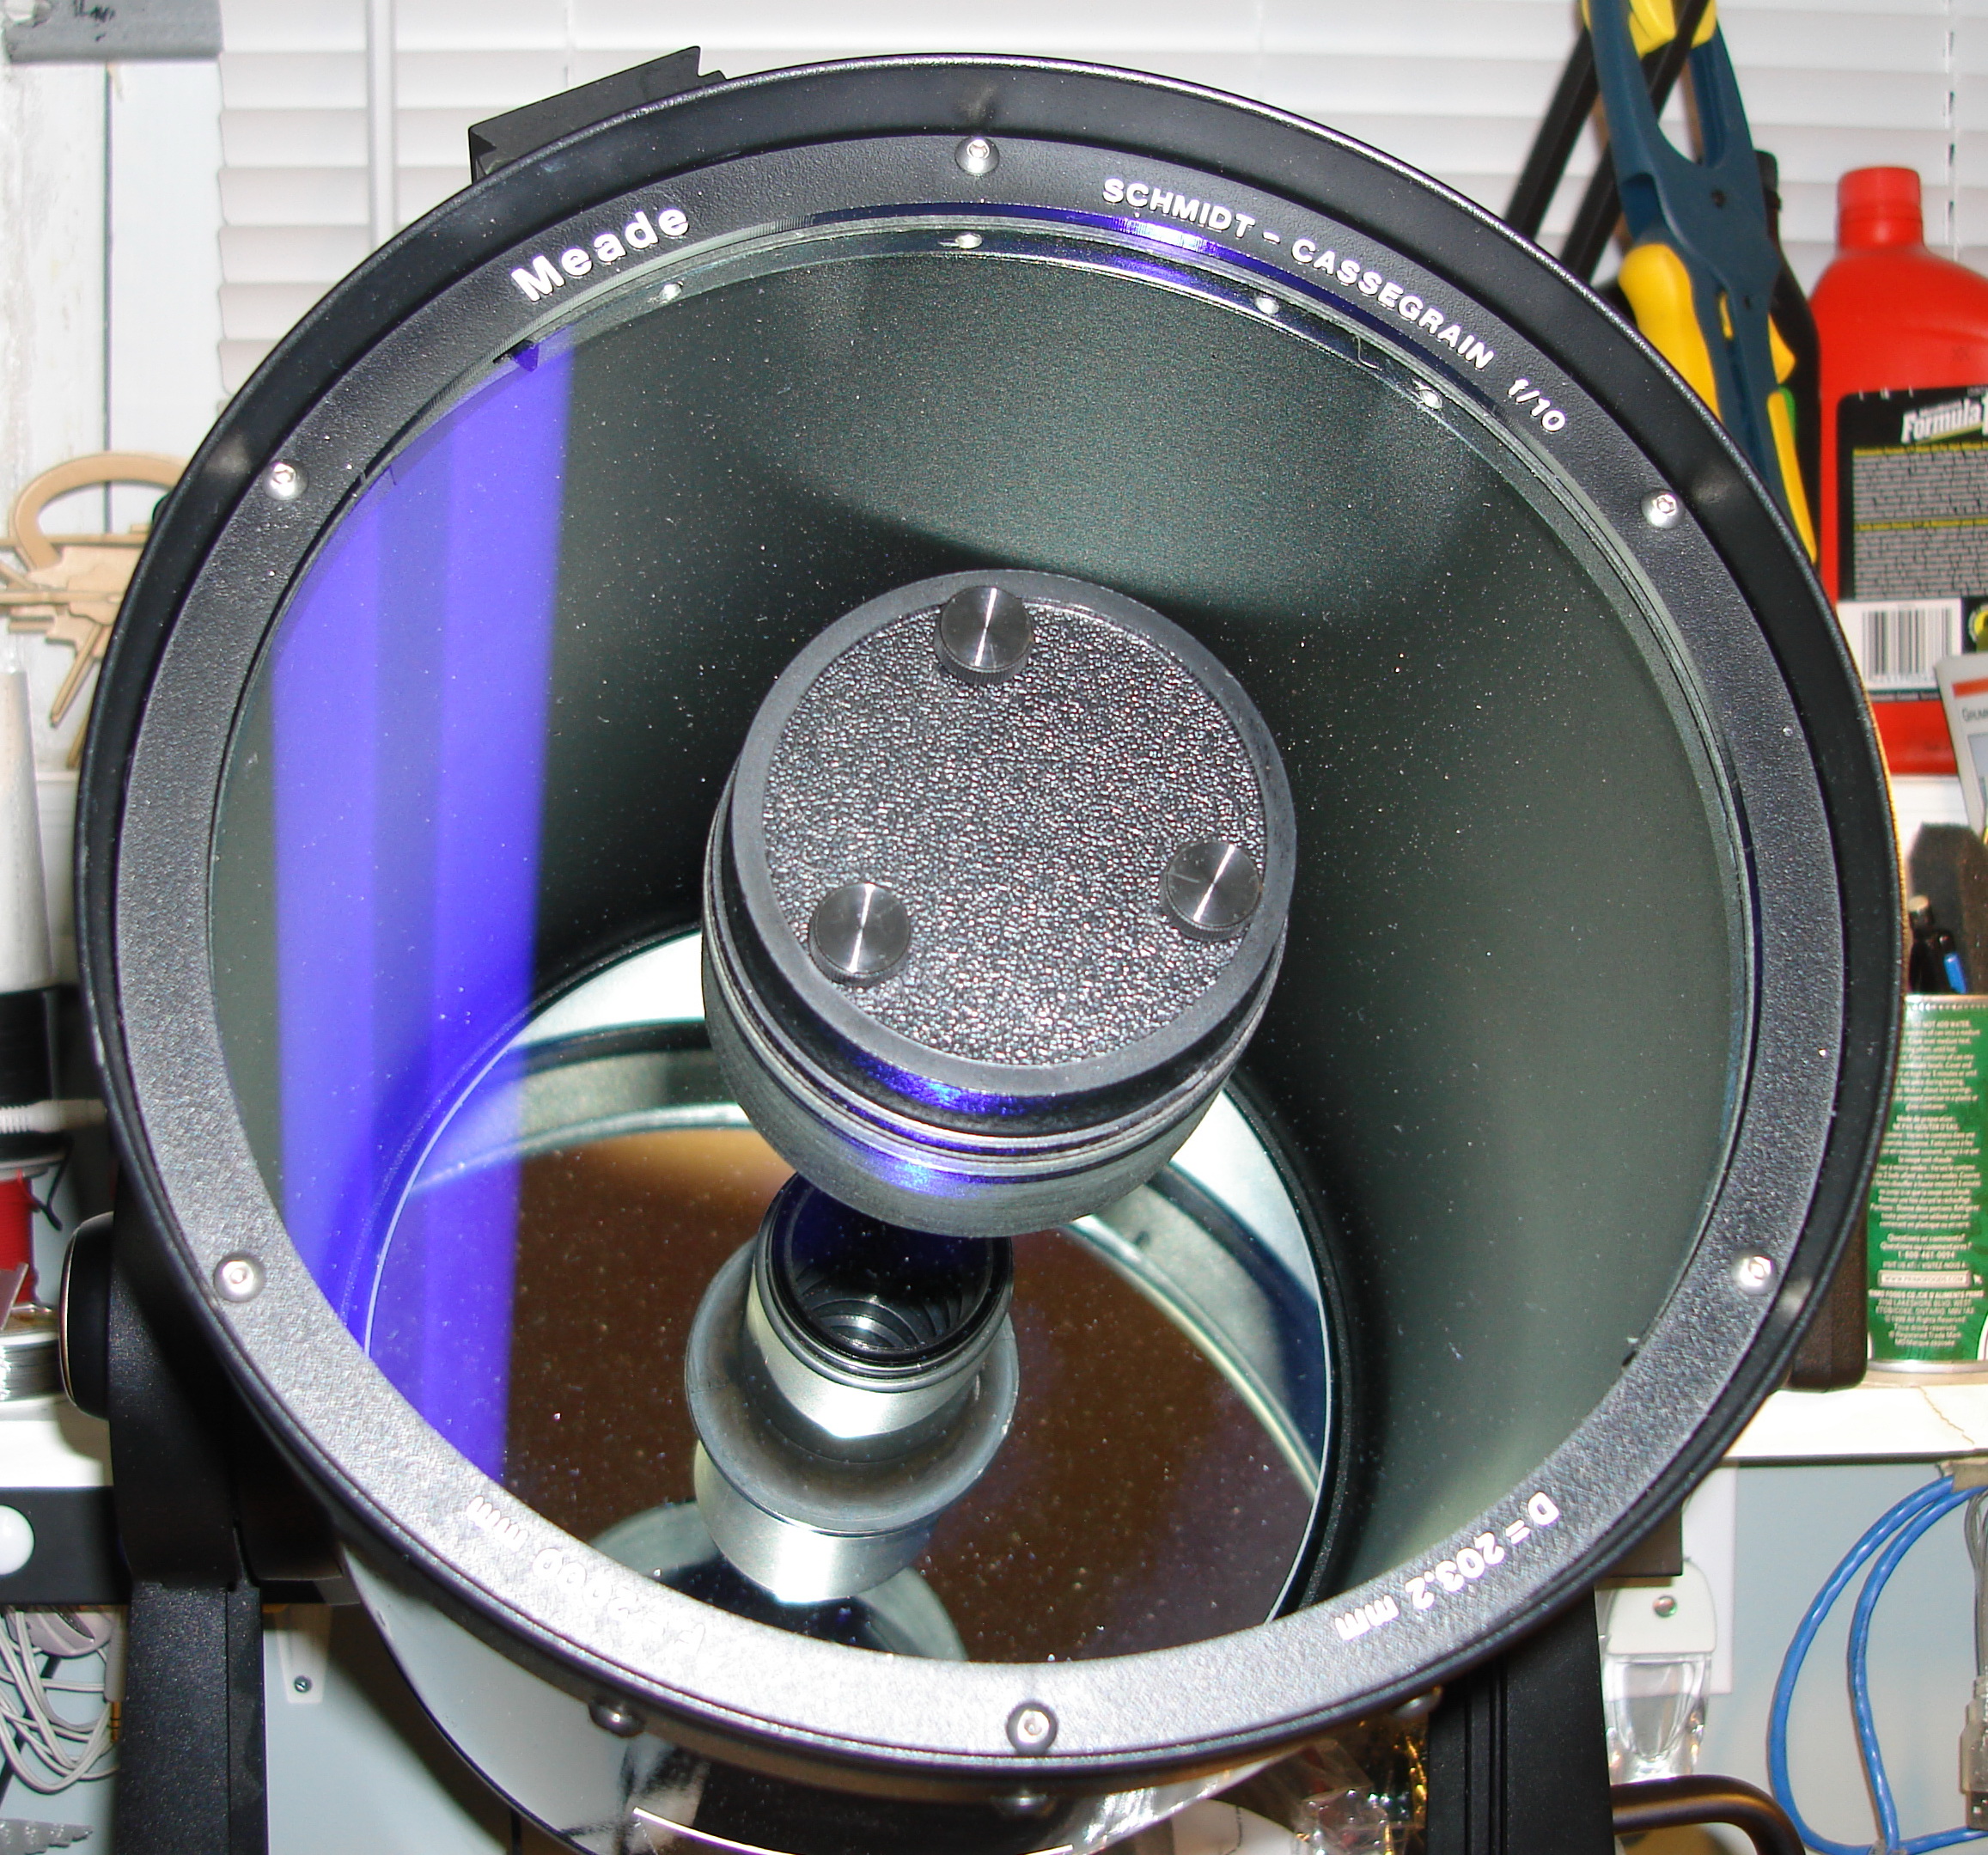
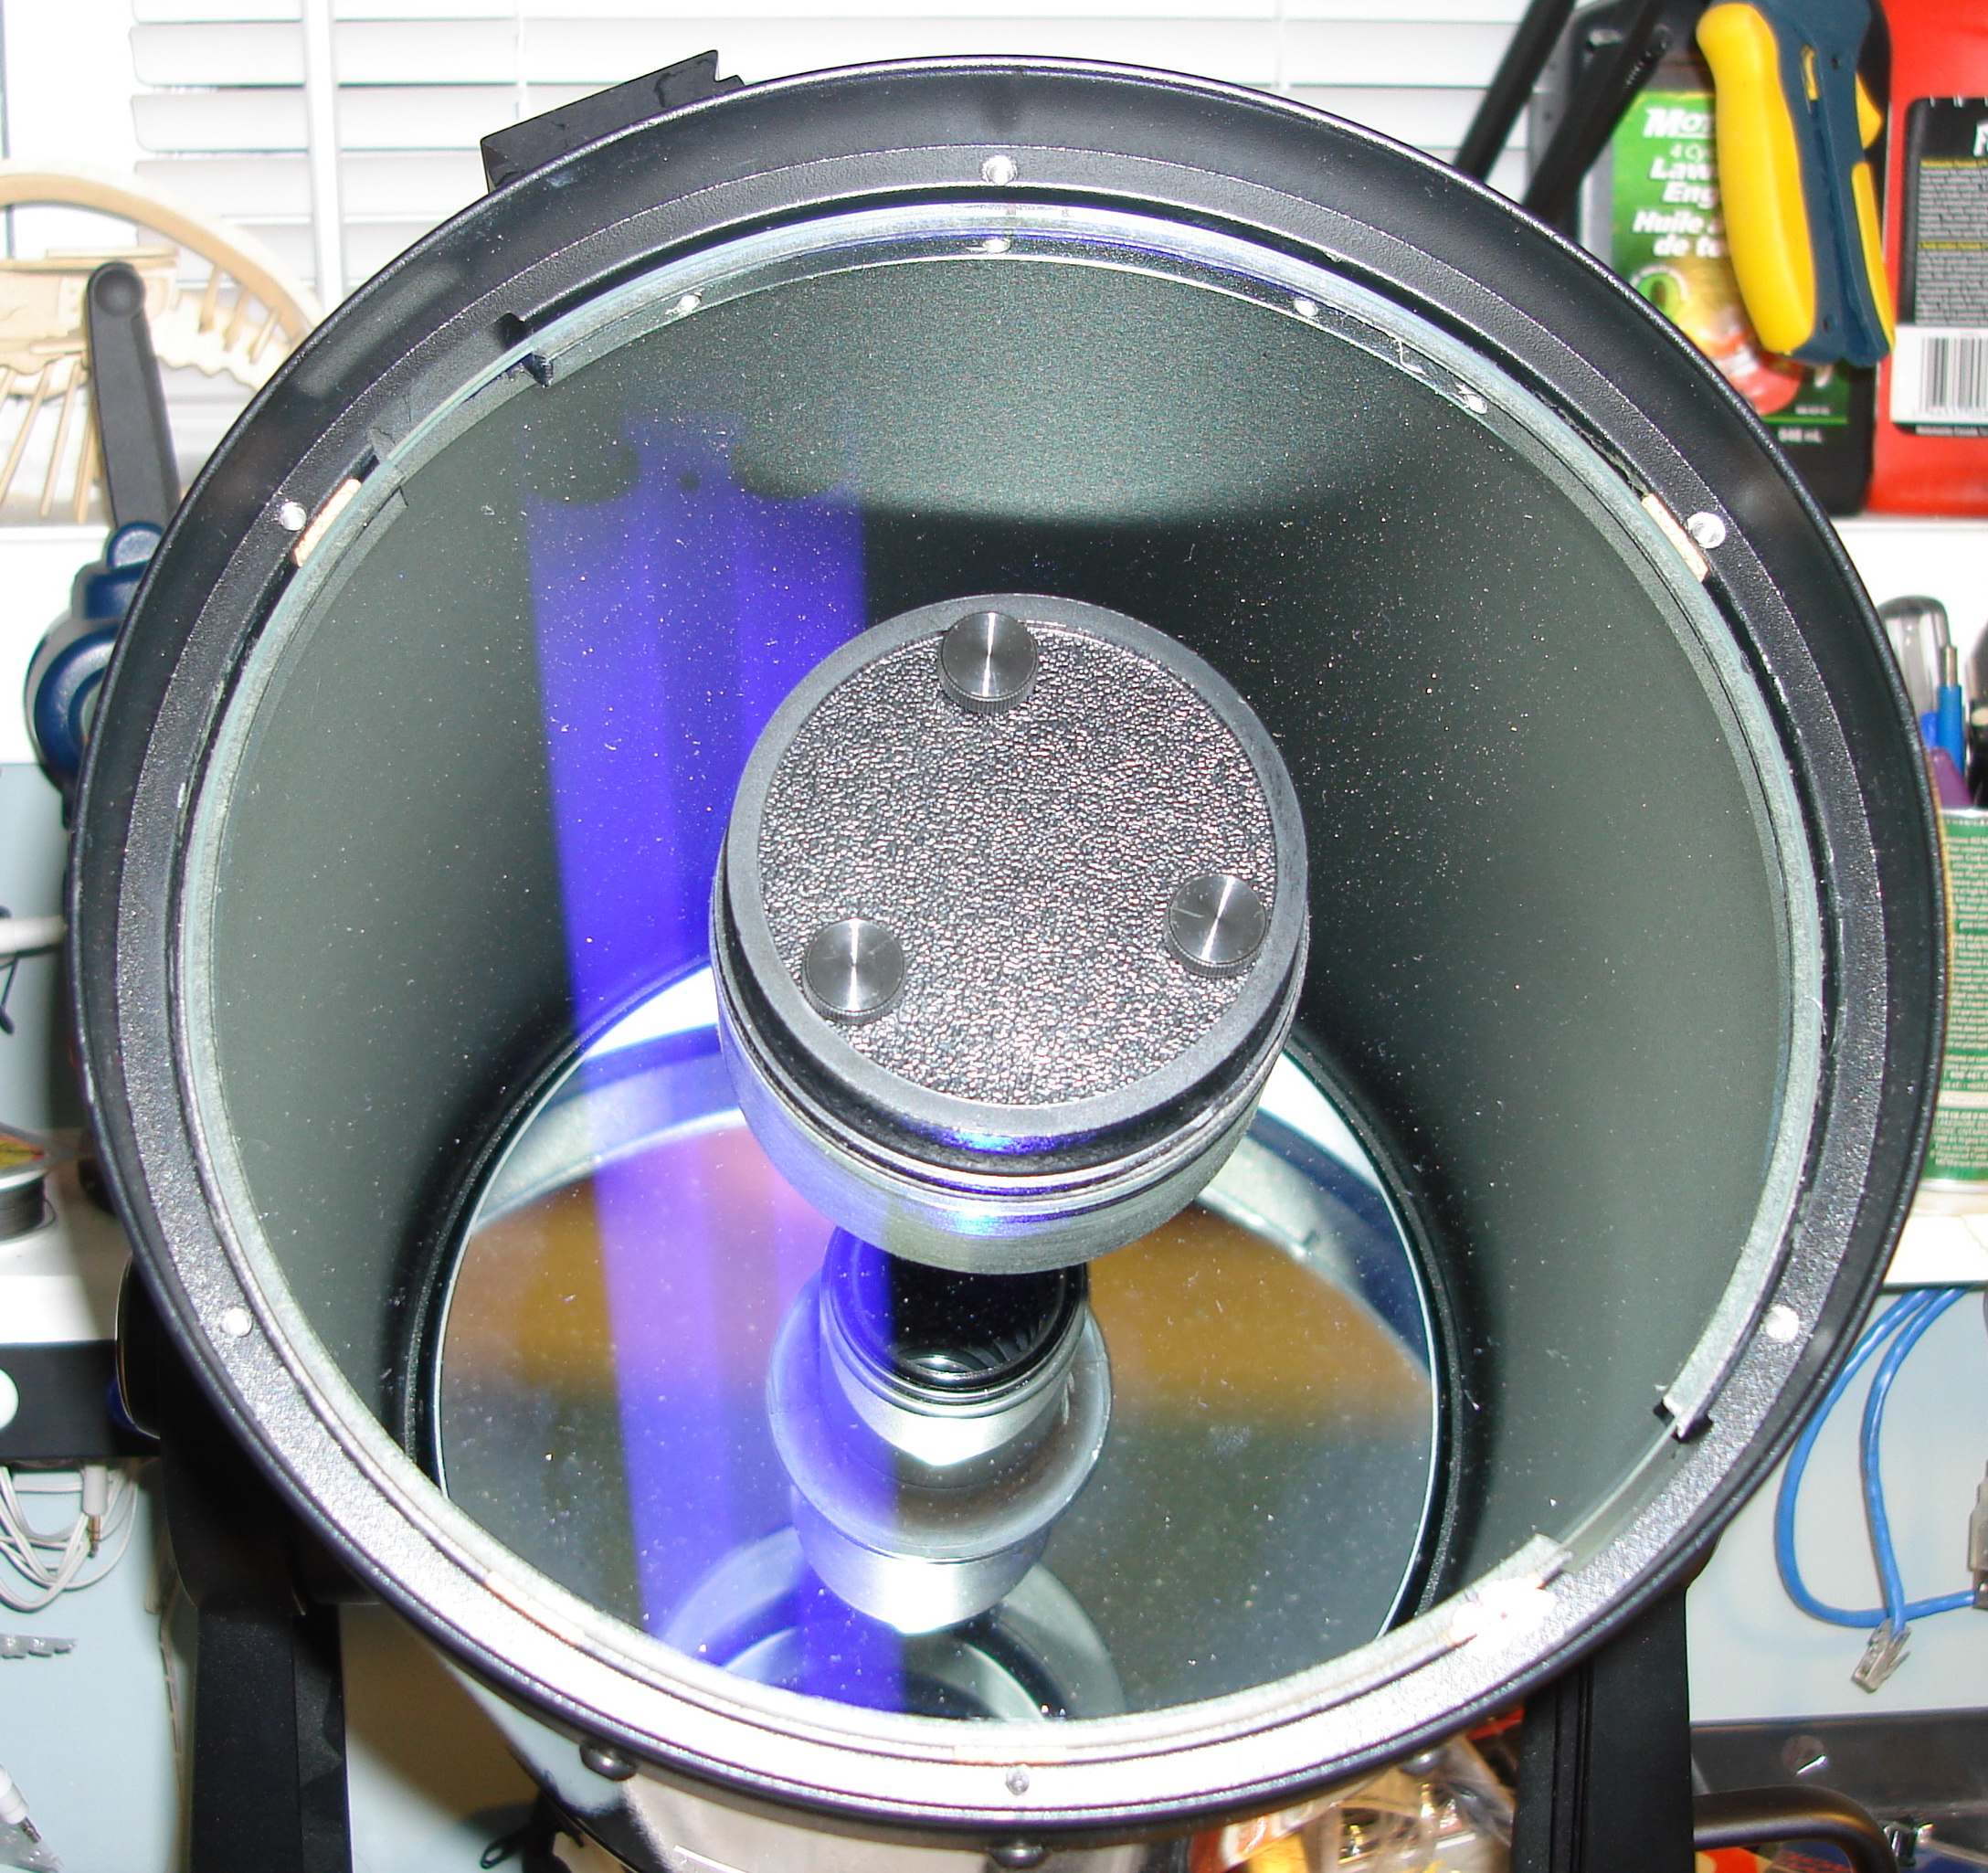
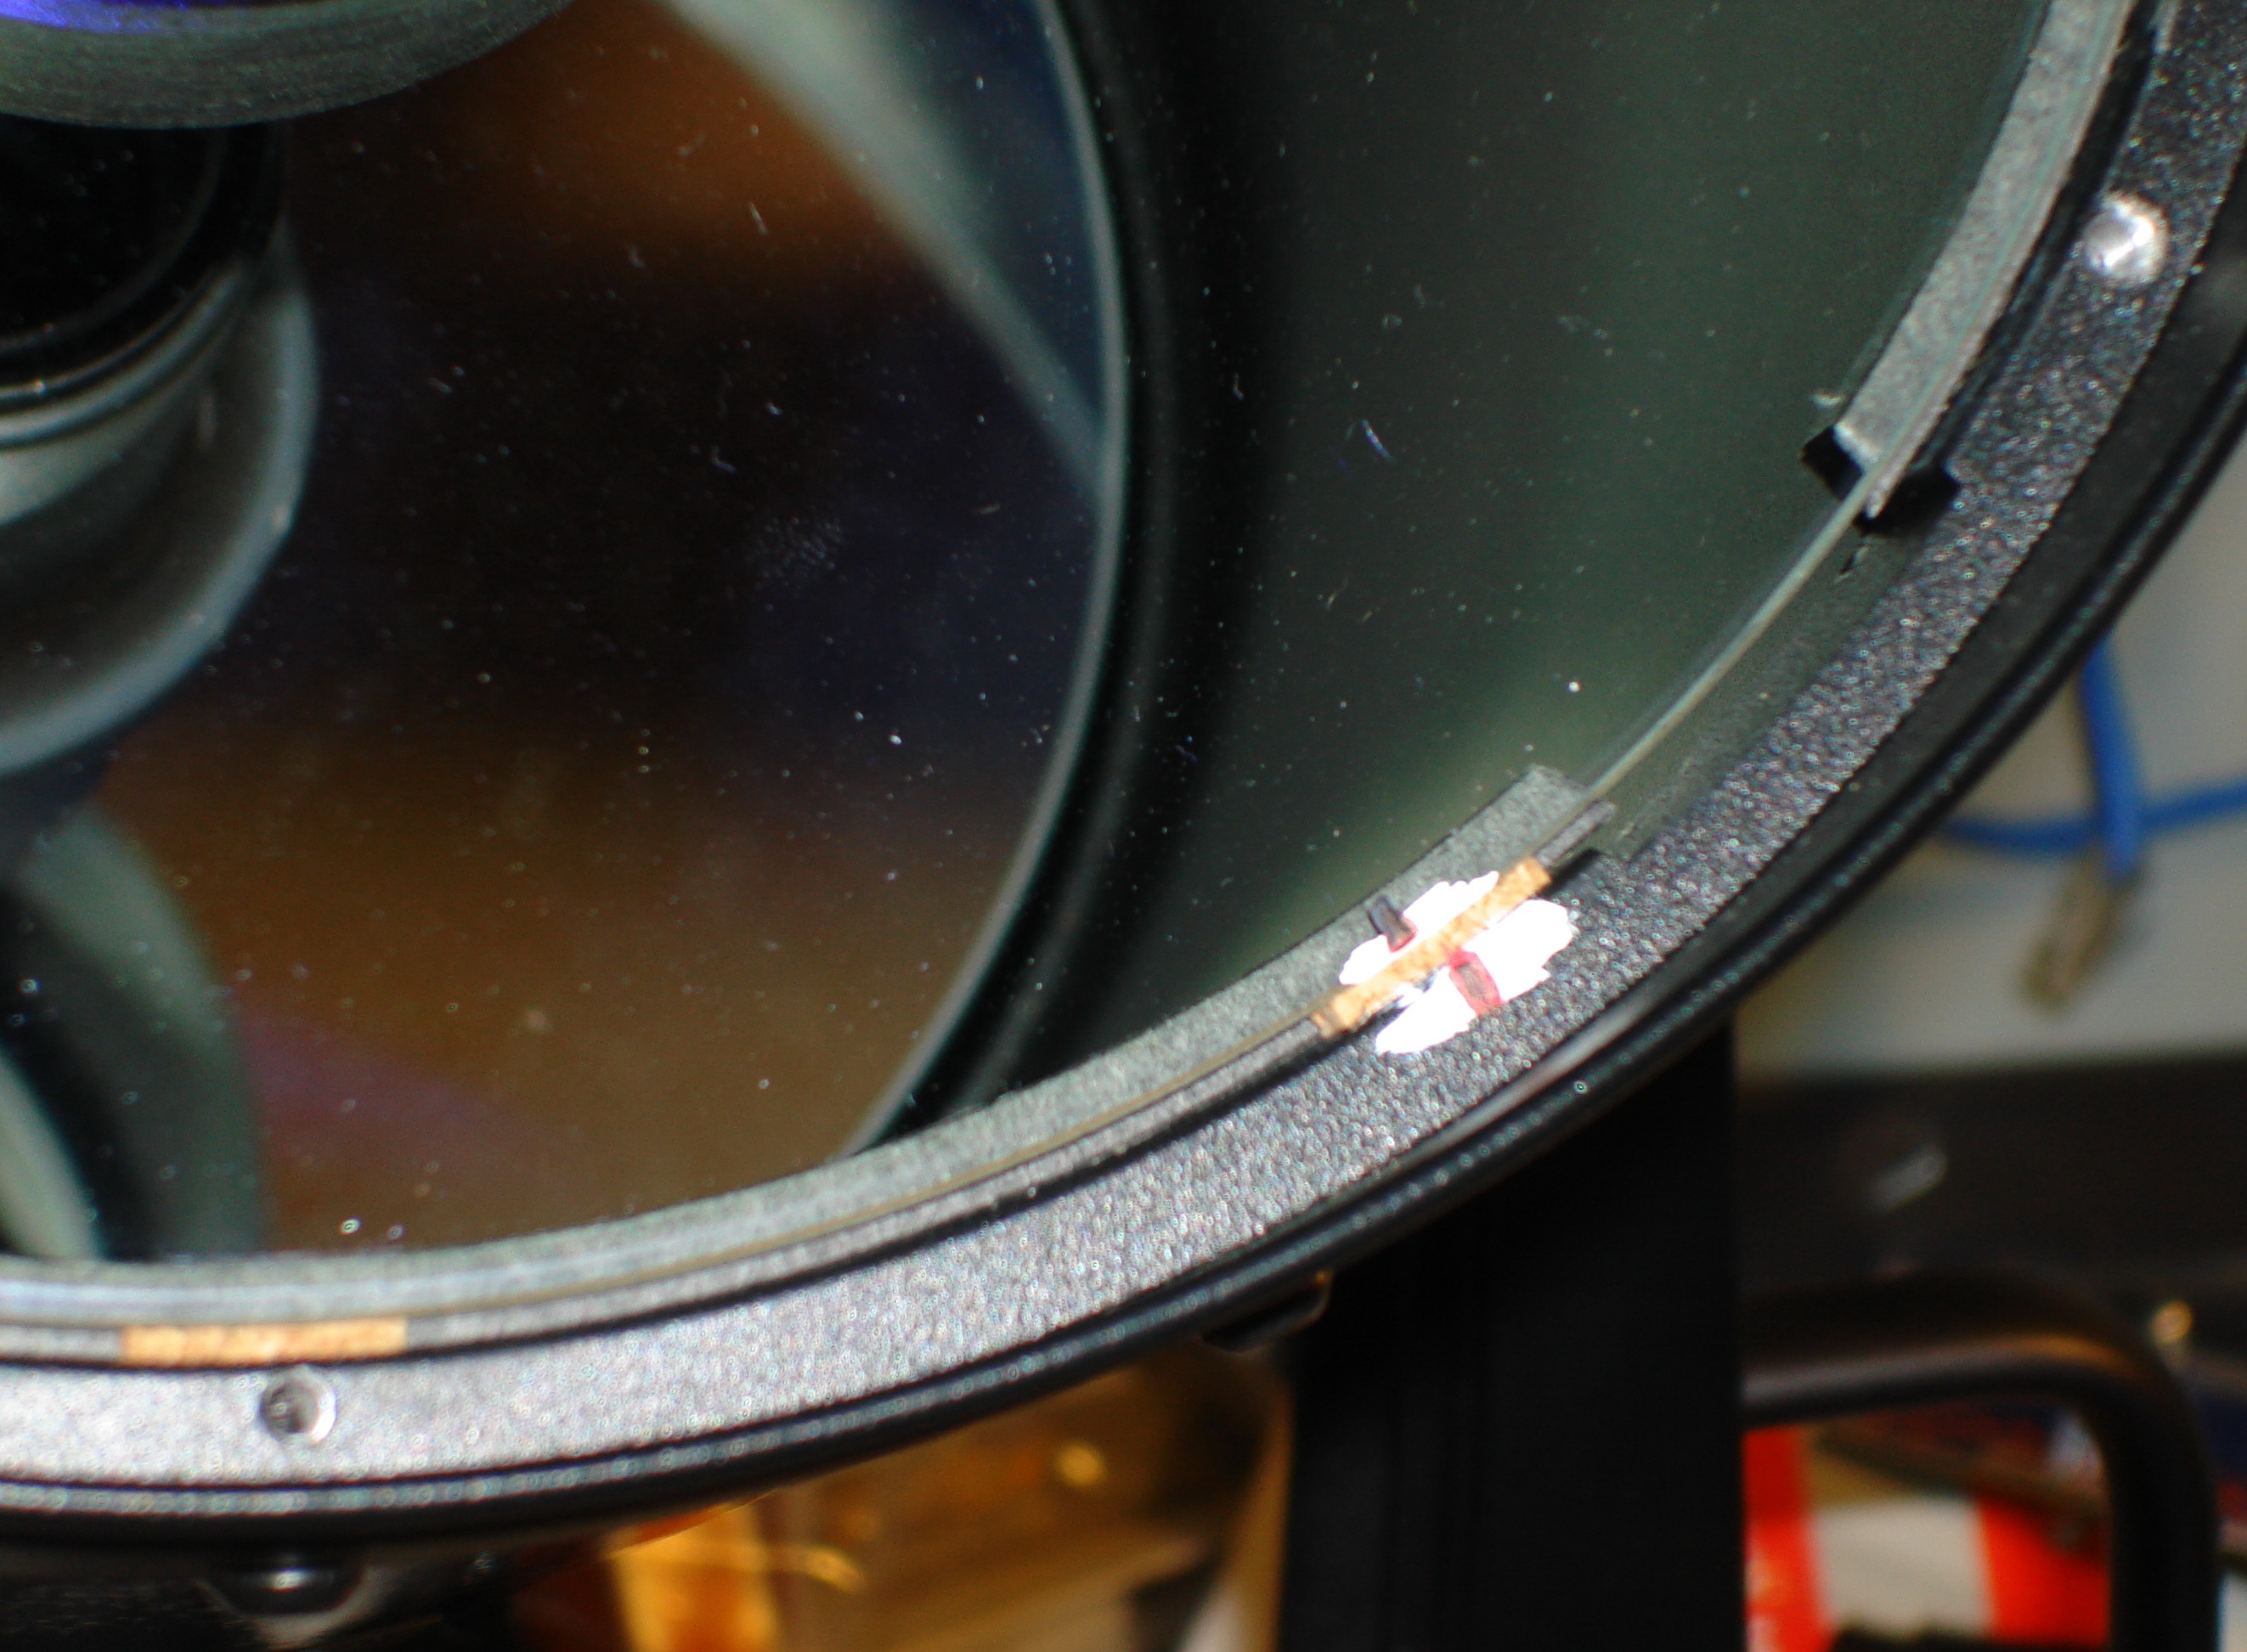
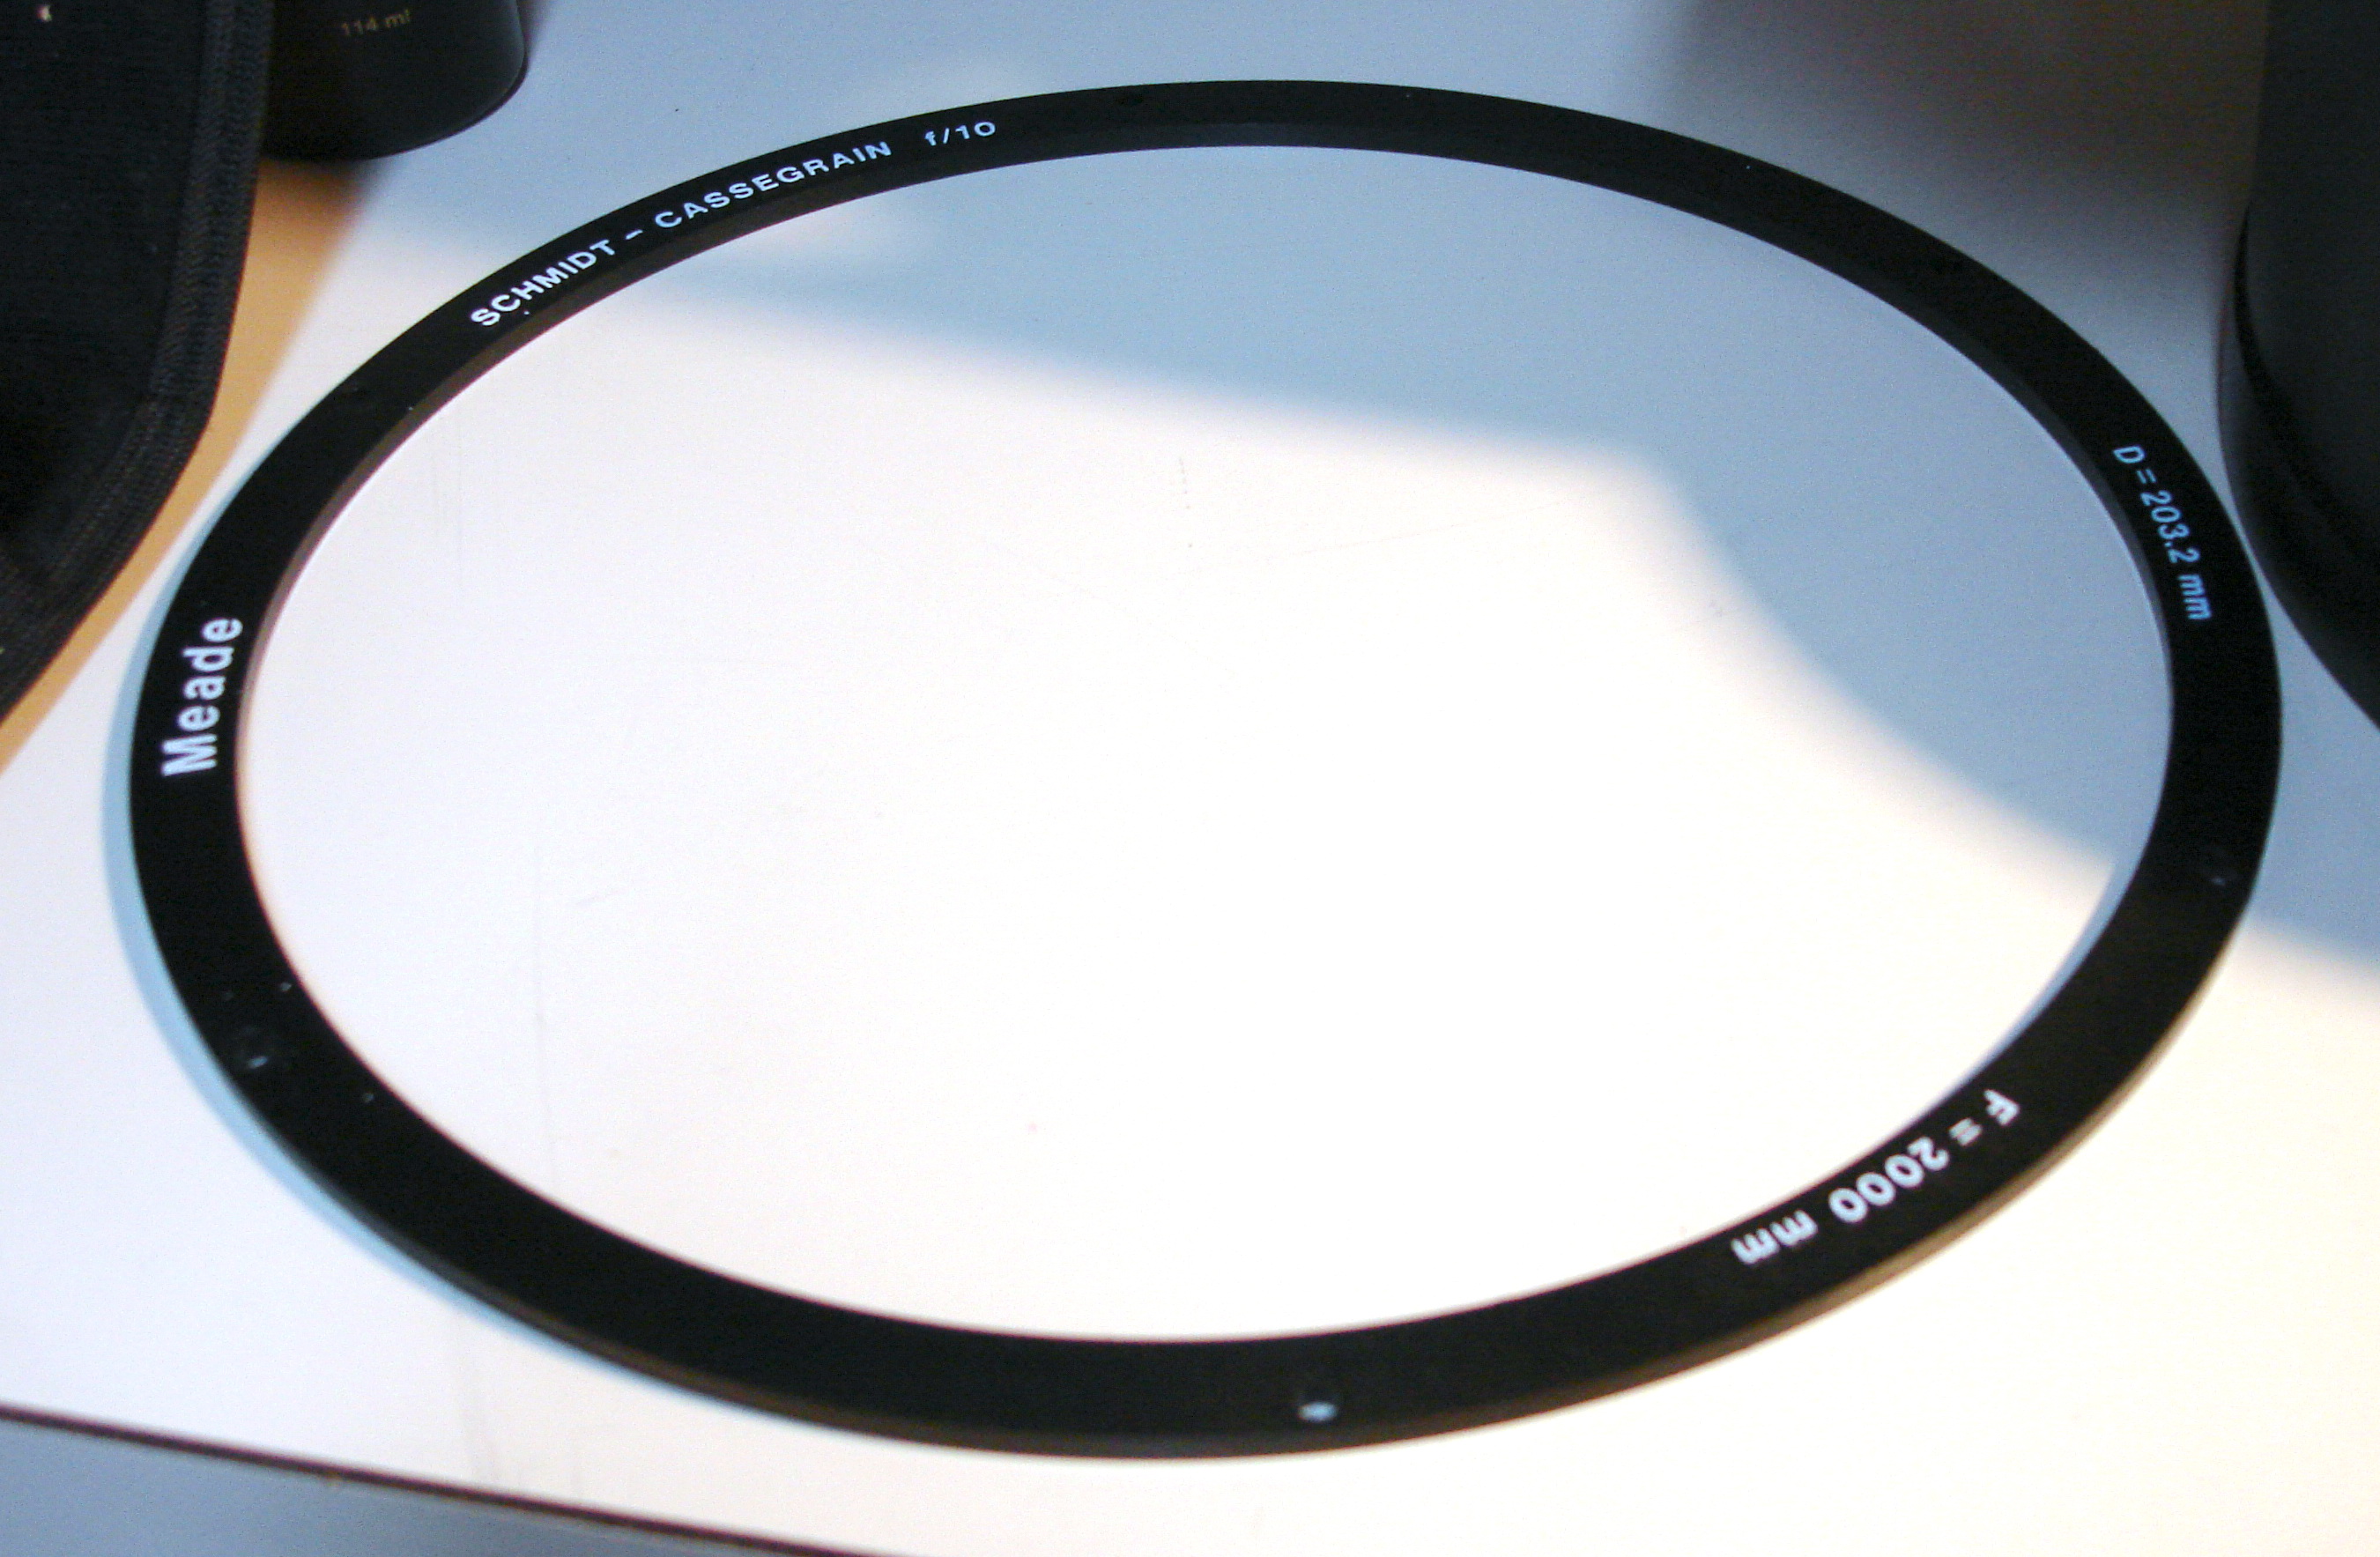
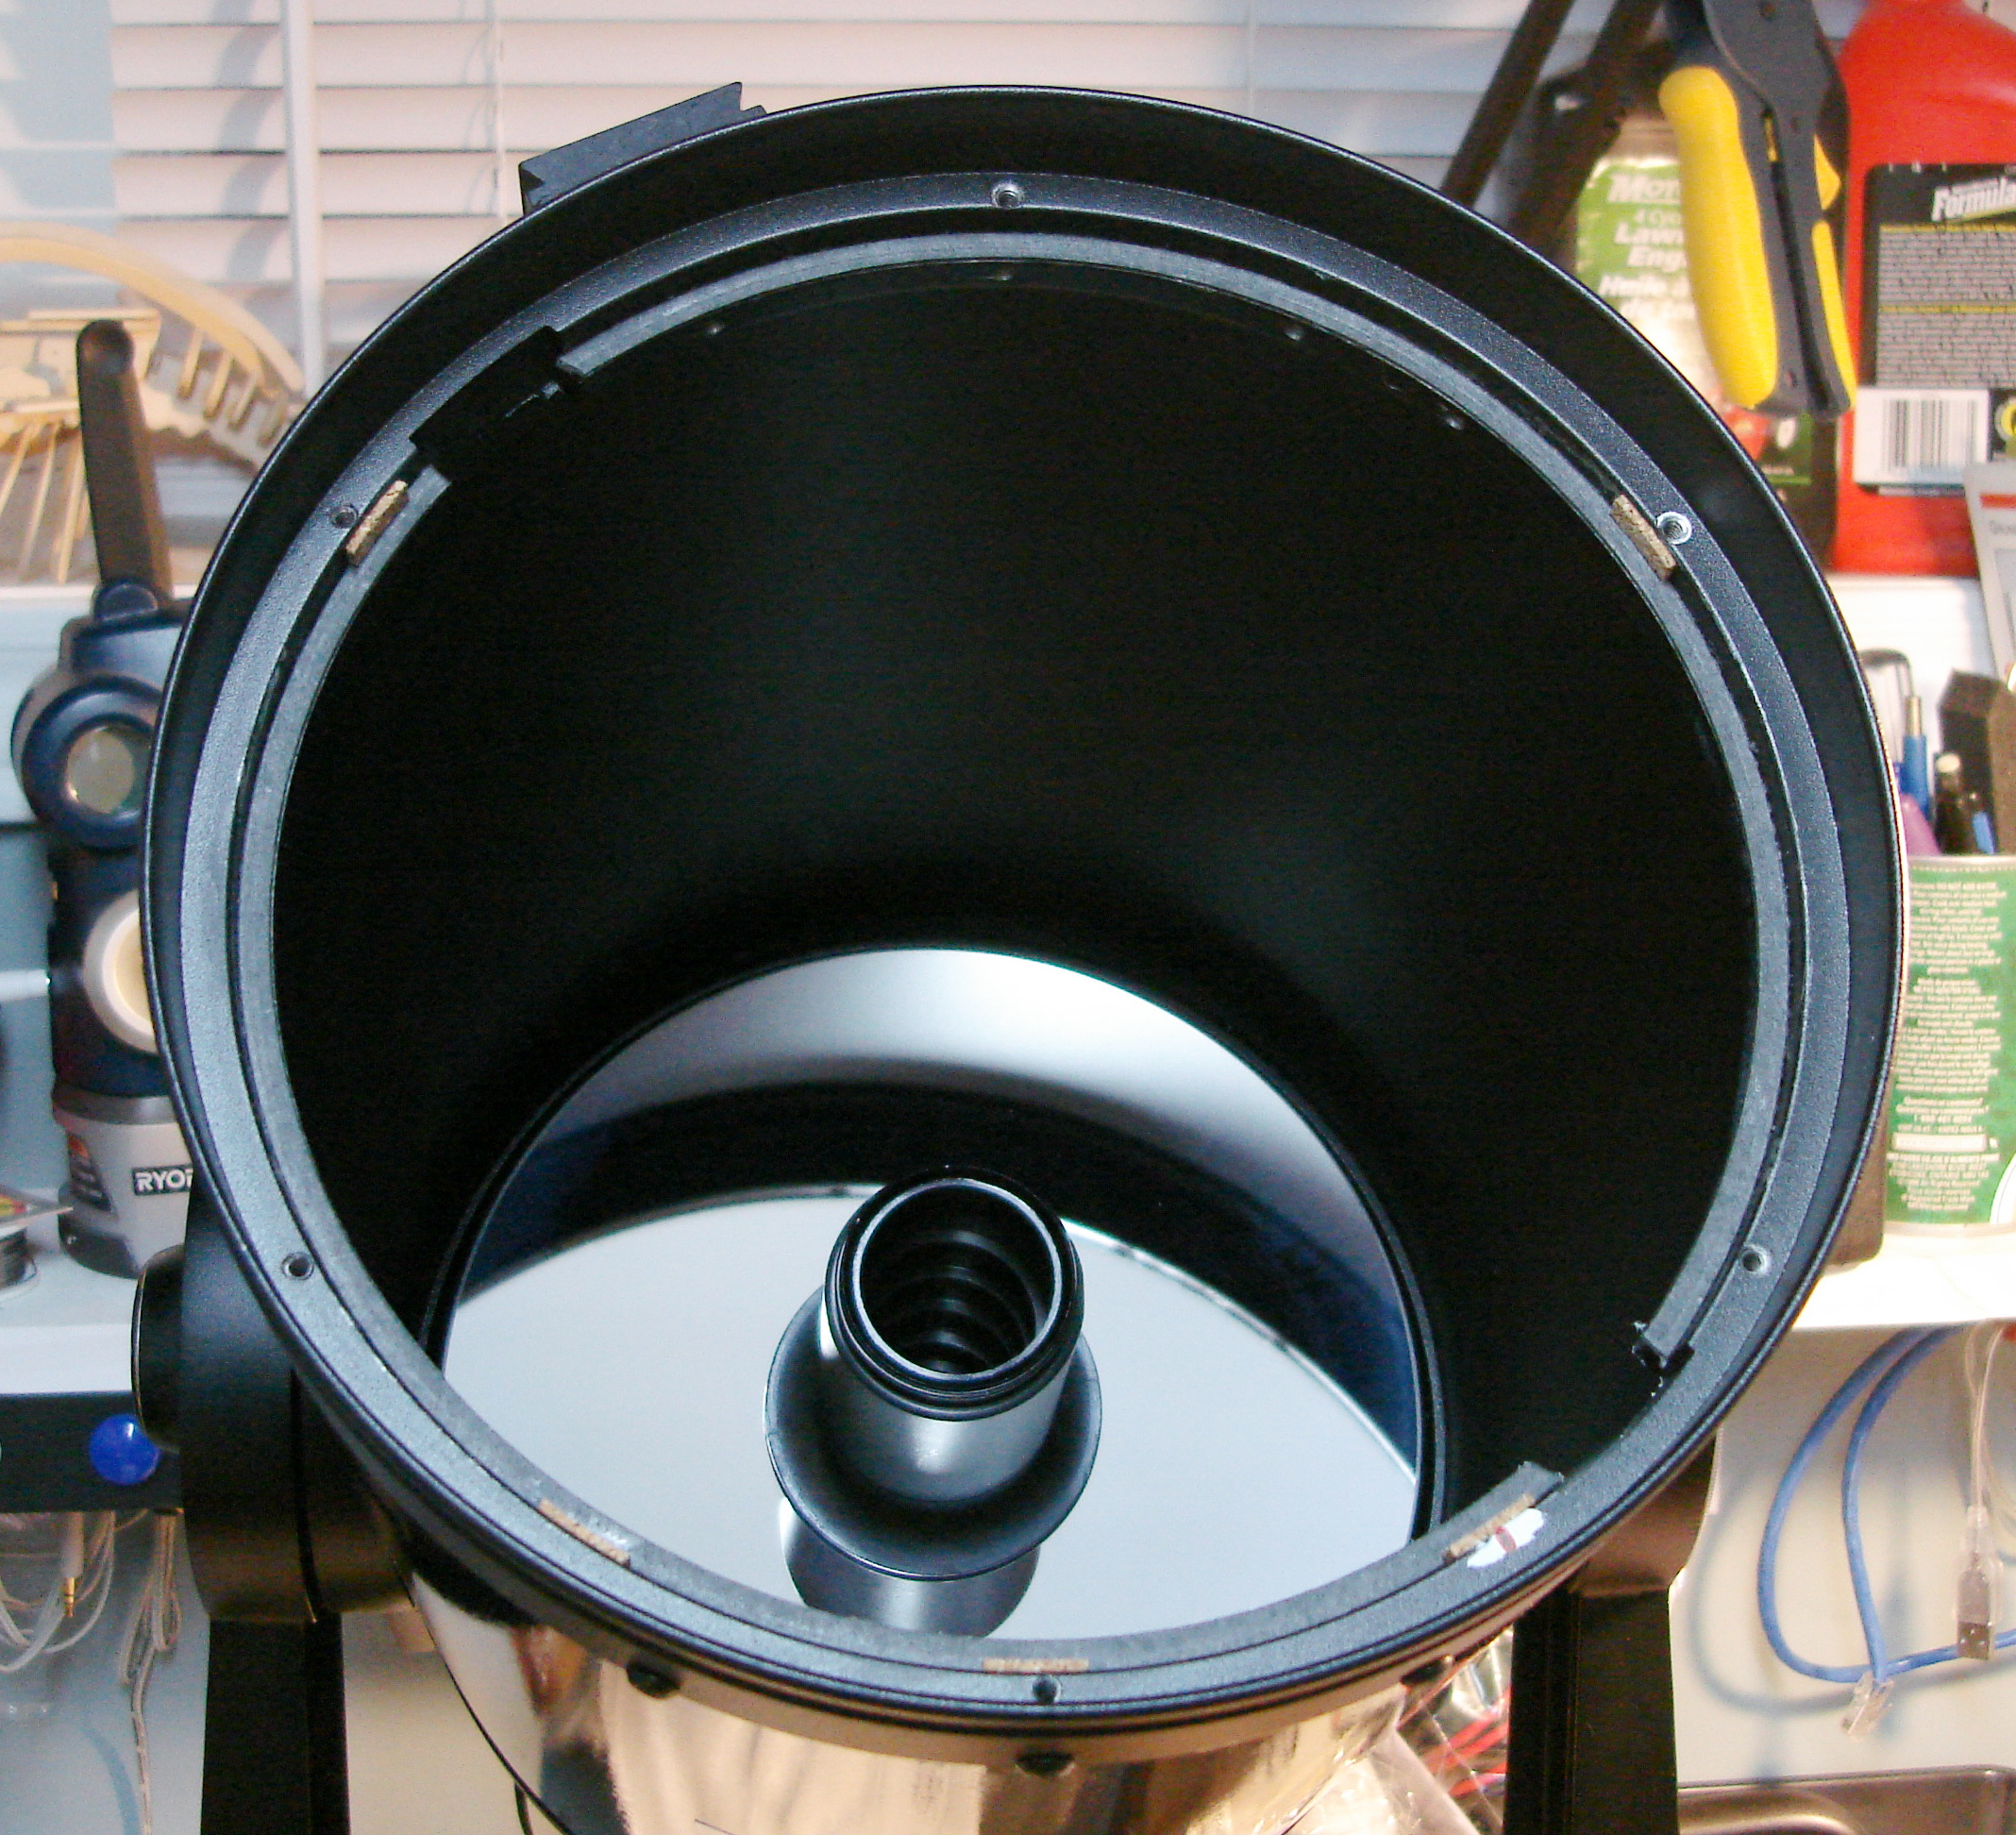
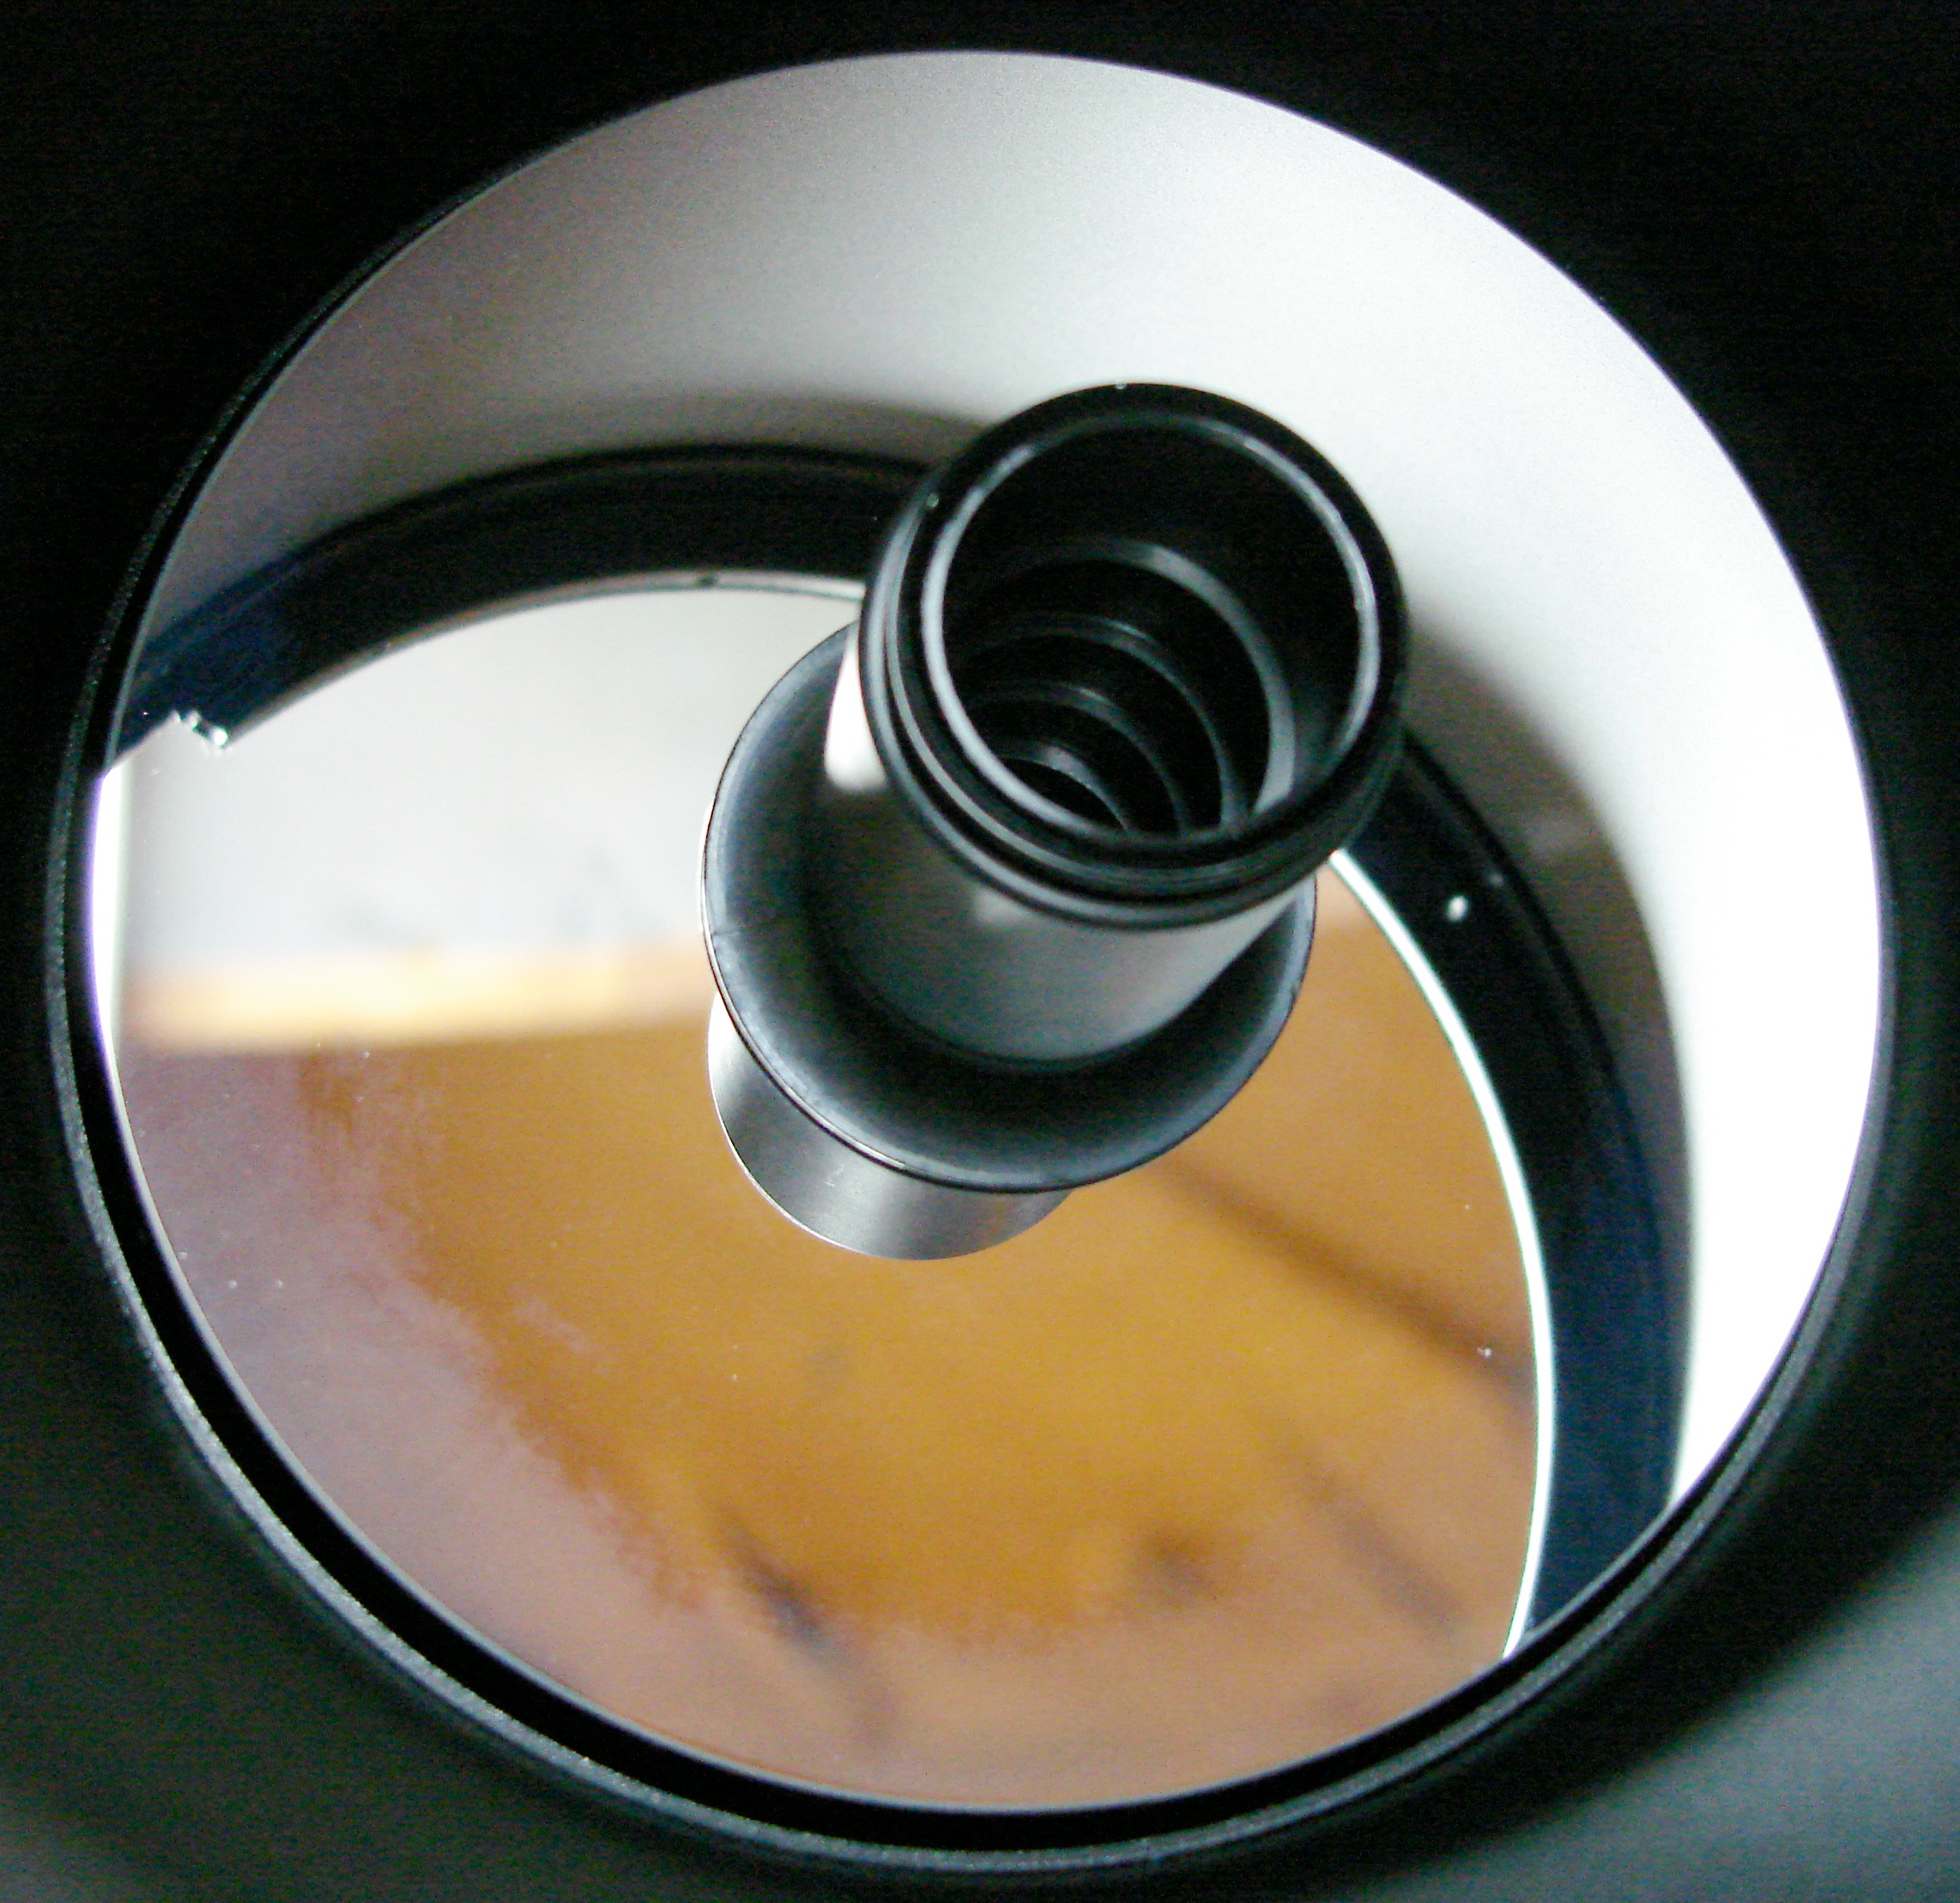
#8 Cleaning OTA optics Ever since I received the telescope I have noticed a peculiar residue on the outer edge of the primary mirror. The Meade manual suggests that odd looking reflections when you look in with a flashlight are normal and do not indicate damaged or dirty optics, so I left it for a long time. After an early spring session observing however my corrector plate was covered in sticky tree pollen so I need at the very least to clean it. I also noticed a number of flakes of something stuck on the secondary mirror that I wanted to get a closer look at. Removing the corrector plate is pretty easy, although rather nerve racking. I recommend having a large solid work surface with lots of soft towels and lots of light. I kept my OTA in its fork mount, positioning it upright on the workbench in front of me, tilted up at roughly a 45deg angle in the DEC axis.
I found that indeed the secondary mirror needed to be cleaned, which I did using the traditional method of isopropyl alchohol + water and a Q-tip. The corrector plate I cleaned using mild soap and running warm water, gently drying with a piece of clean coton flannel after. That all seemed to work pretty well. The weird markings on the primary mirror were troublesome though. To me they looked like a build-up of something. I tried to clean it off using a Q-tip with alcohol + water but it did nothing, like it wasn't a build-up but the actual coating itself. I decided to leave it and reassemble the telescope. Coincidentally the factory tick marks for lining up the corrector plate were off a bit when I initially disassembled the telescope. Everything seems to work fine, although it was a pretty hair raising experience! I did need to collimate after I was done. |
| March 21, 2010
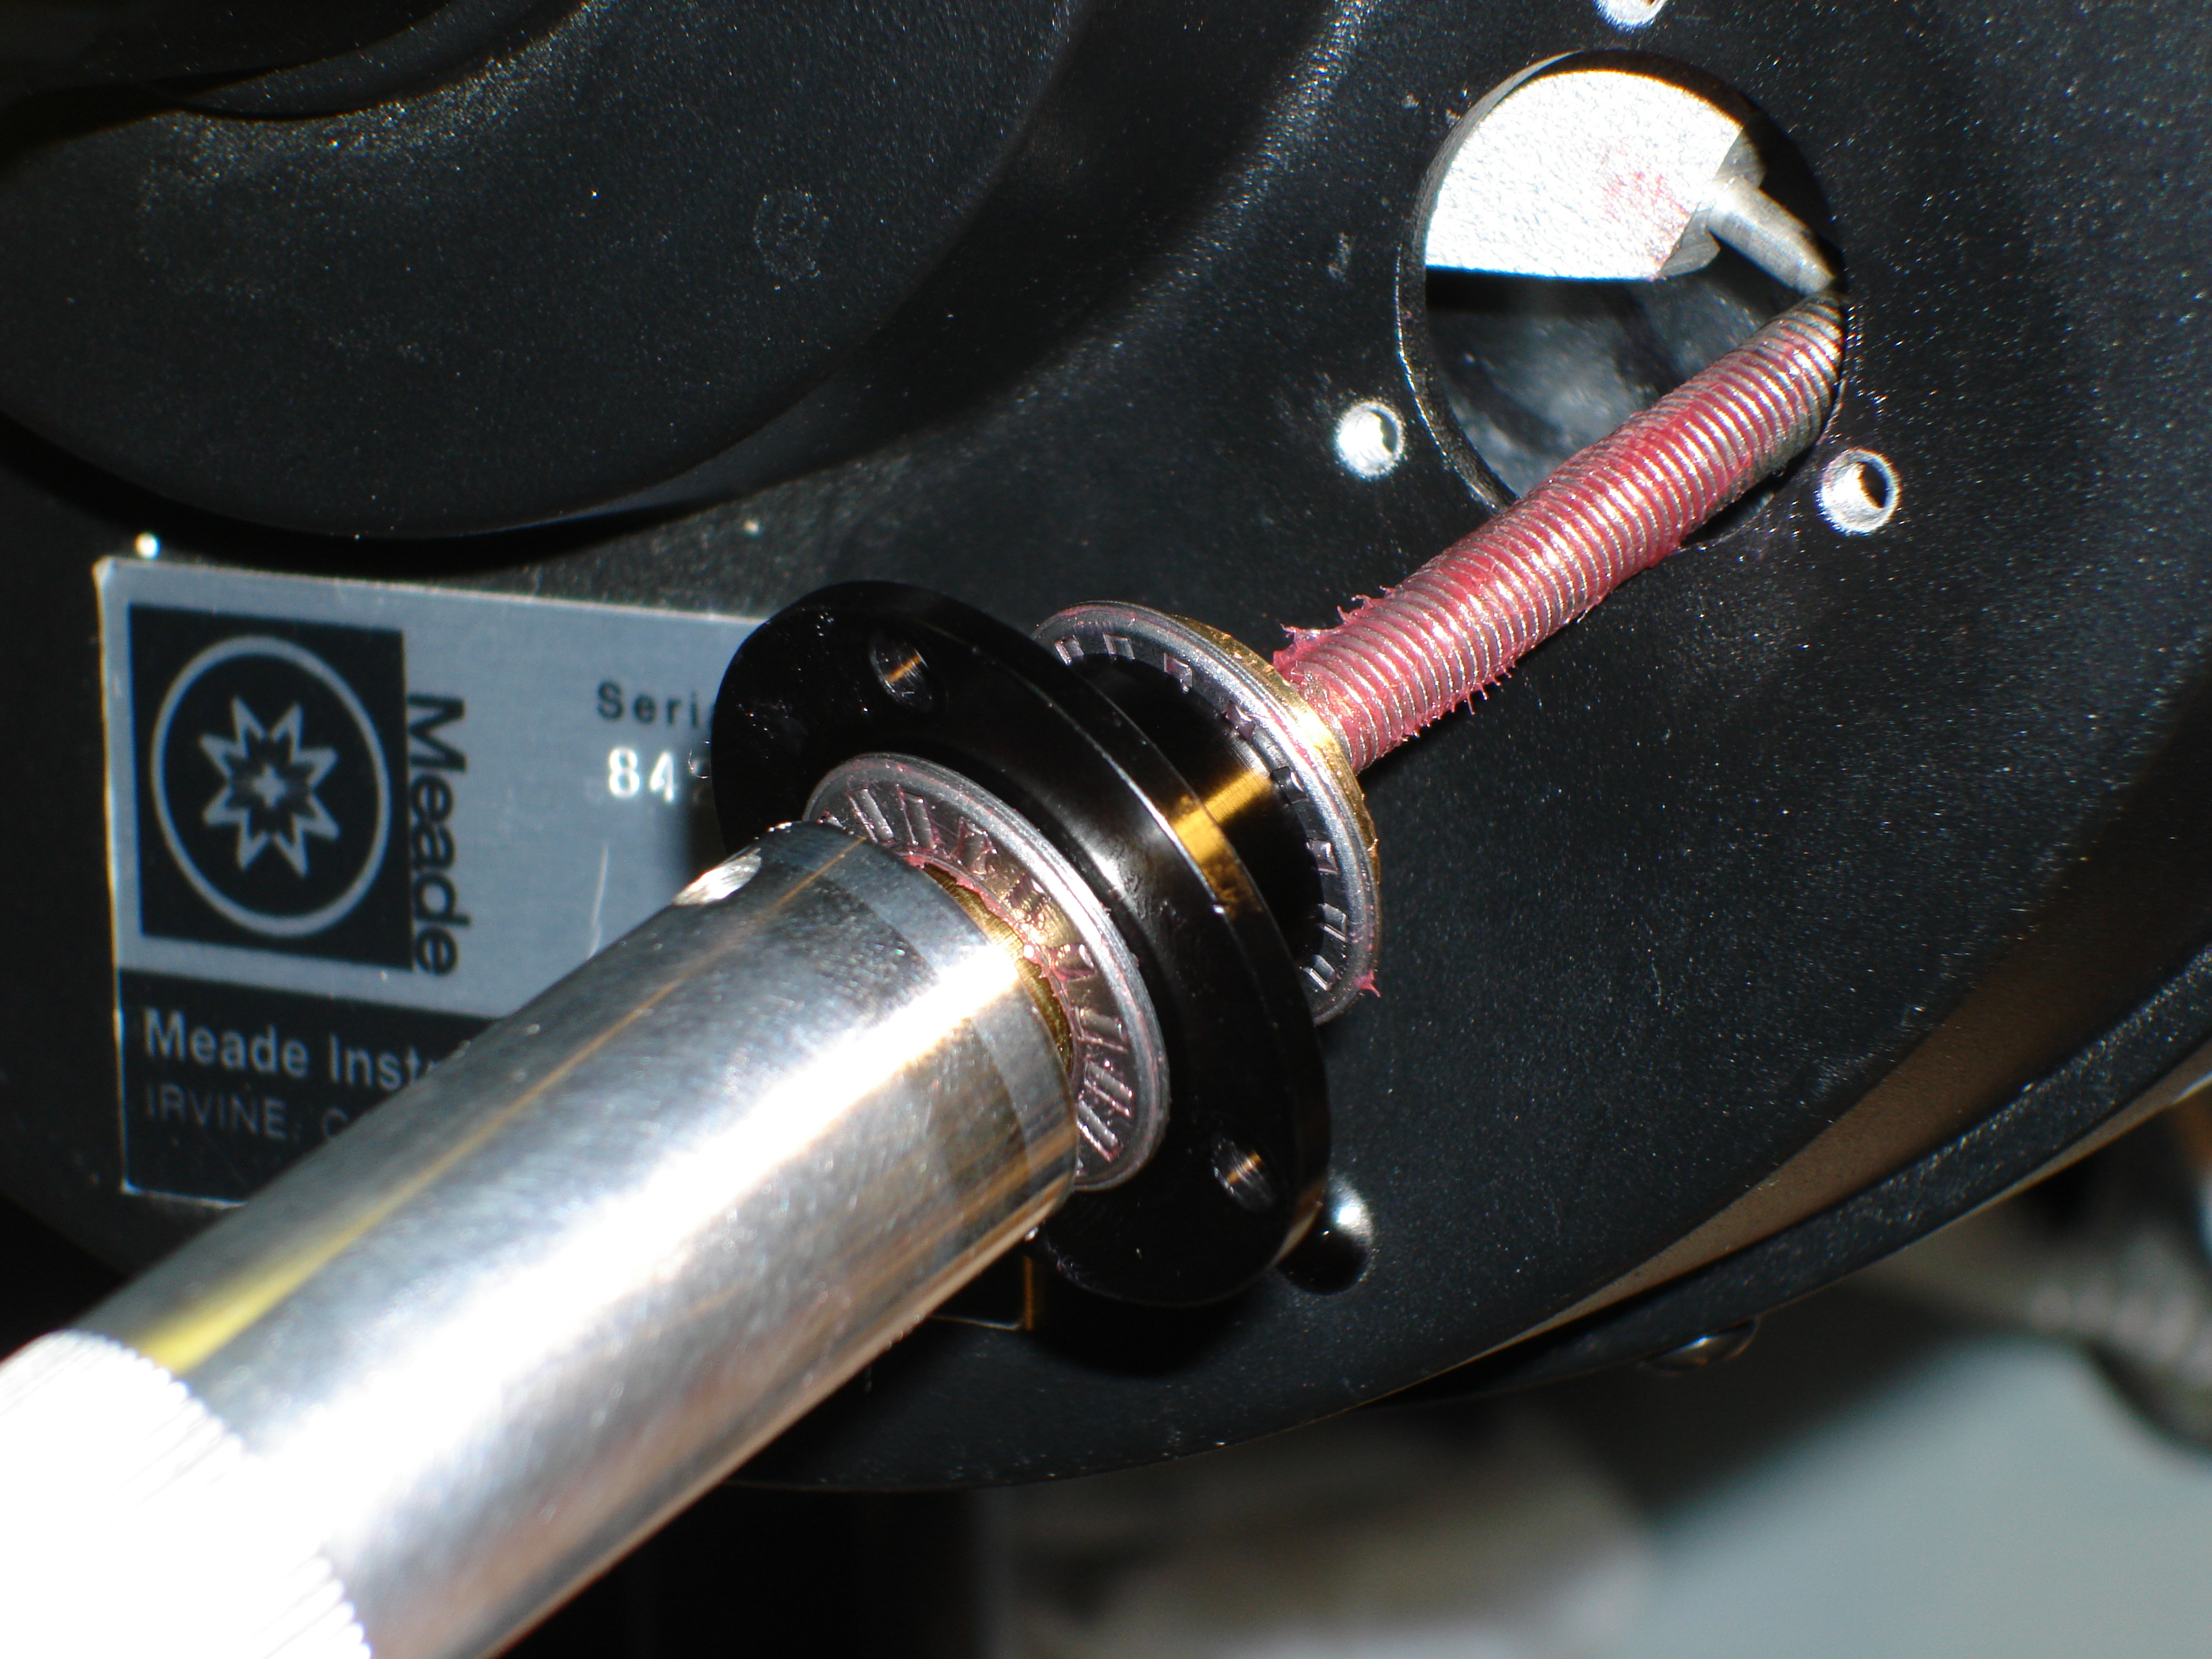
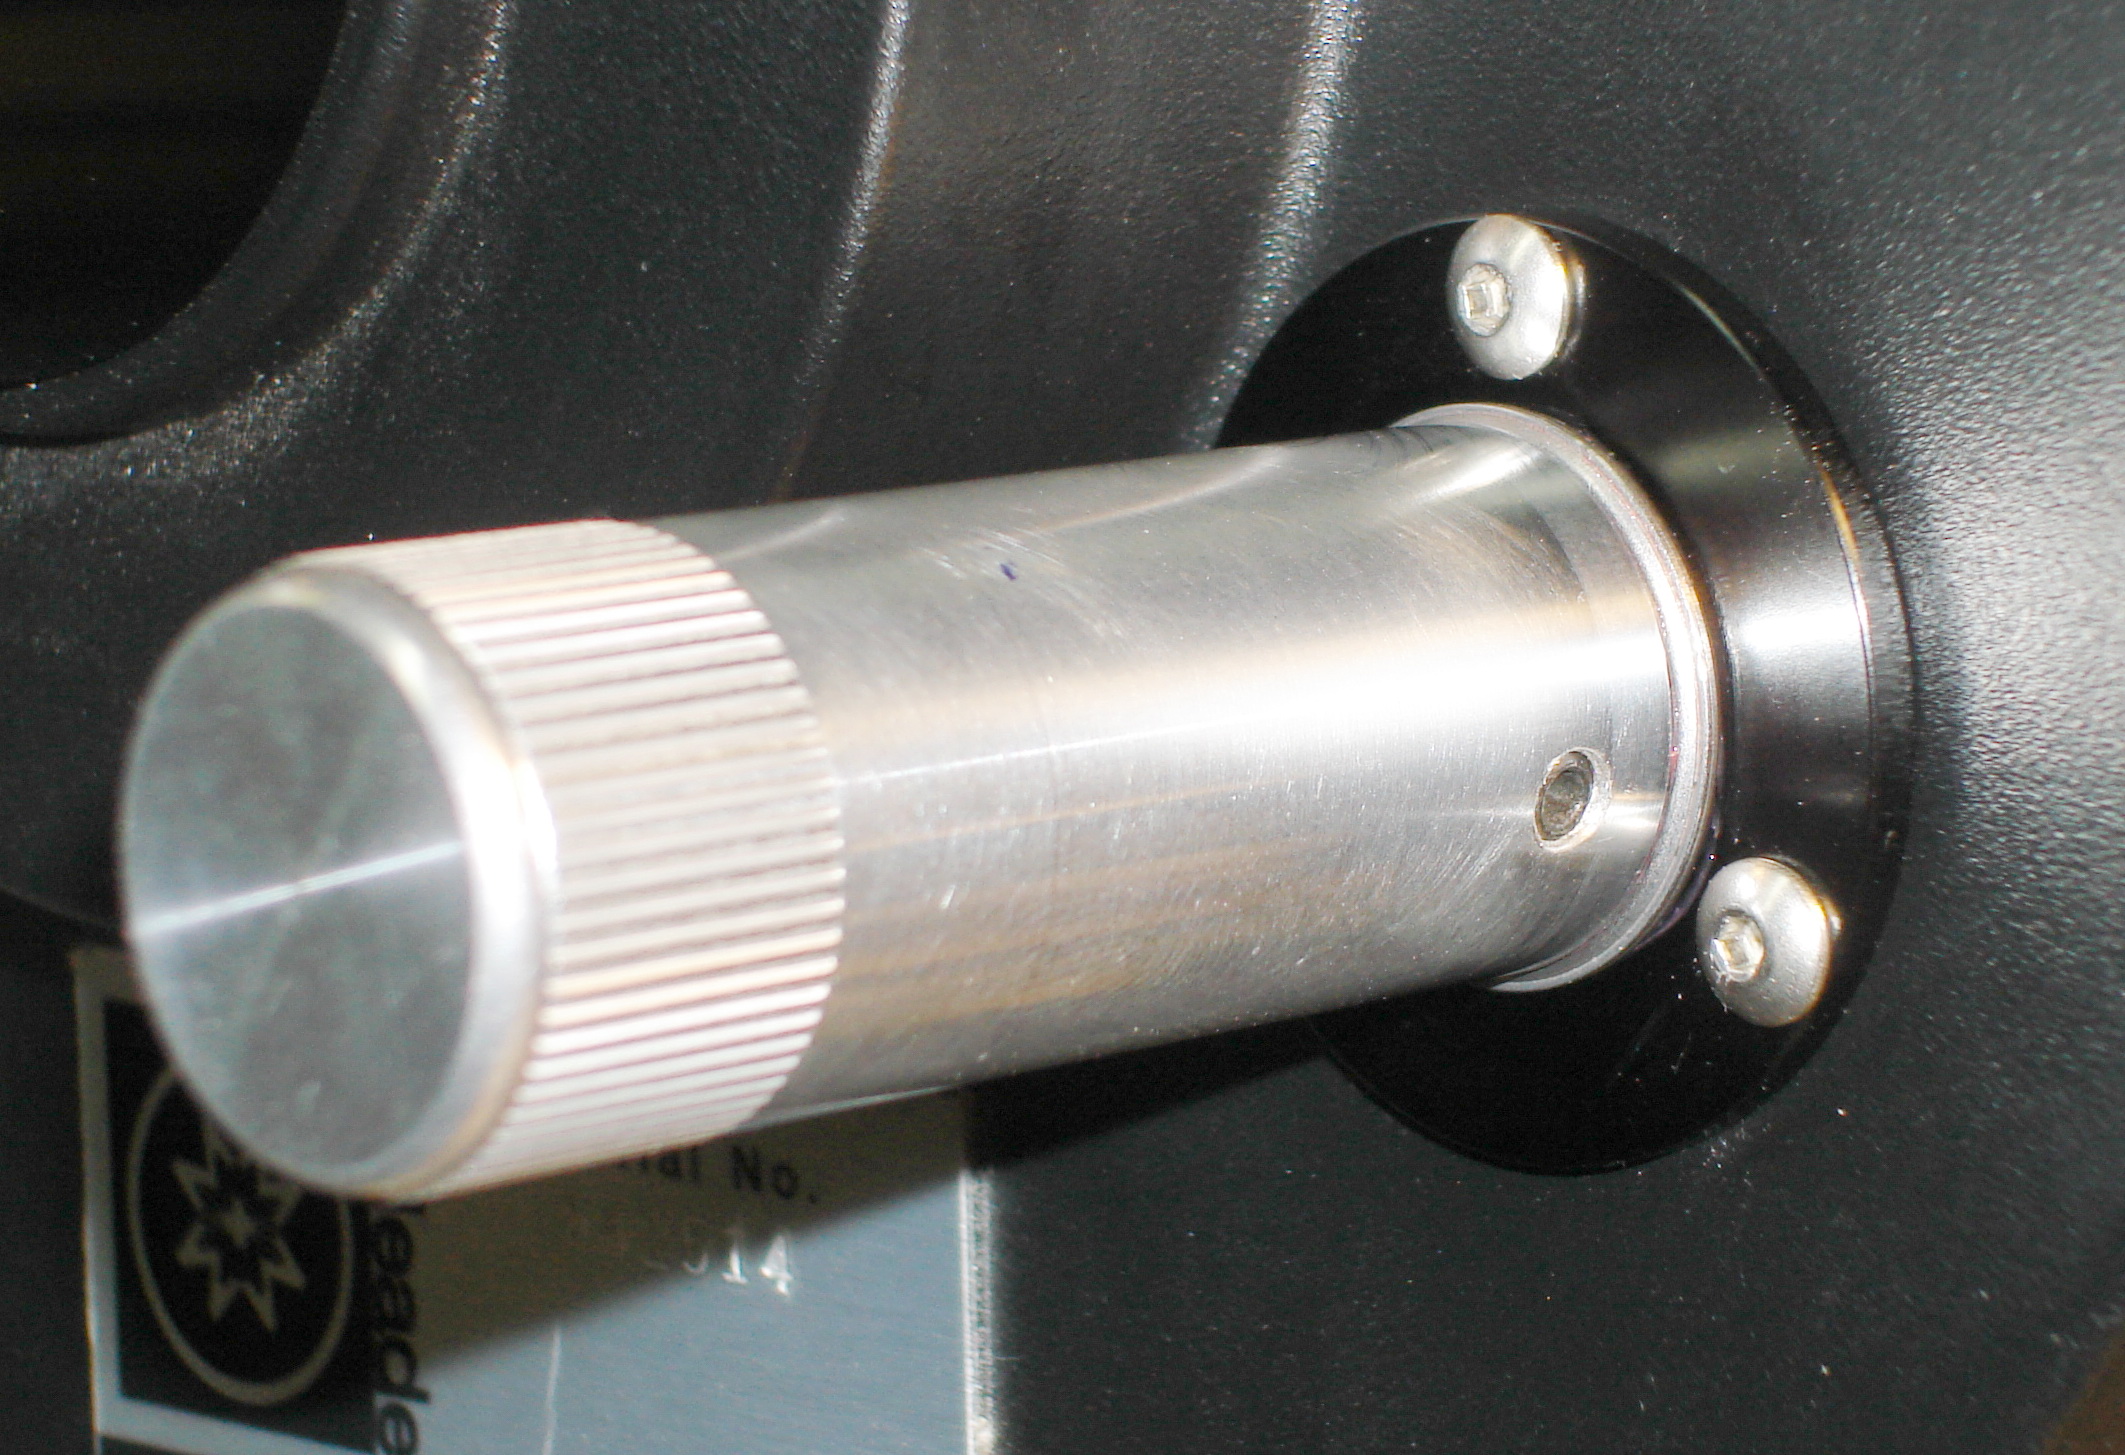
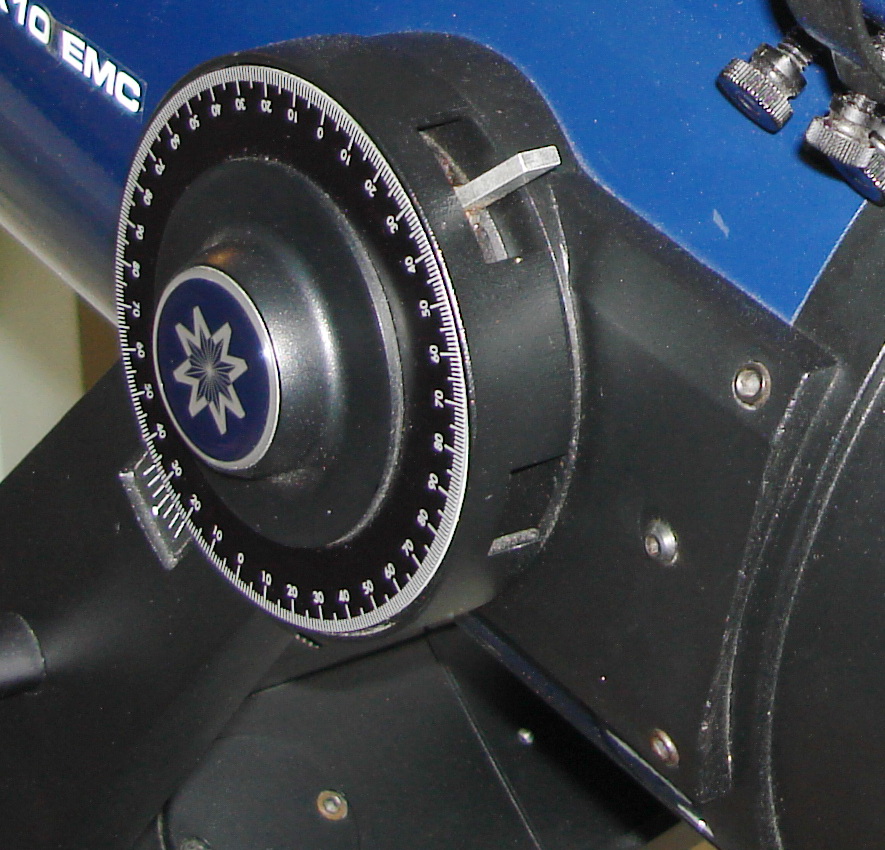
#7 Declination setting wheels The declination setting wheels on the LX10 fork mount do not keep their setting very securely. The simple aluminum discs are sandwiched between the fork and a simple plastic capped nut that, when you try to tighten it, it spins the both the nut and the setting wheel. That being said, you can get them reasonably close, and if you snug the nuts up carefully, it will stay reasonably well set.
To set my declination setting wheels I first leveled a flat solid surface carefully in all directions with a 4' bubble level. I then set the LX10 mount base onto the surface so that it was operating in a simple alt-az configuration. Using my bubble level across the front of the tube, I set the declination of the OTA so that it was level, confirming that it was also level in the direction parallel to the DEC rotational axis. I made a point of rotating the telescope in RA to confirm that the OTA end was level in all directions. When I did this I found a deficiency in the construction of the mount. Swinging the OTA around 180deg in RA resulted in a variation of about 1/4 to 1/3 bubble on my level (an angular aiming error of ~1deg). This variation is all in the drive mechanism, bearings, fork base, etc. and so there is nothing I can do about it other than accept this error in my declination reading. Once I had the OTA as level as possible, I set the DEC setting wheels to 0deg and tightened the nuts as tight as I could. |
| August 23, 2010
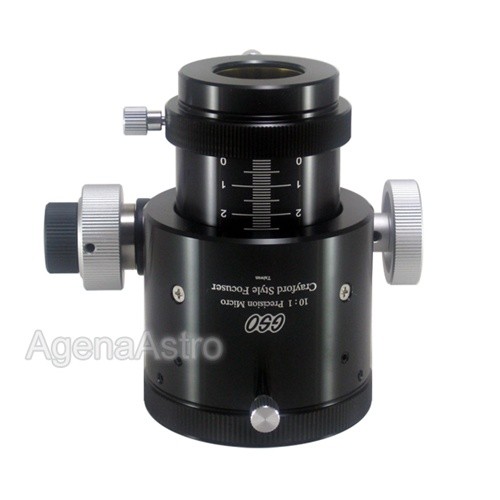
#5 Focuser follow-up With my telescope all fixed up, I have been using it for observing smaller and more detailed objects. I have found that, even with the EZ Focus kit installed, getting a perfect focus on objects like planets or planetary nebulae is frustrating because of the remaining mirror shift and the jiggling of the telescope as I touch the focusing knob. I decided to buy a Crawford style add-on focuser to try to eliminate these issues. I purchased the relatively inexpensive GSO brand focuser with 10:1 dual focus from Agena Astro. The focuser fit on nice, and works great. It is pretty big and basic looking, but it has all the basic features I want. The only glitch was that it is not quite tall enough for the larger focuser knob to clear the original focuser knob on the LX10. I filed the LX10 focuser down about 1mm so now I can rotate the Crawford focuser around and not hit.
Now I simply rough focus with the original LX10 knob, then fine focus with the Crawford...sweet! The touch required to fine focus the Crawford focuser is so light, I don't have to contend with jiggling the telescope image any more. |
Go back to HOMEPAGE
Last updated: 30-Sep-10
|
Copyrights to all content from the webpages hosted here belongs to Jim Thompson. Nov. 2009. |